 Home
Home
In the Home workspace you receive an overview of all available workspaces with a short description for each of them.
HomeIn the Home workspace you receive an overview of all available workspaces with a short description for each of them.
 Project Management
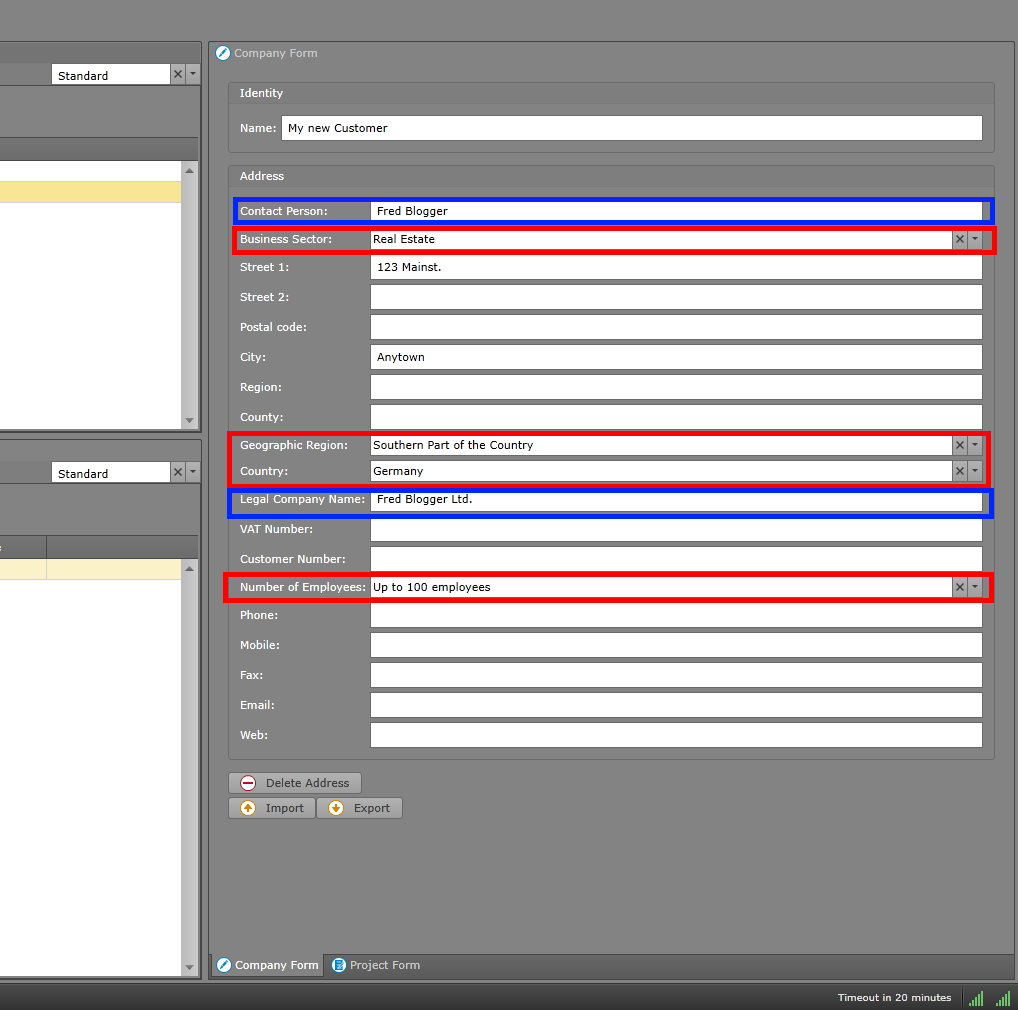
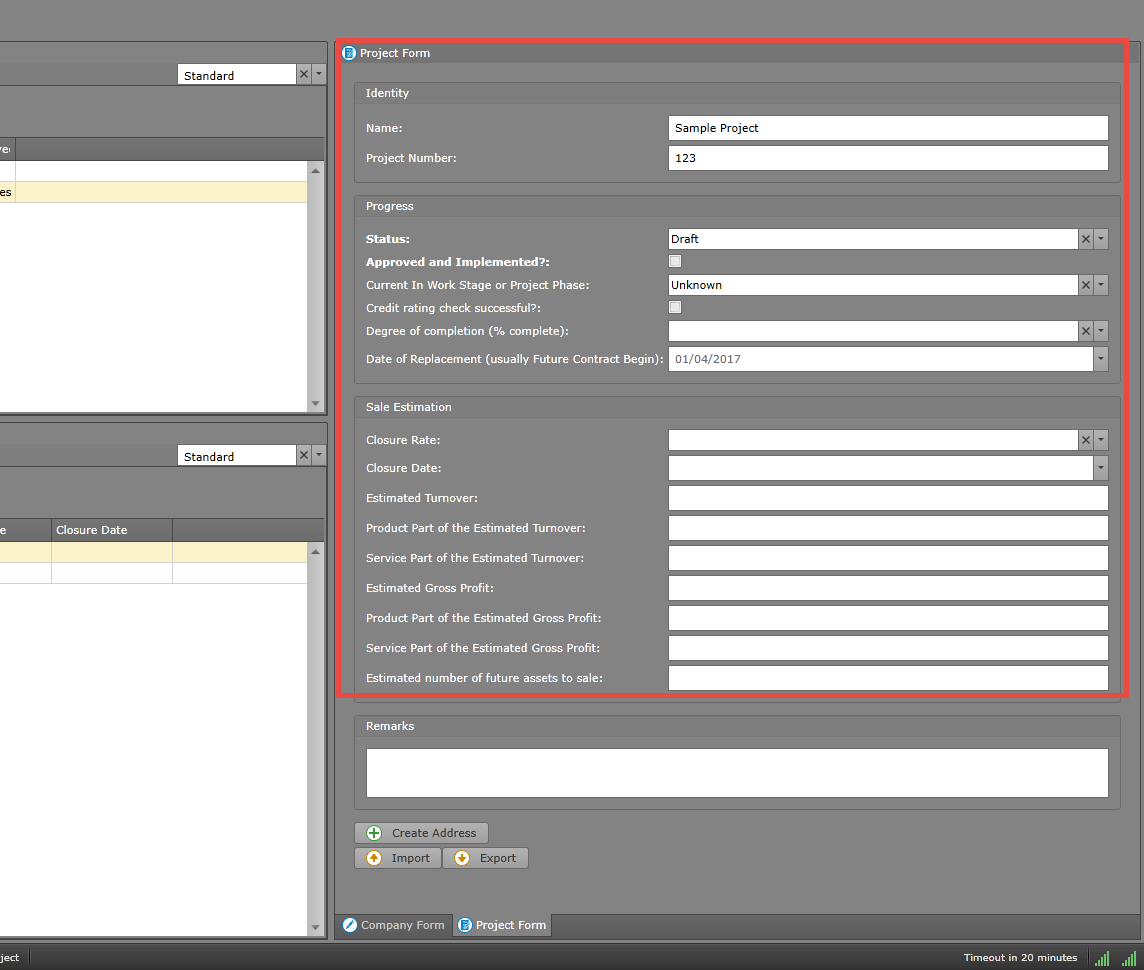
In this workspace you are able to manage customers, projects and settings of selcted projects.
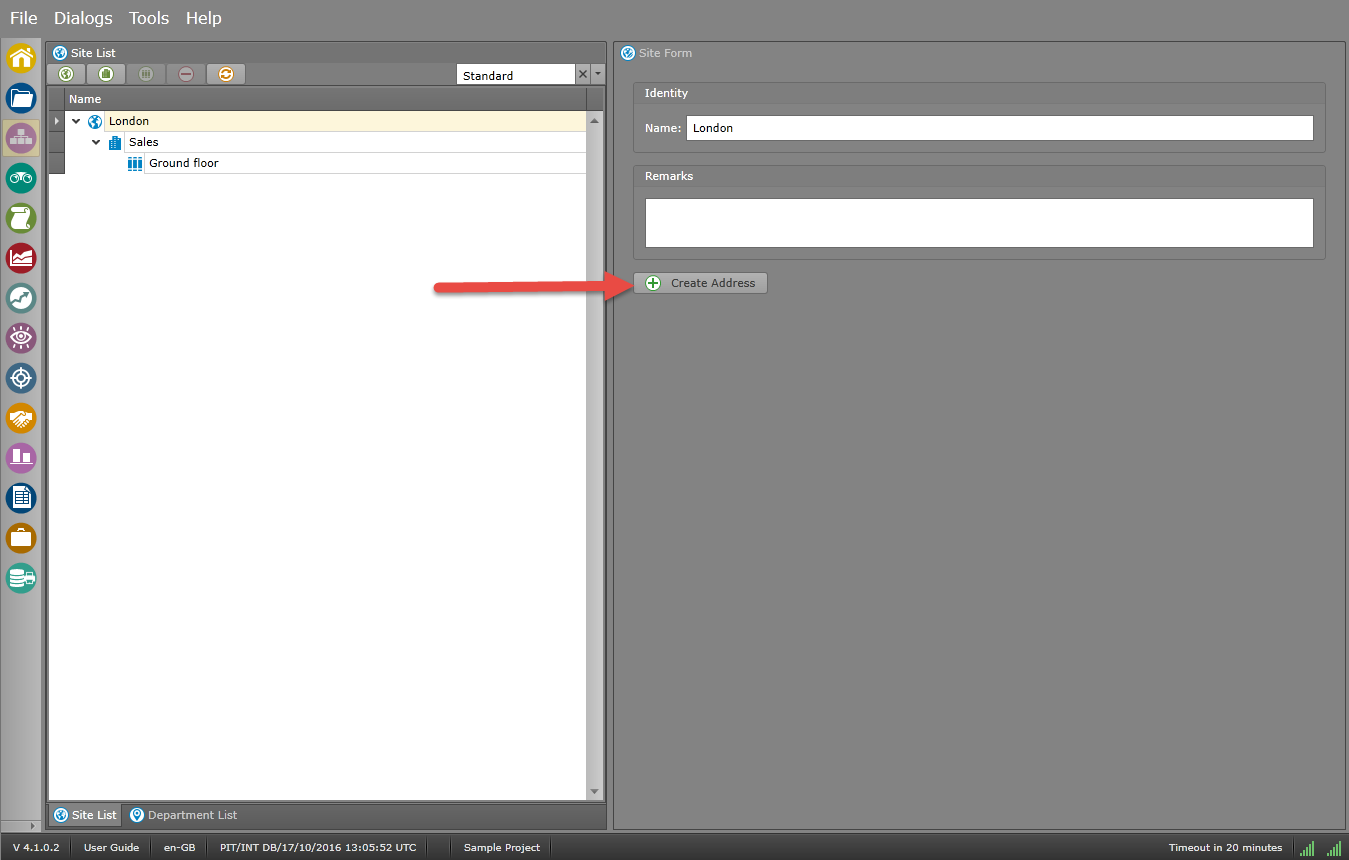
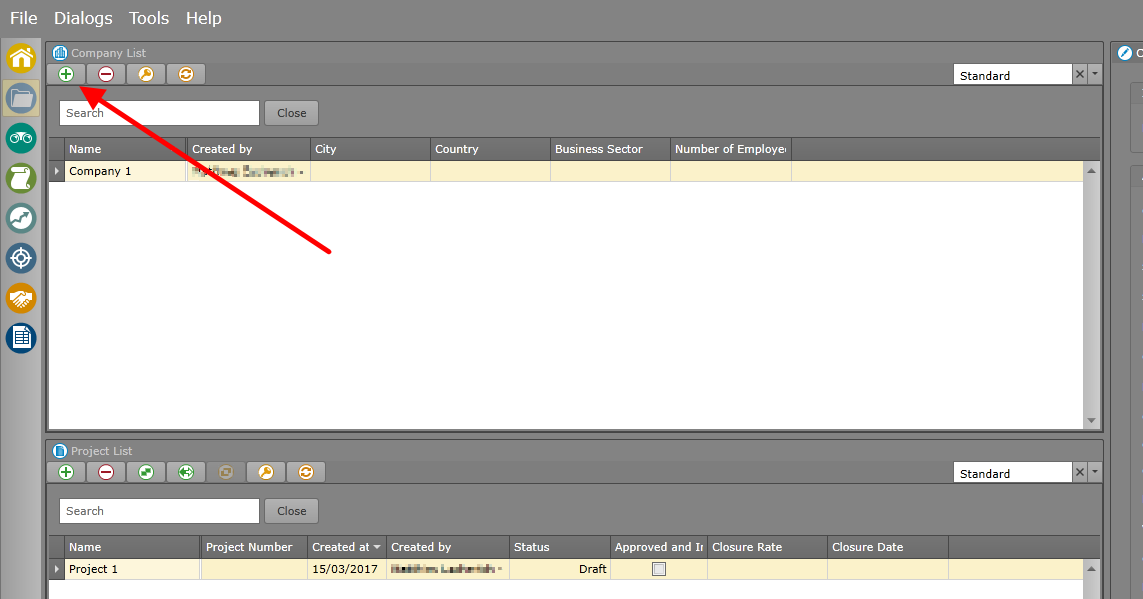 at the top of the company list
 on the top of the Project List
 Button
 Structure
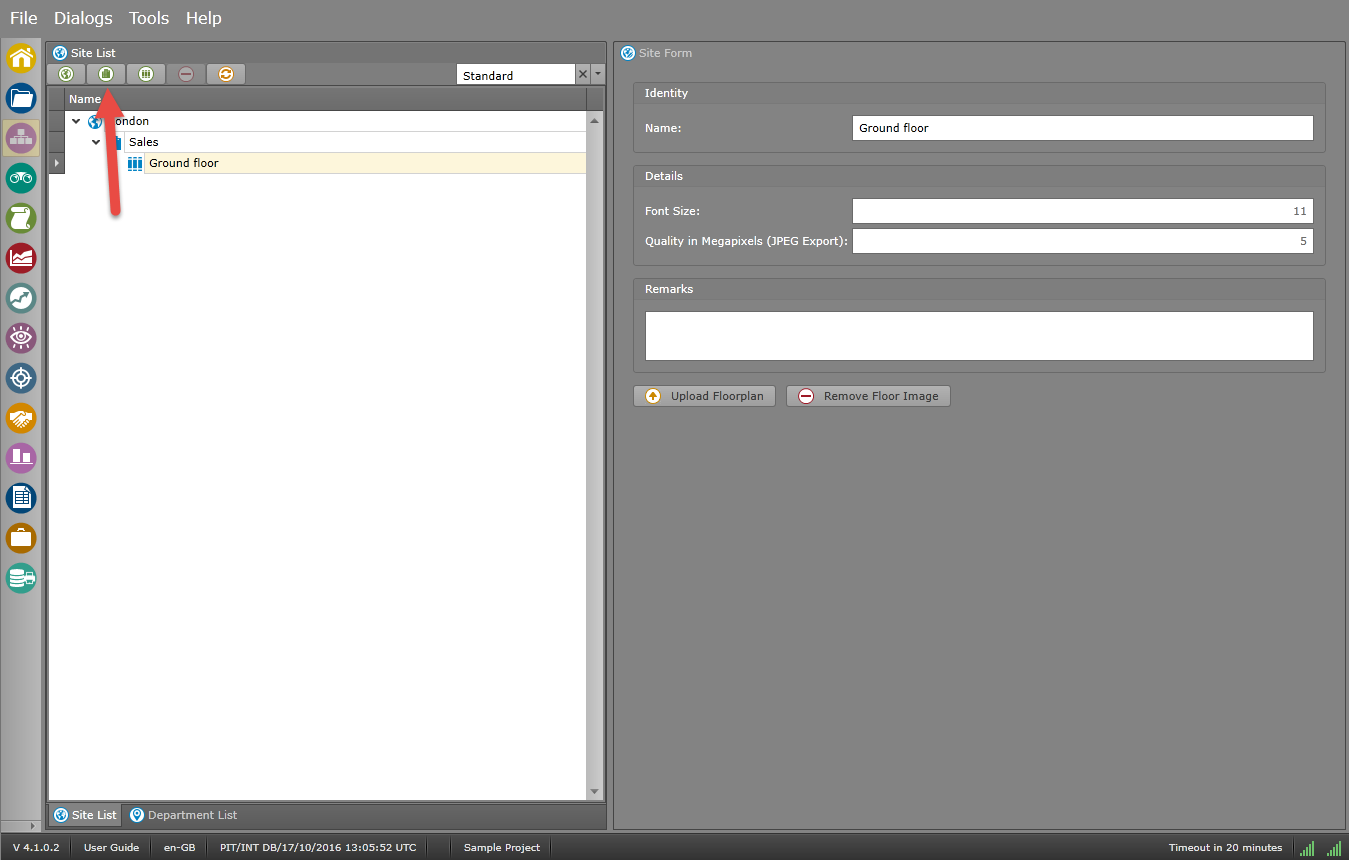
Select this workspace to create or change the project structure. You are able to add new sites and assign floor plan images to them.
will create one default location structure for each project. You can rename this default location / building / floor by clicking on the desired entry and editing the name directly ![]()
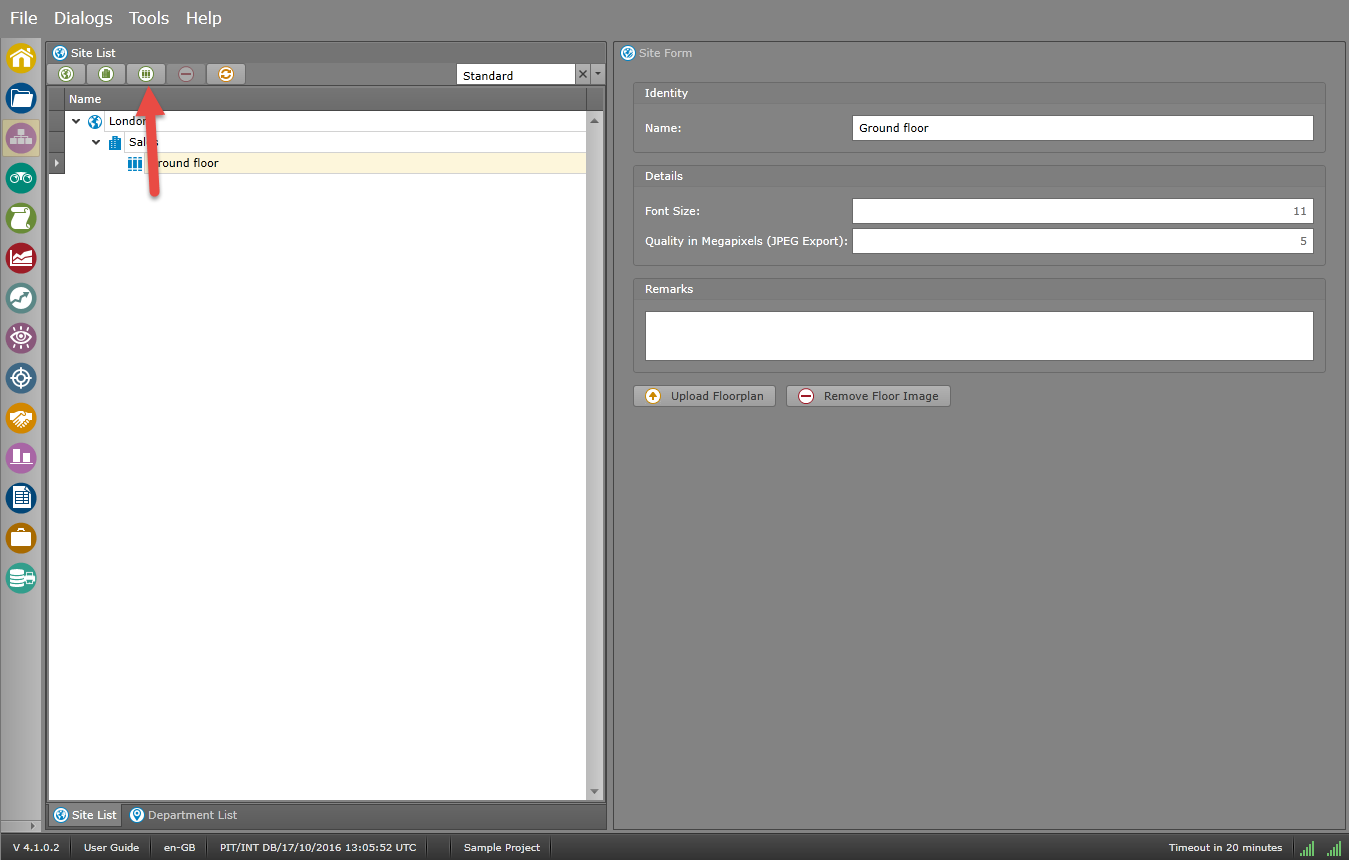
button or remove
  the floor plans for each floor
Note: as soon as a floor plan is uploaded, the icon colour of the floor will be changed from blue  to orange
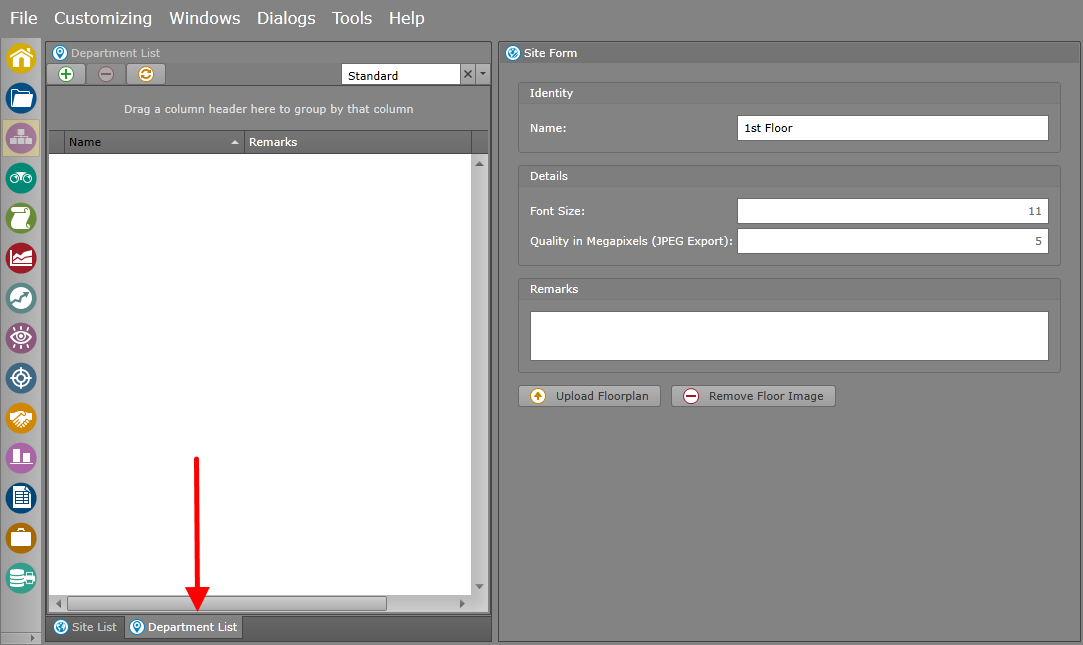
It is possible to create departments that might be useful if you want to filter your report by departments. For example having an overview of the TCO / volumes for each department.
 add button above the department list.
 Current State Assets
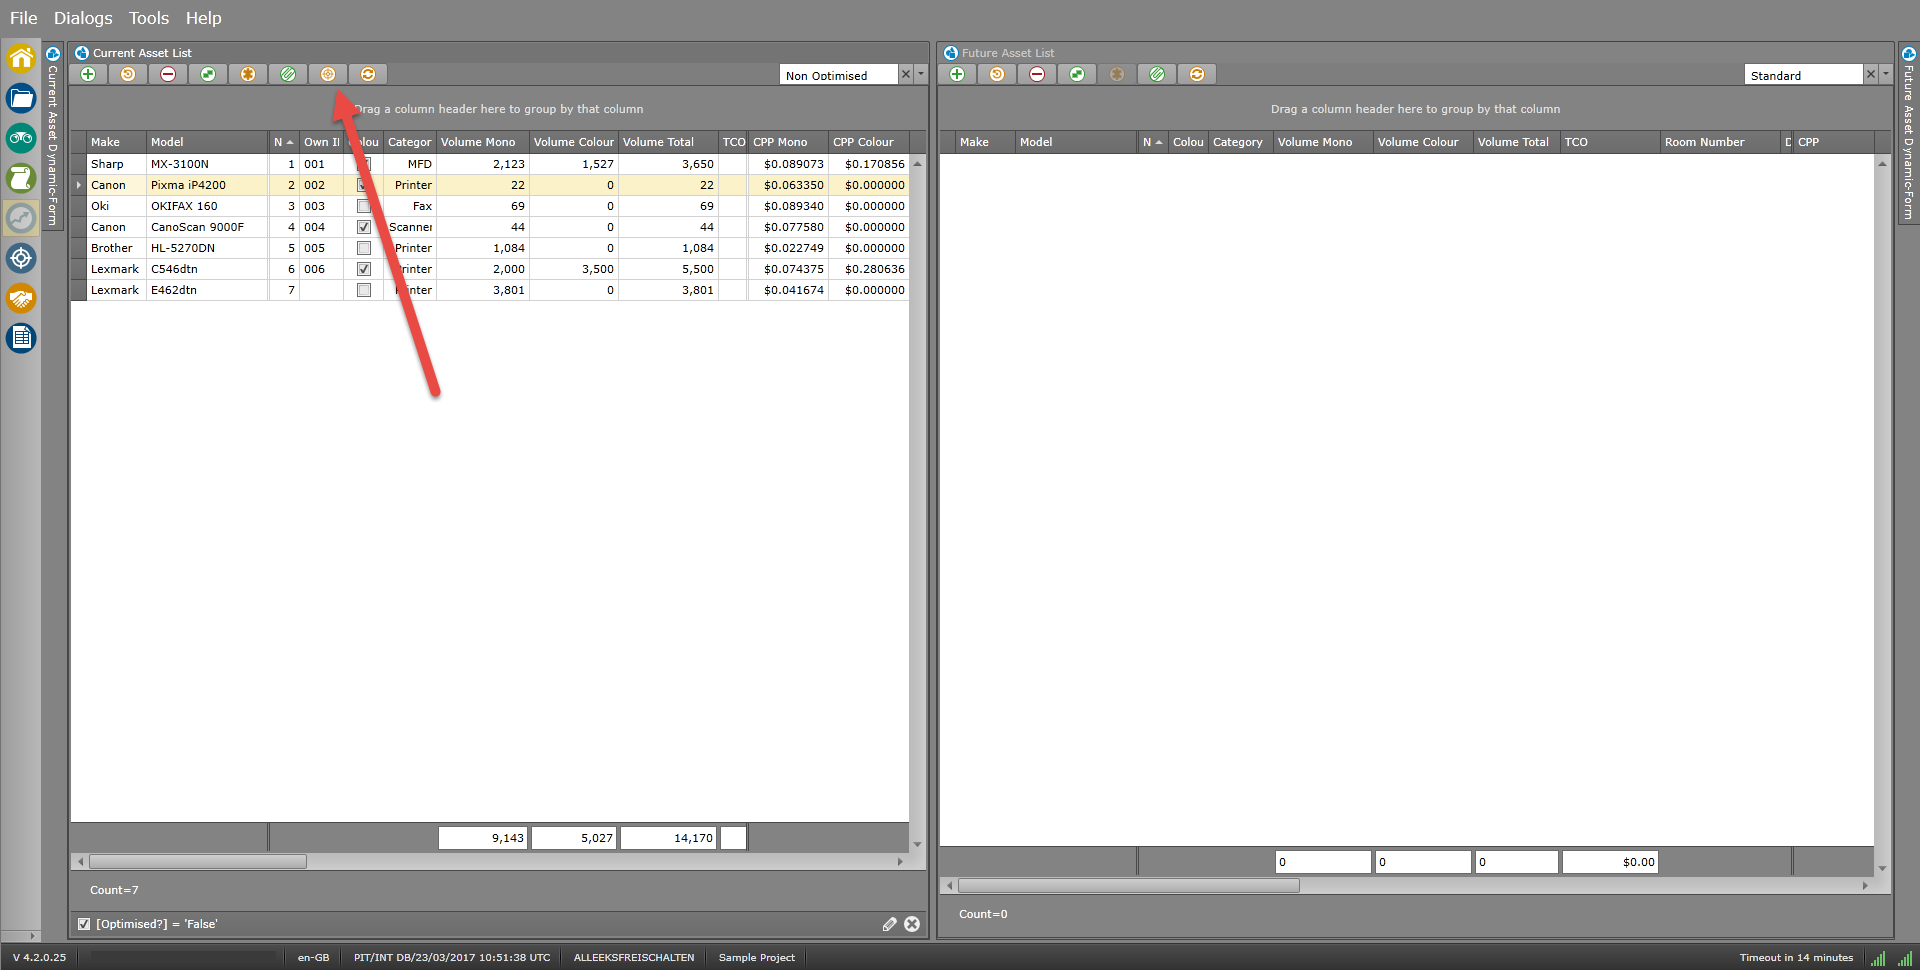
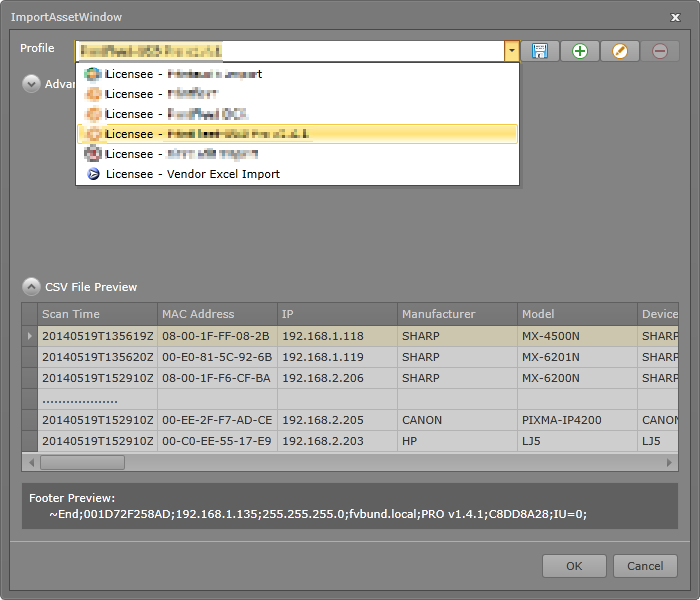
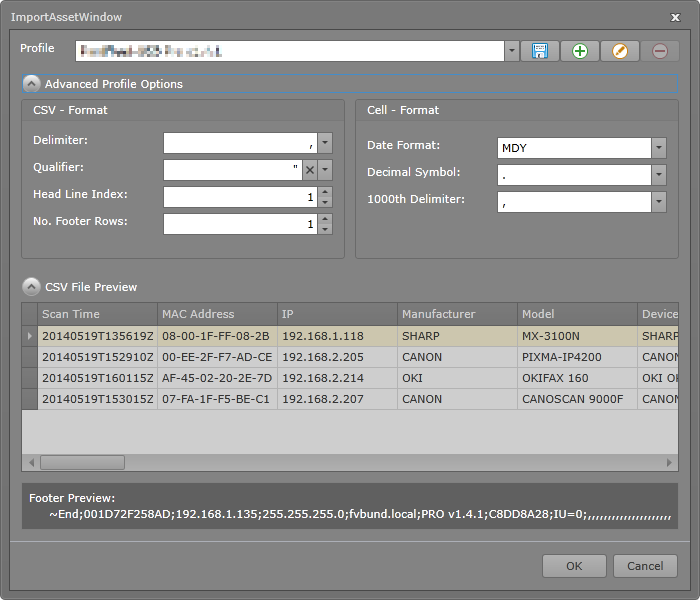
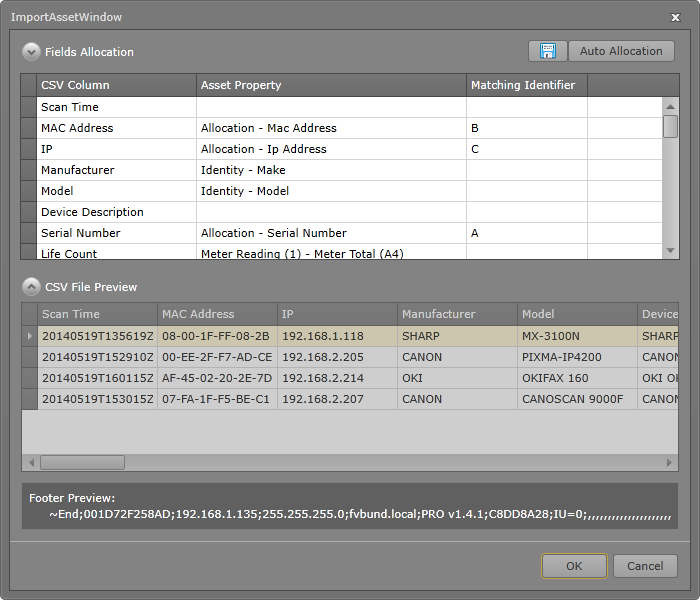
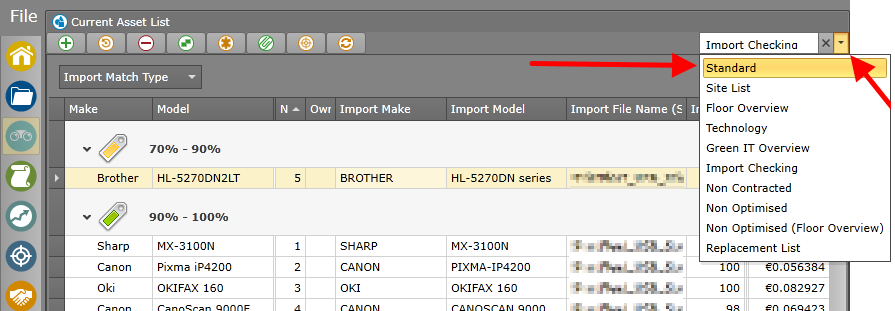
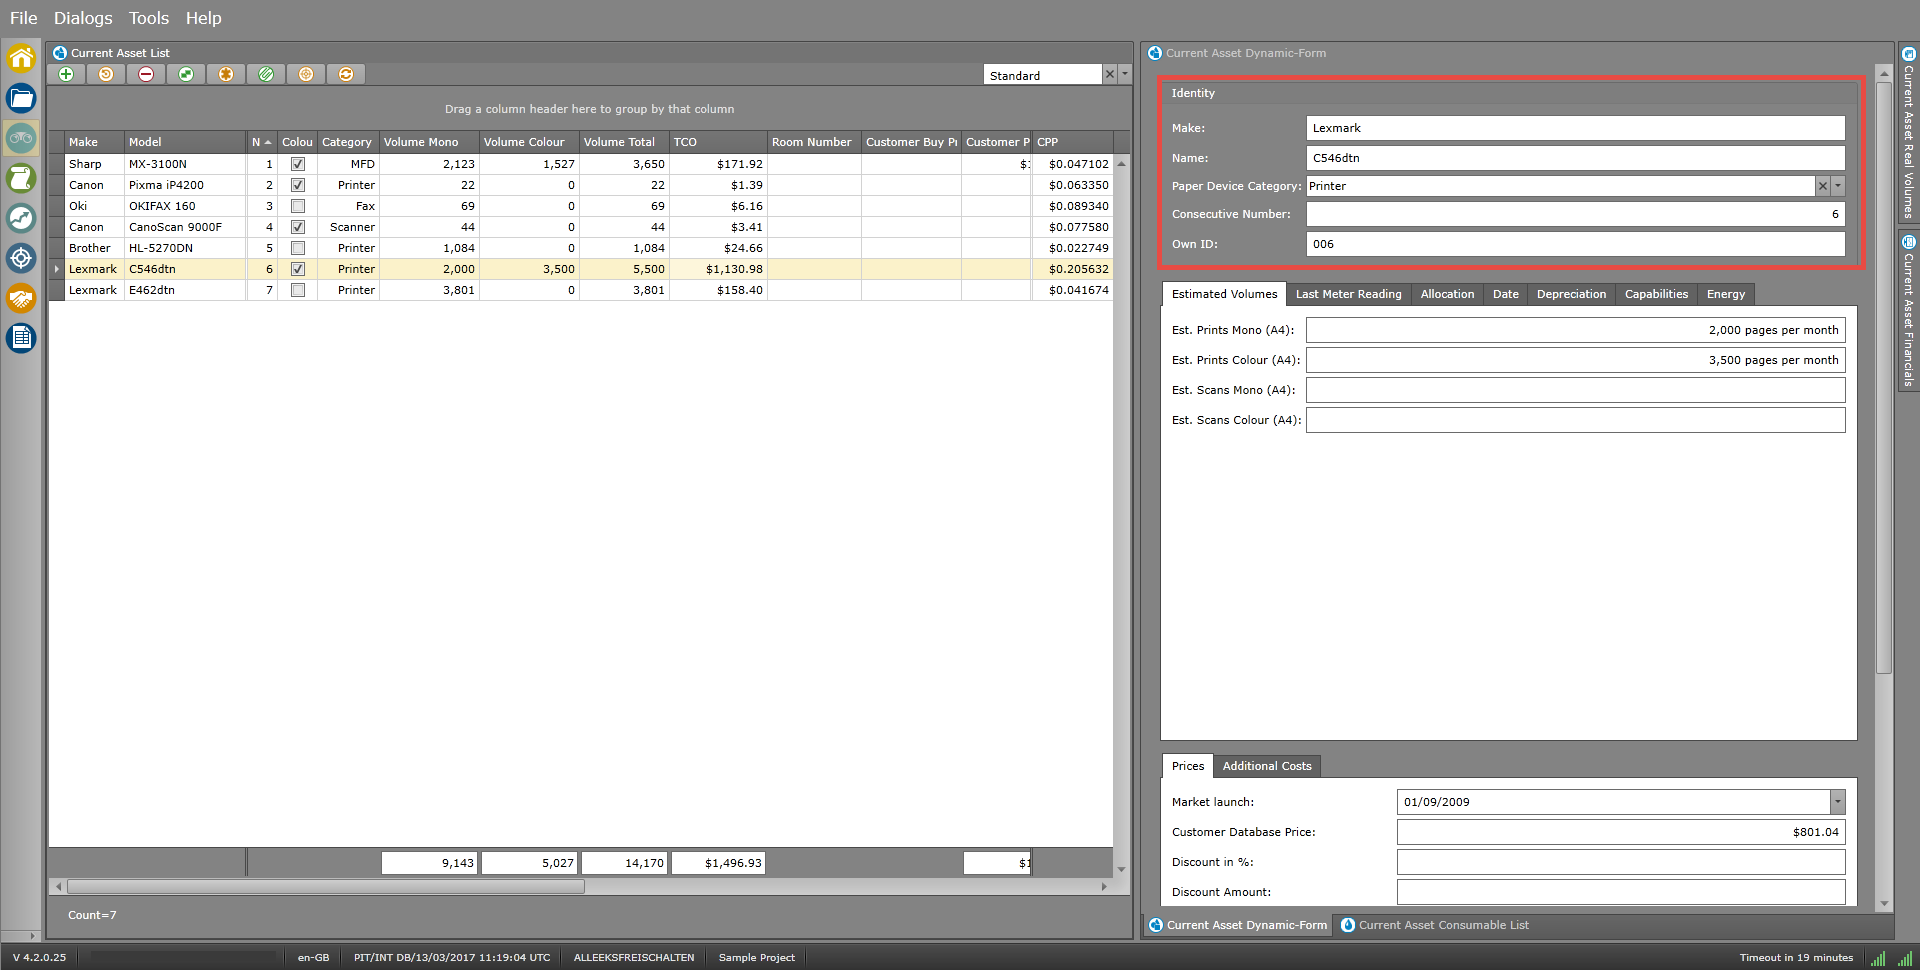
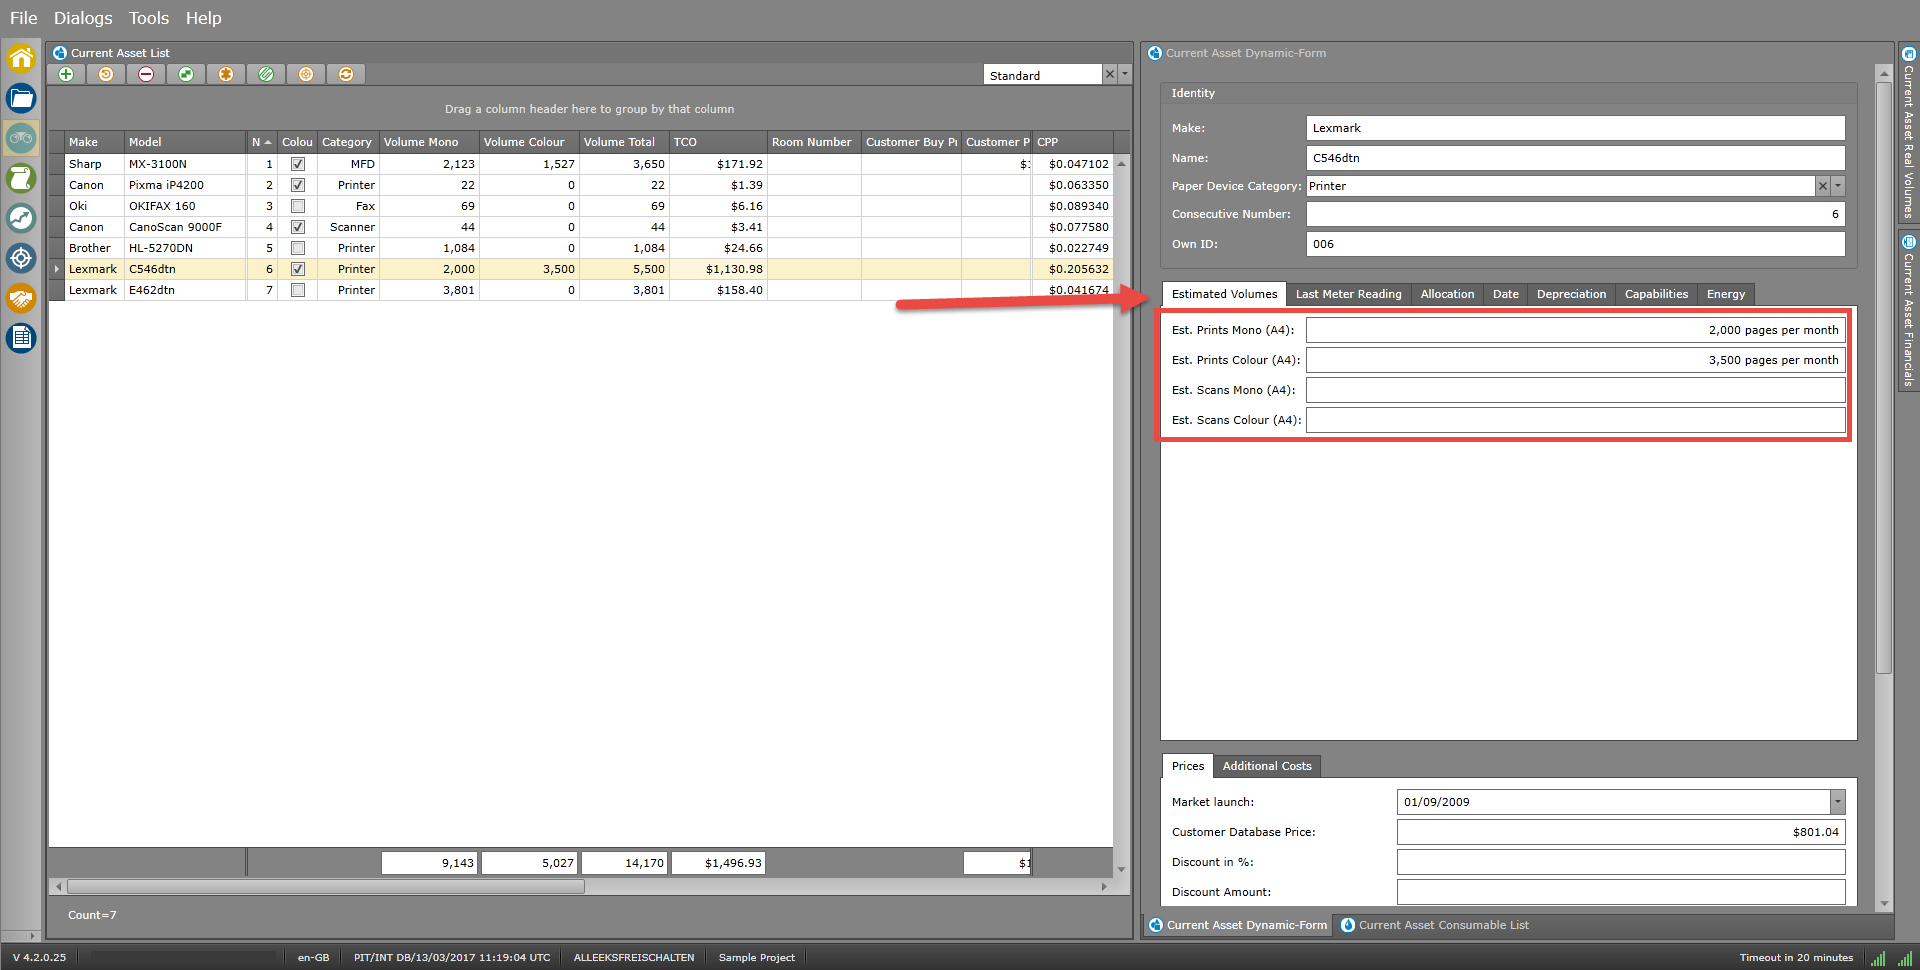
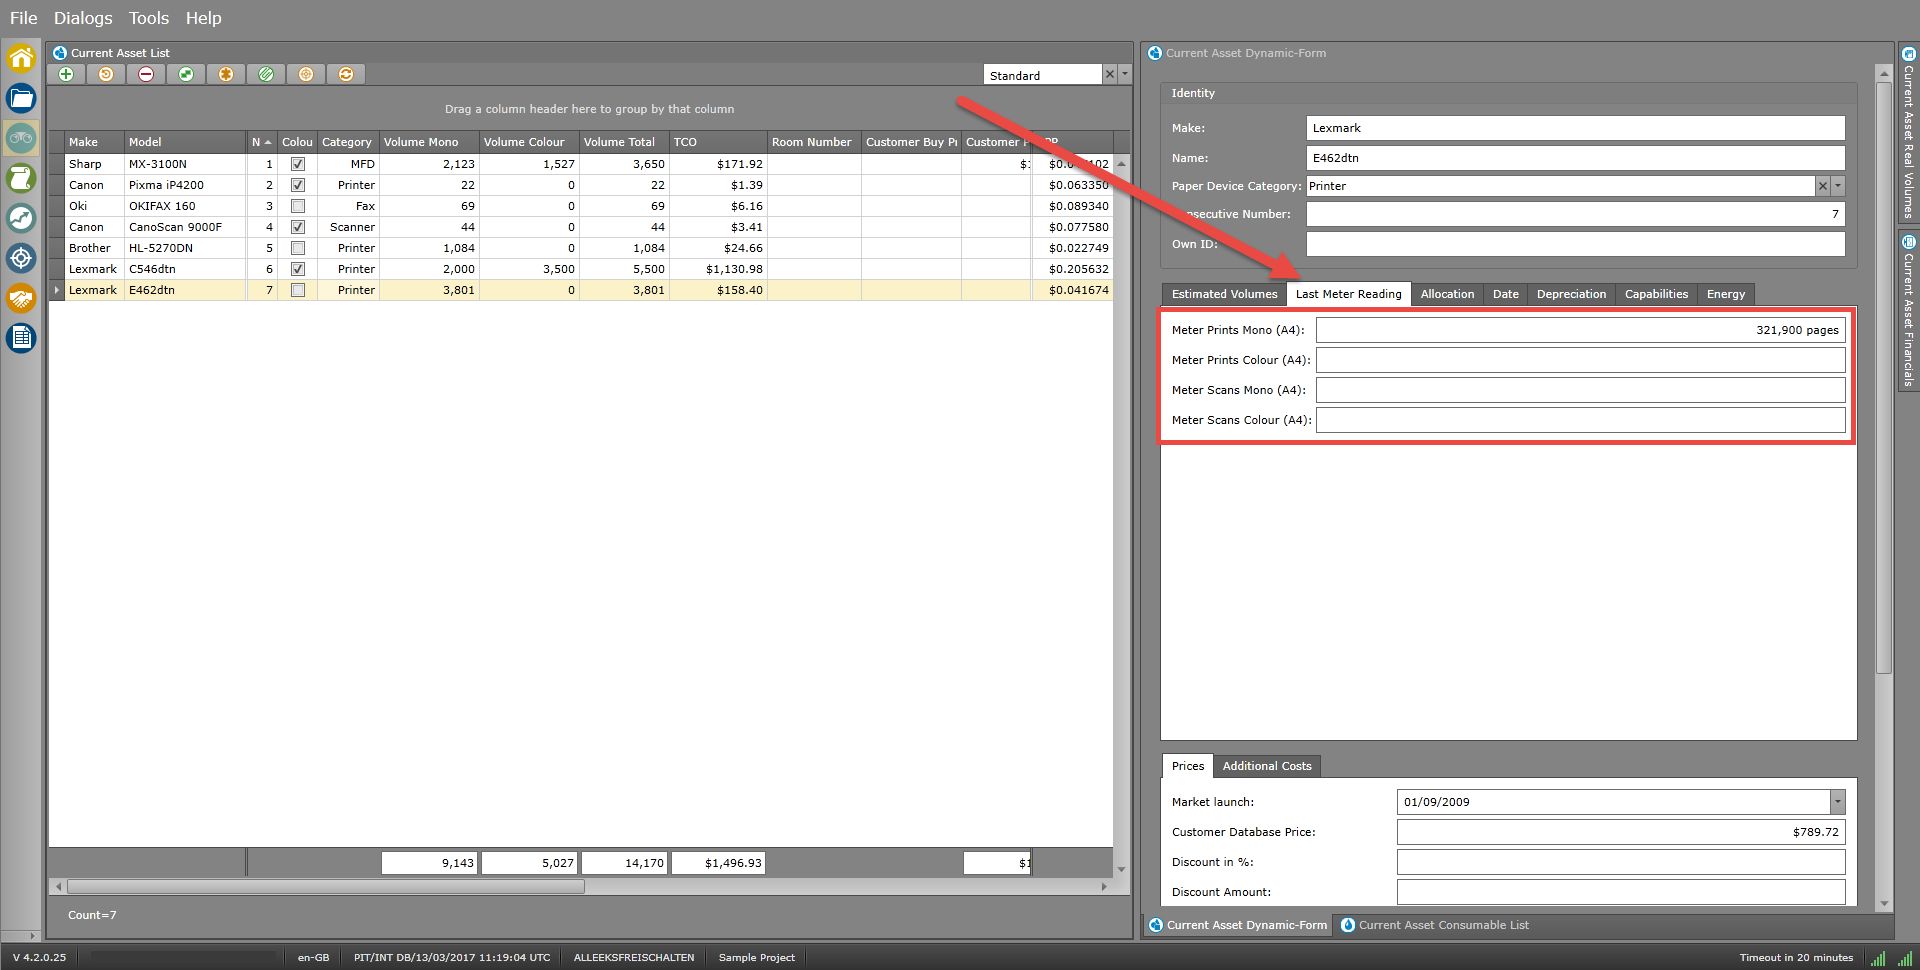
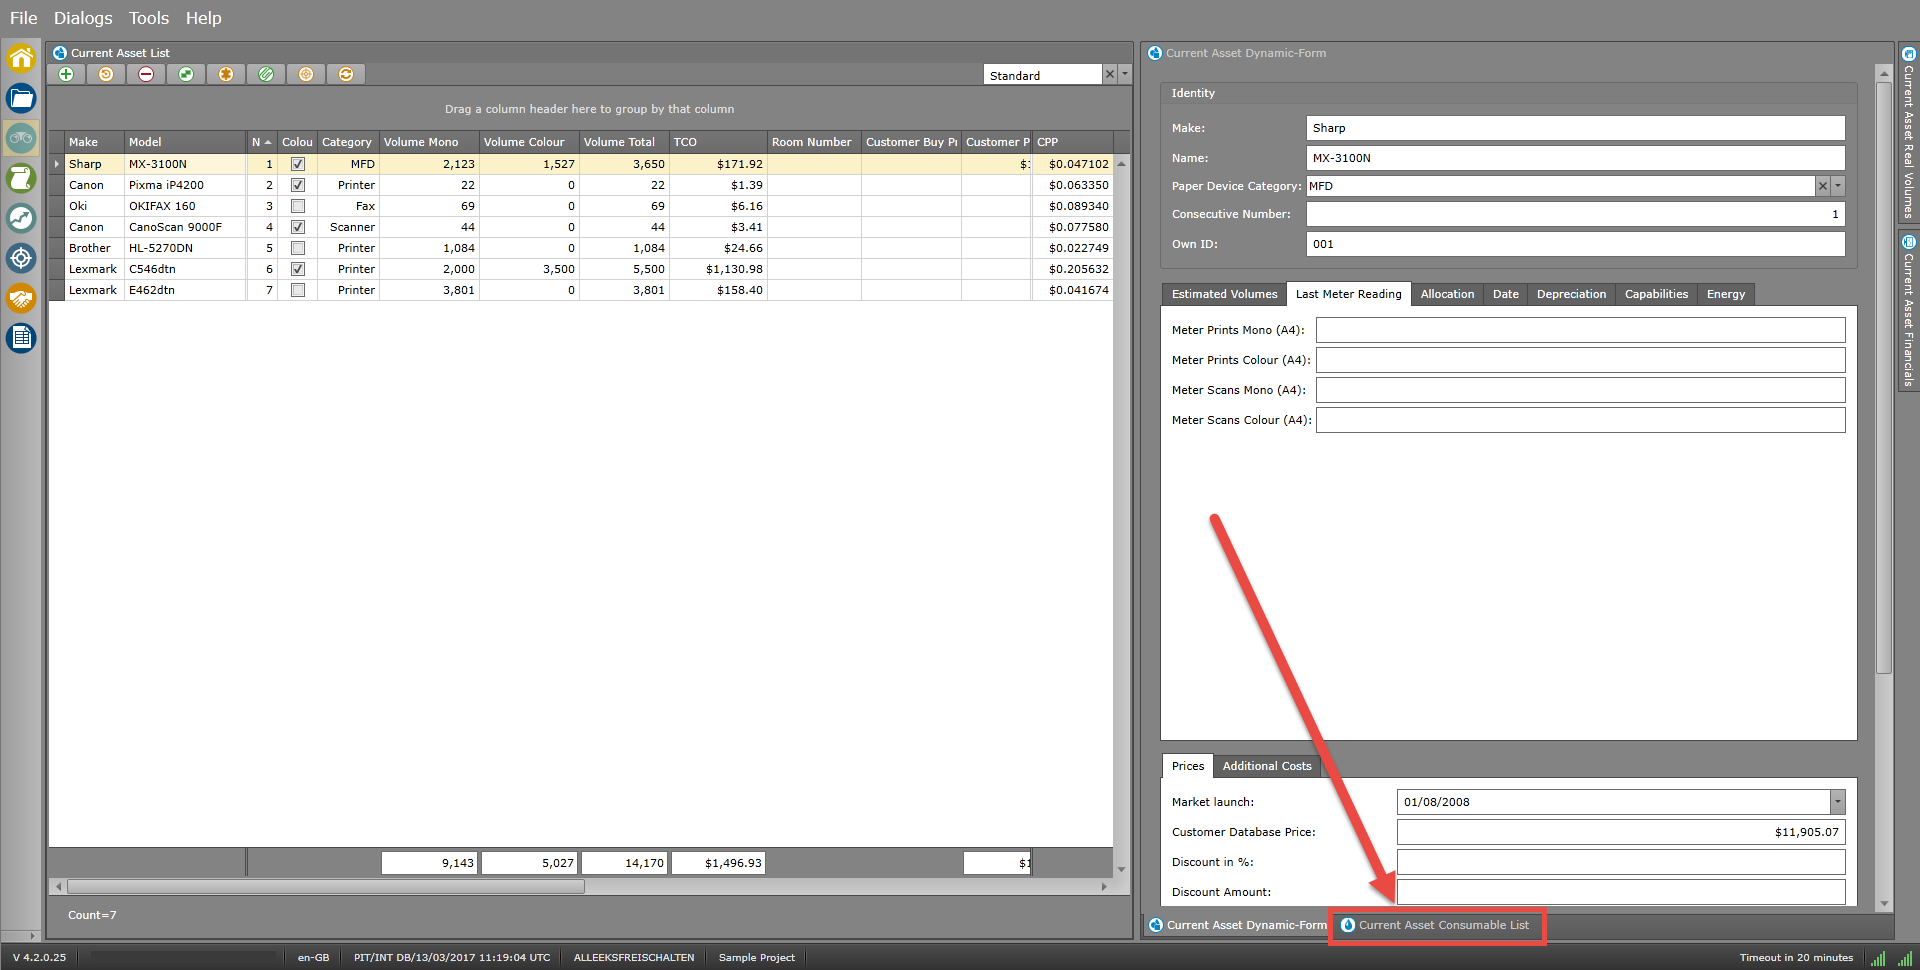
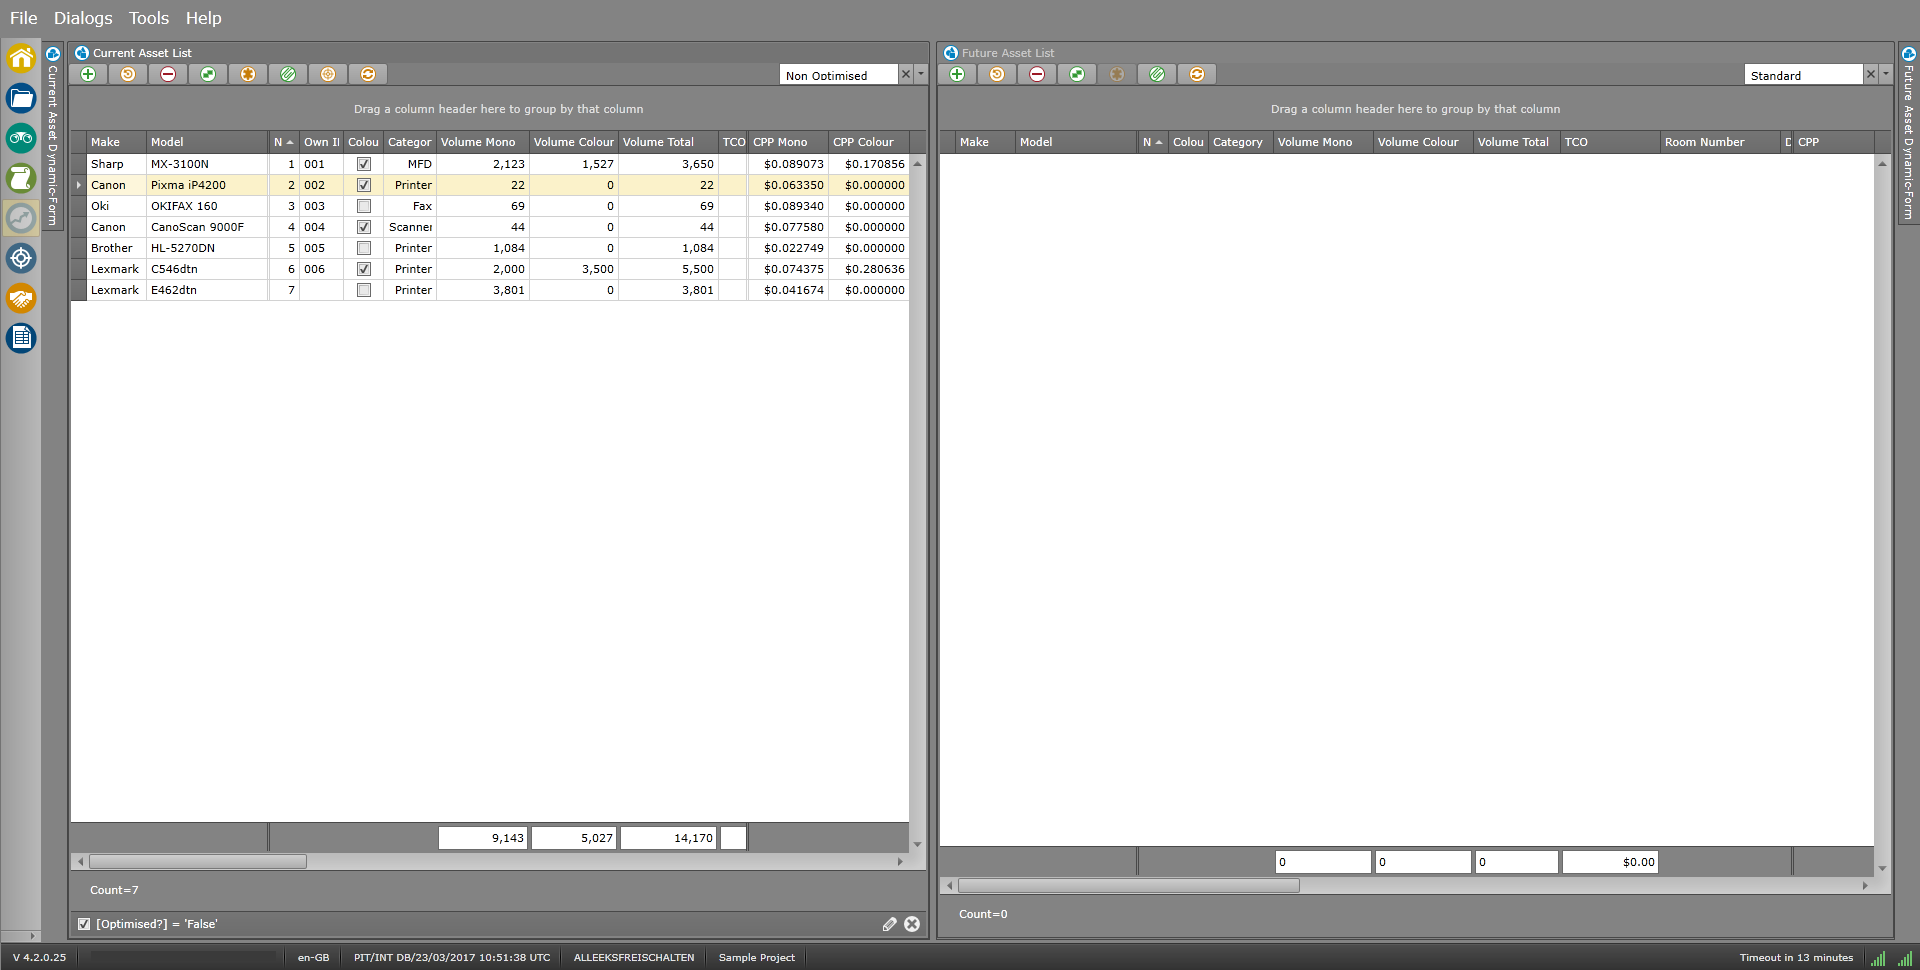
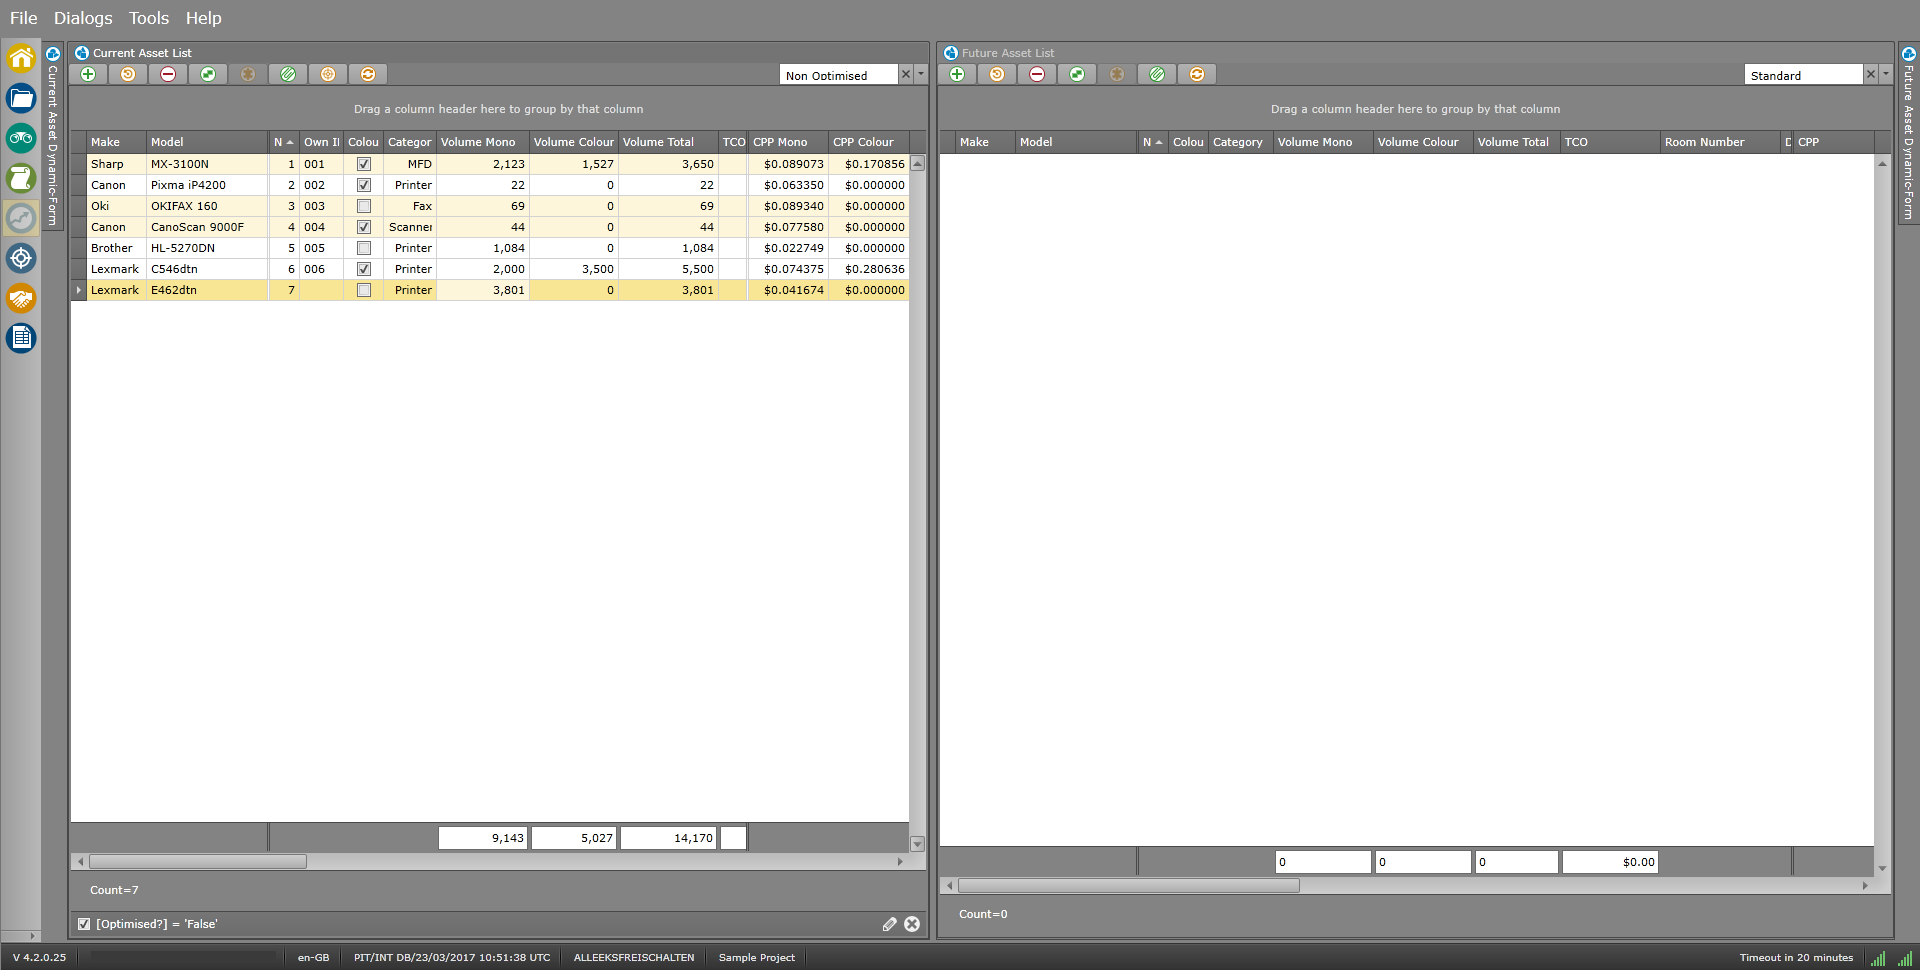
 on top of the Asset List
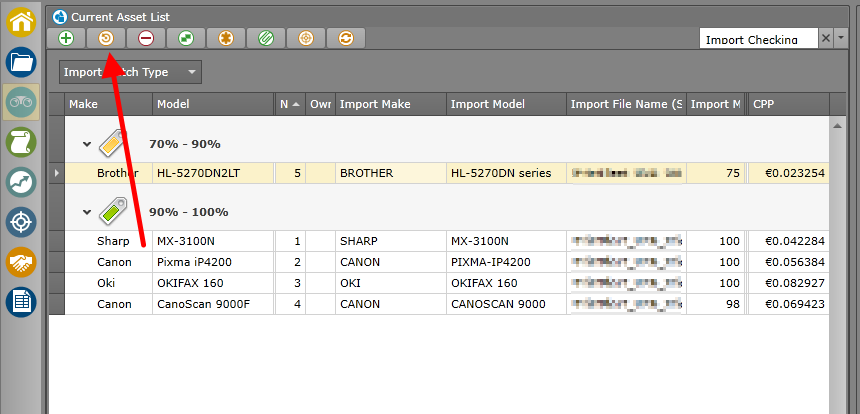 on the action bar
 on top of the Asset List
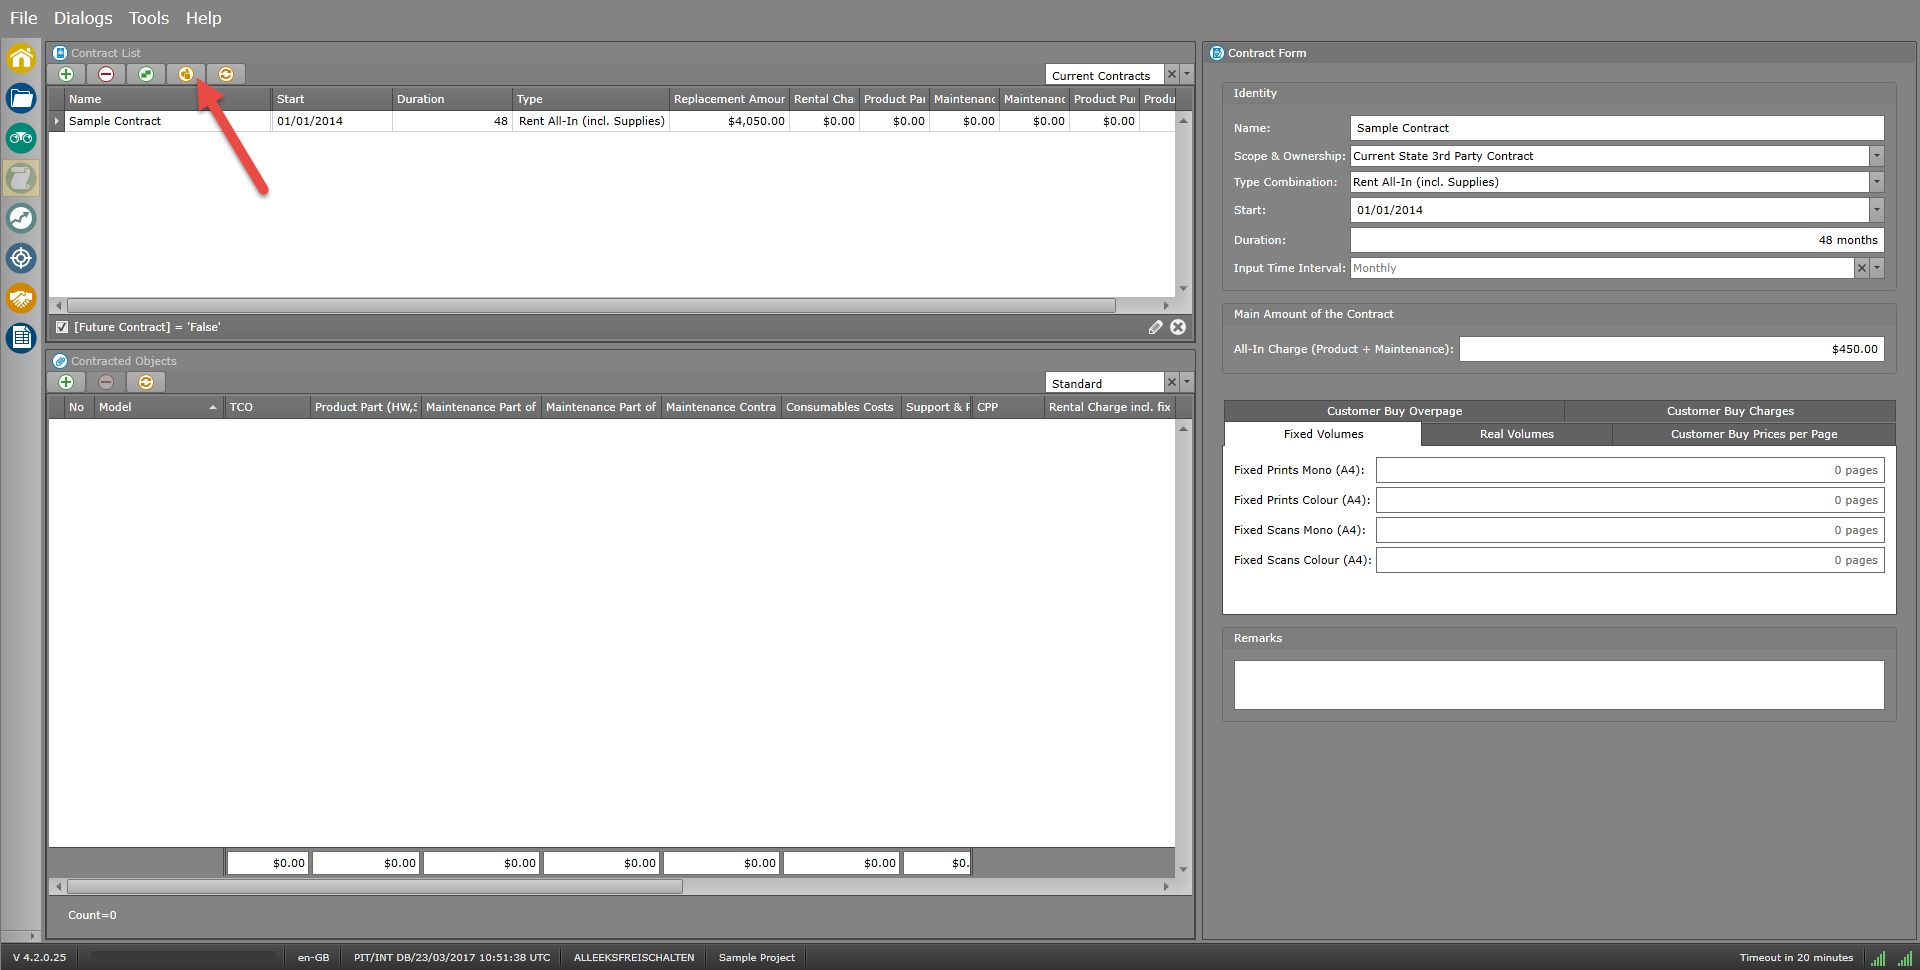
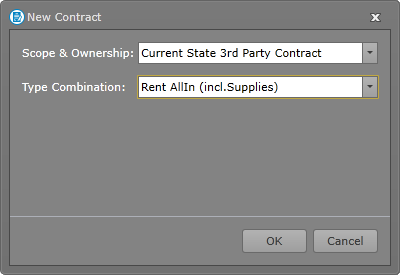
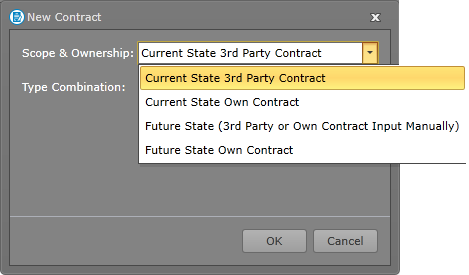
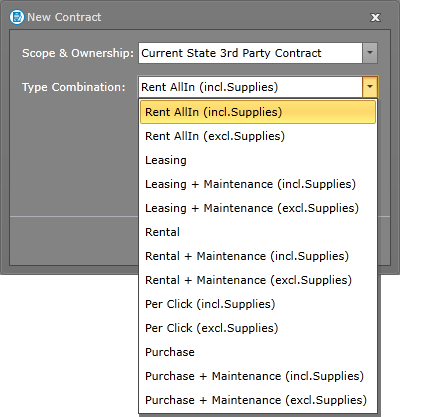
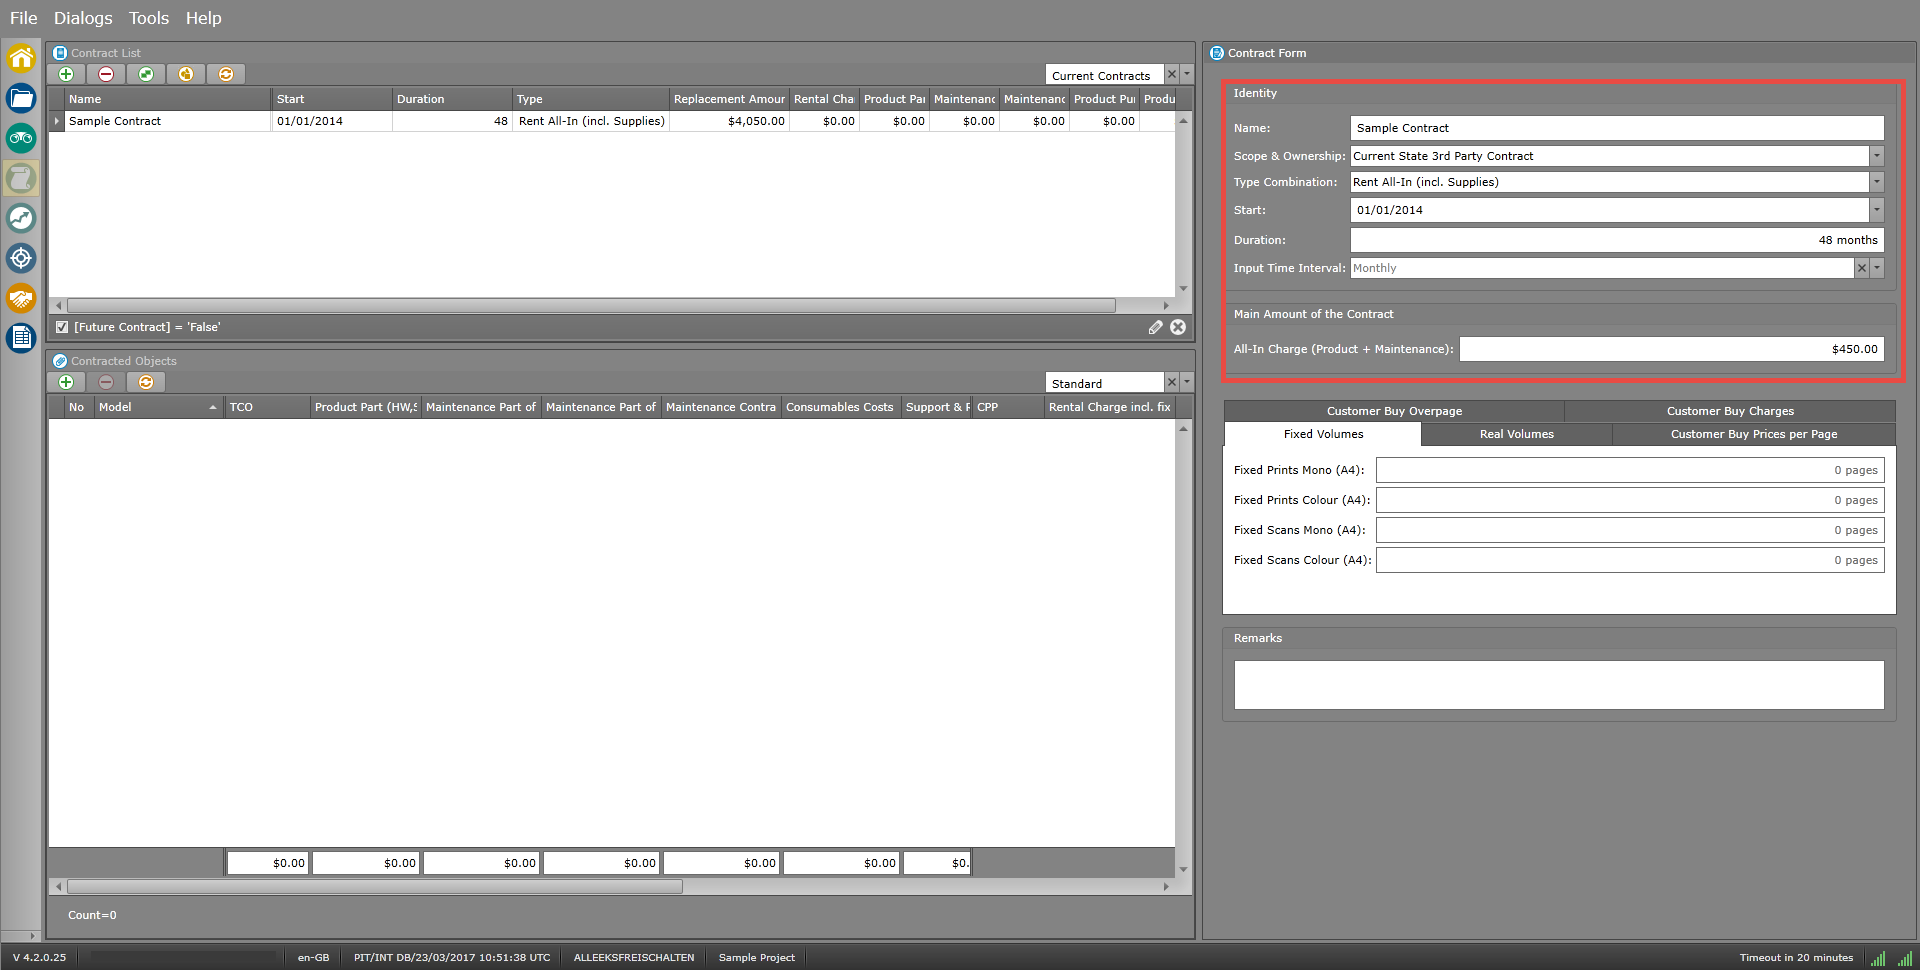
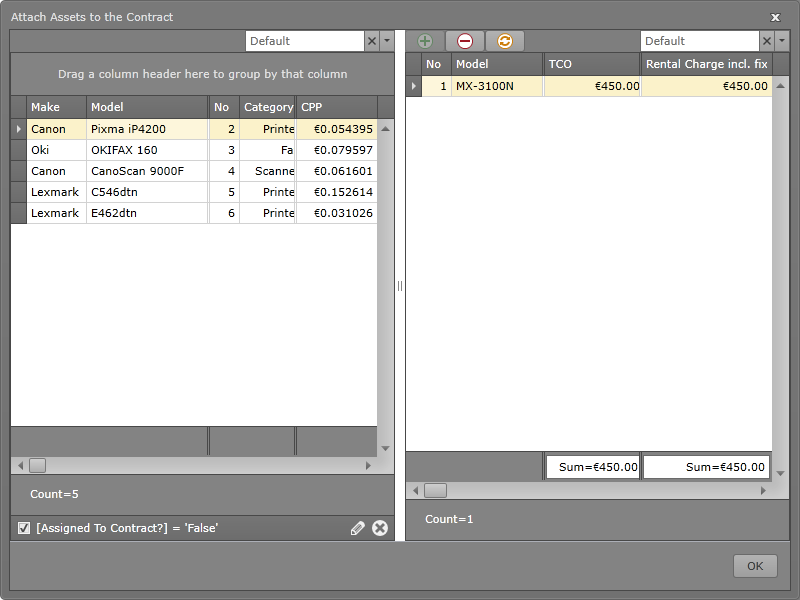
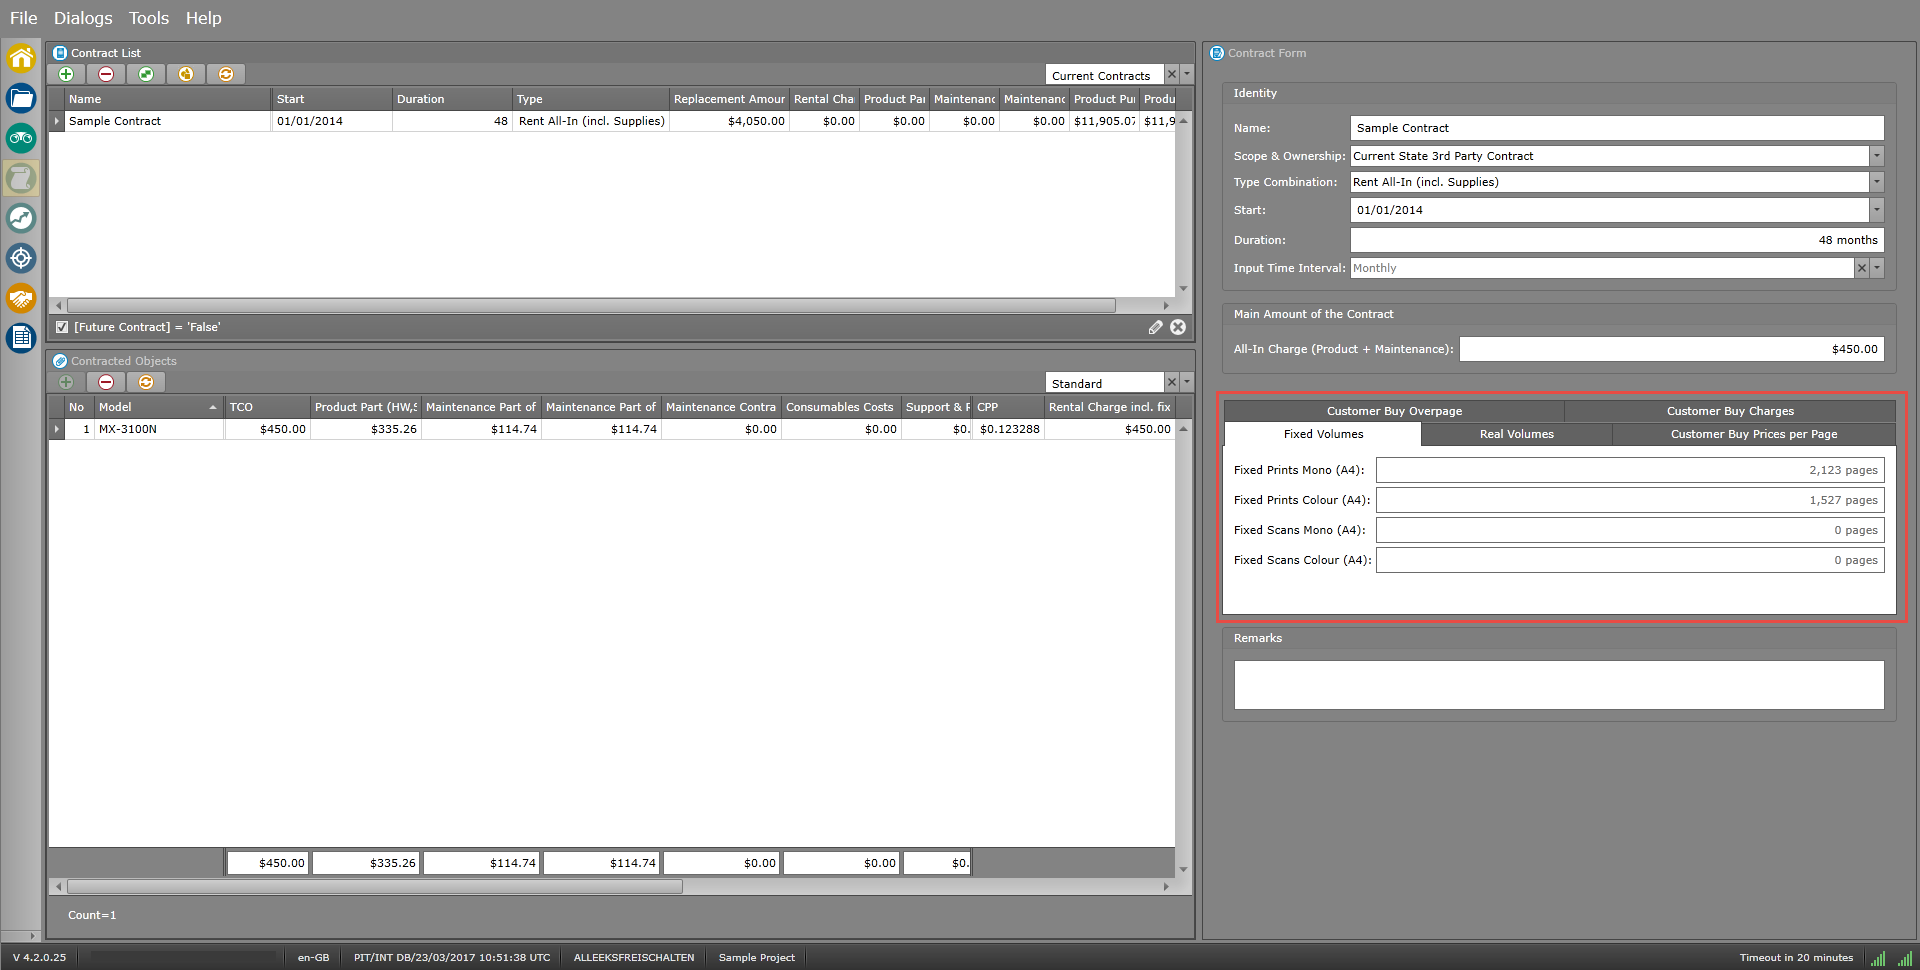
 Current State Contracts
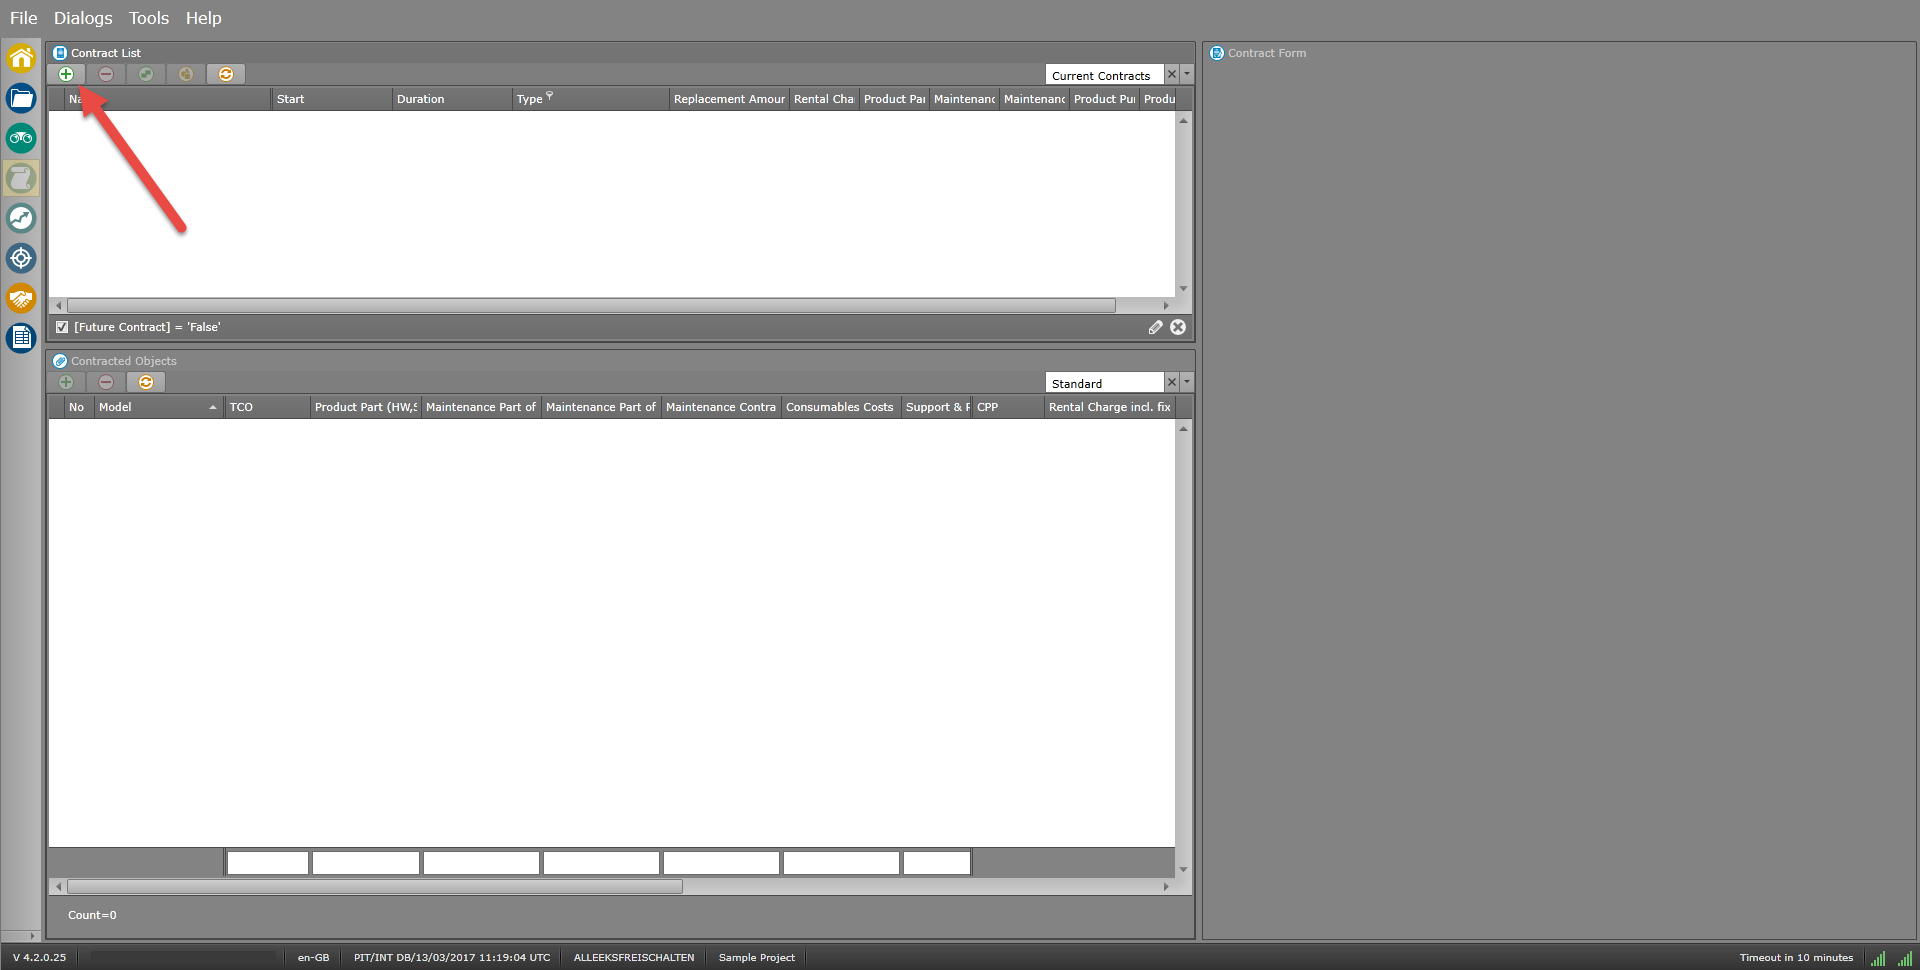 at the top of the Contract List
 Current State Dashboard
This workspace shows graphical information about the current situation and highlights the TCO
Utilization Rate:
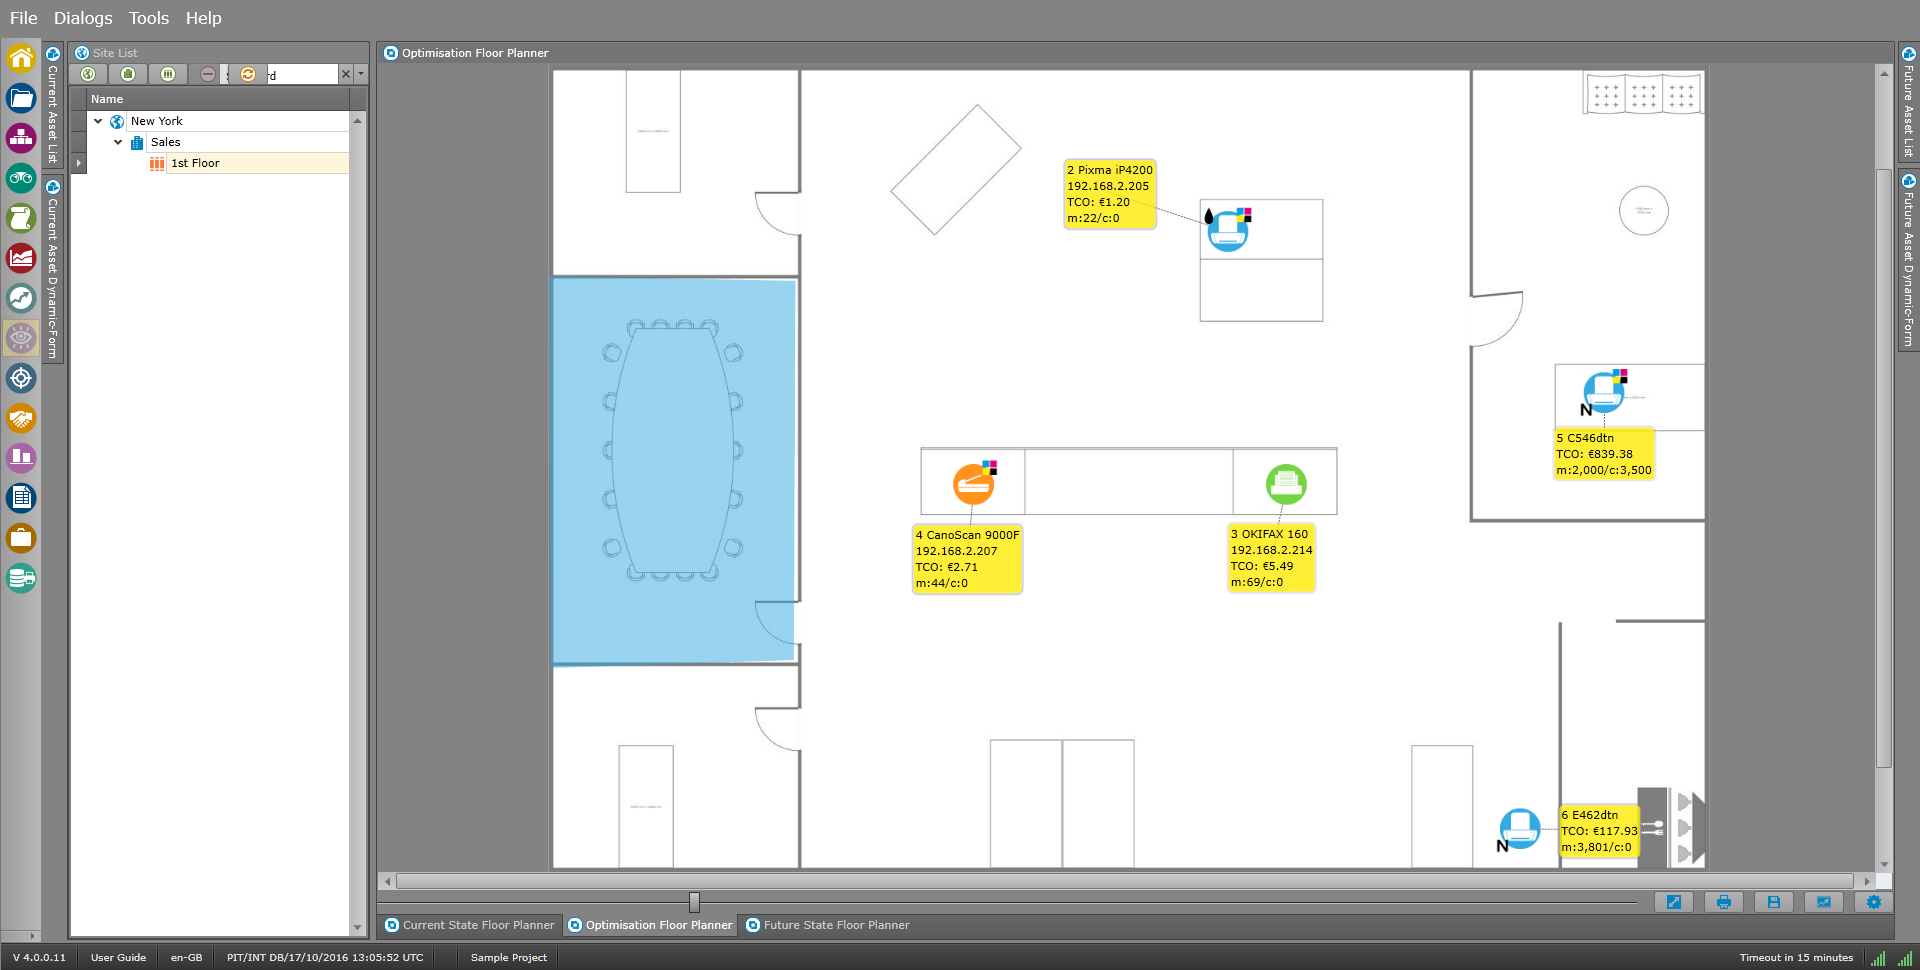
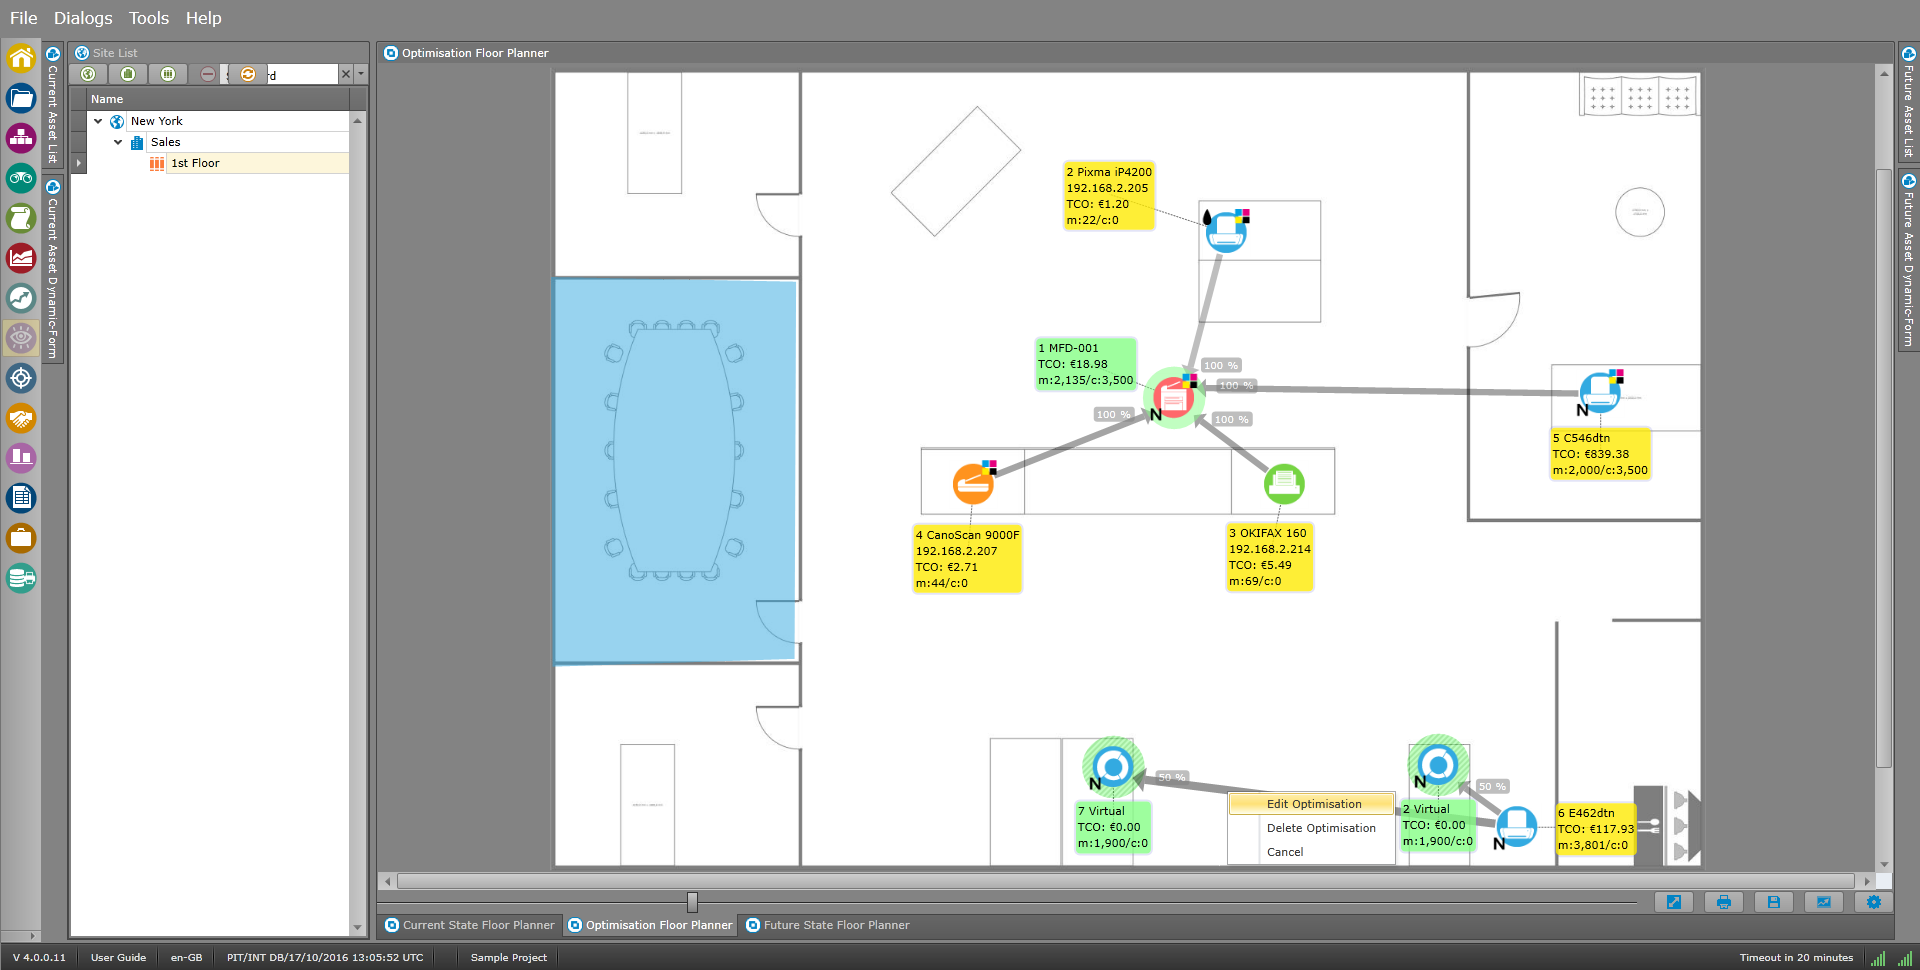
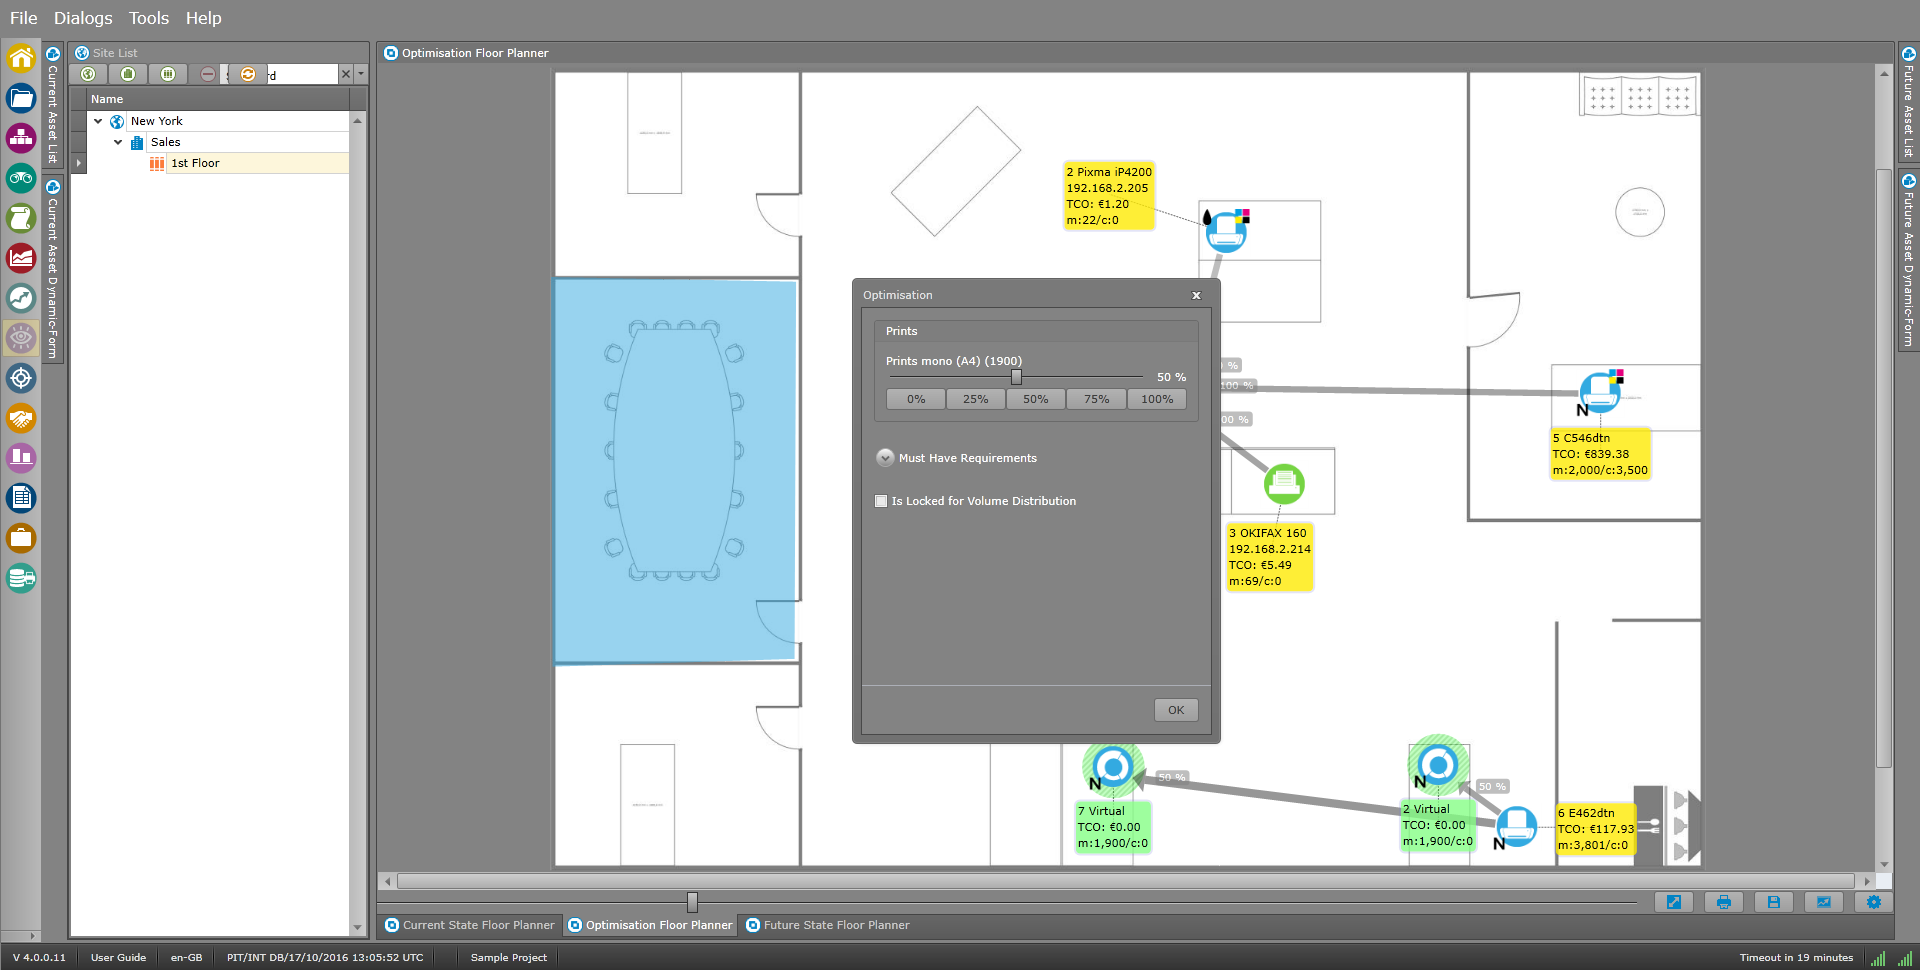
 Optimisation
The optimisation workspace is structured in 2 halves:
 Visual Optimisation
As soon as the devices are placed in a floor plan, they can be optimized within the “Visual Optimisation”.
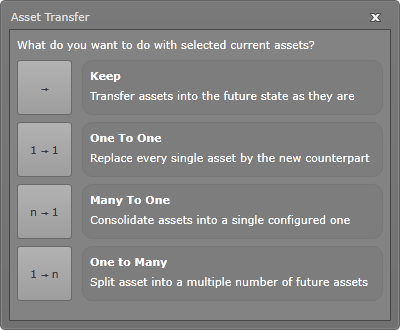
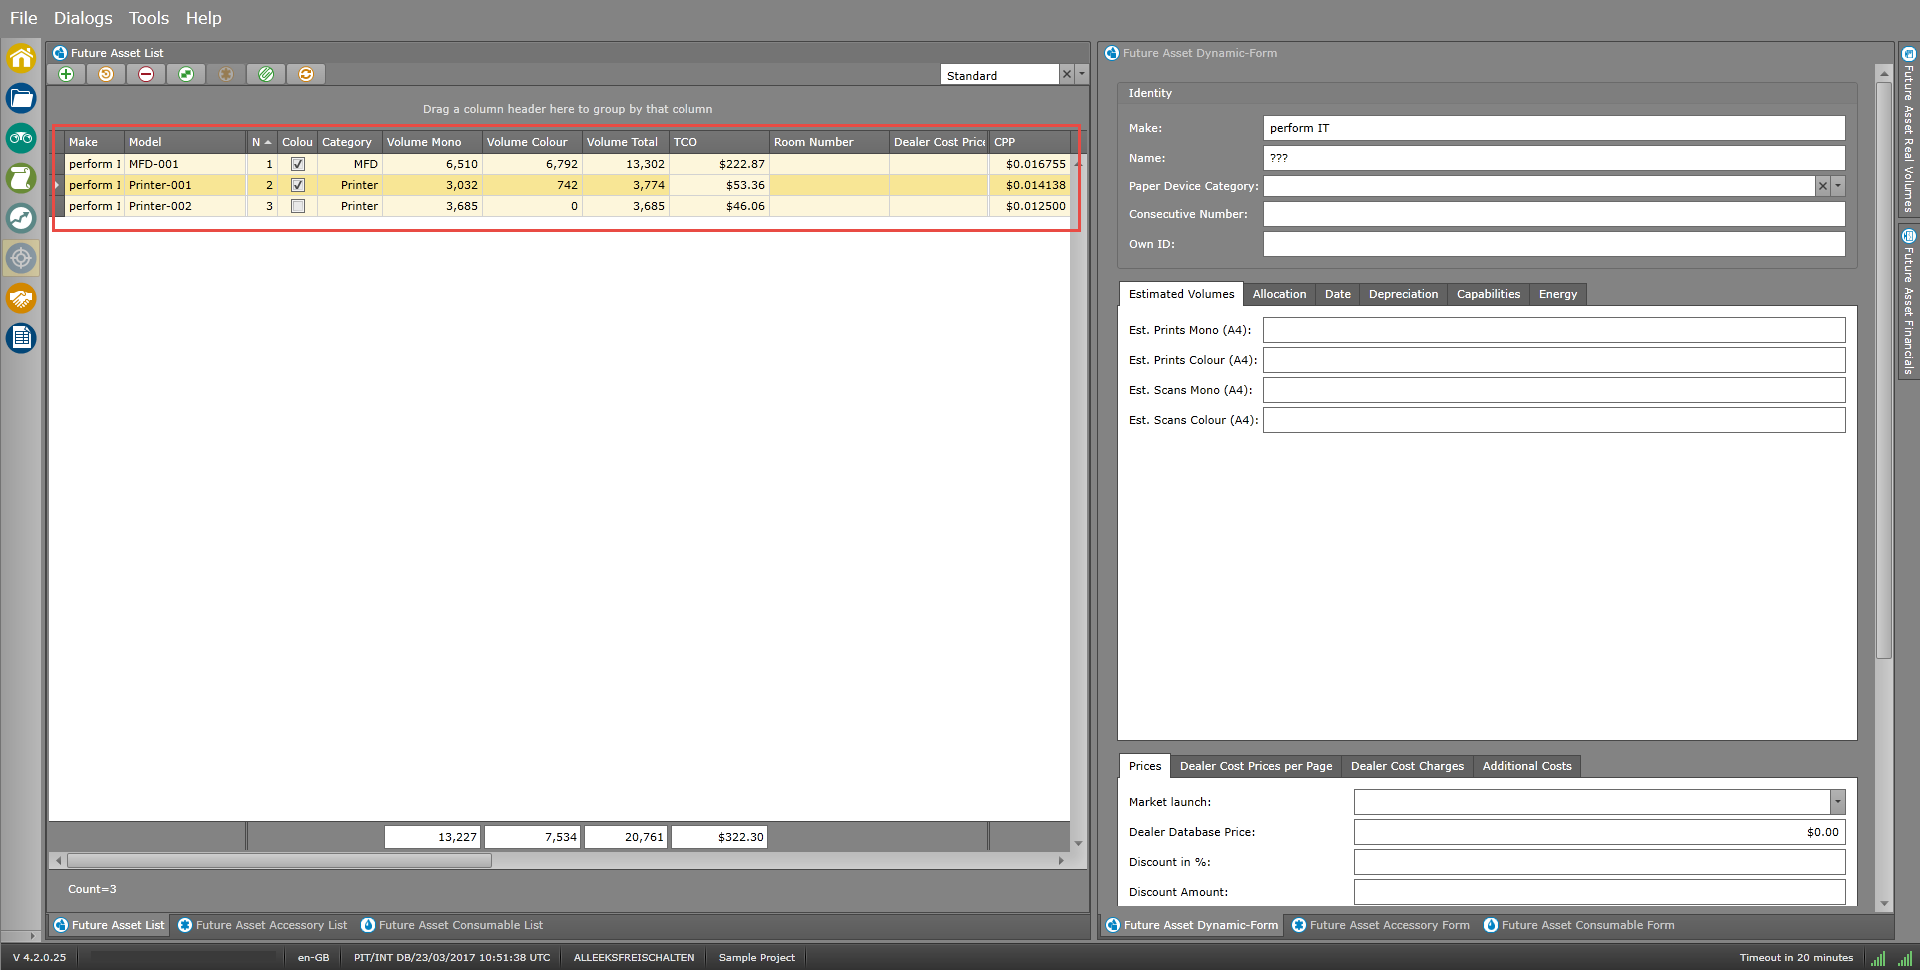
 Future State Assets
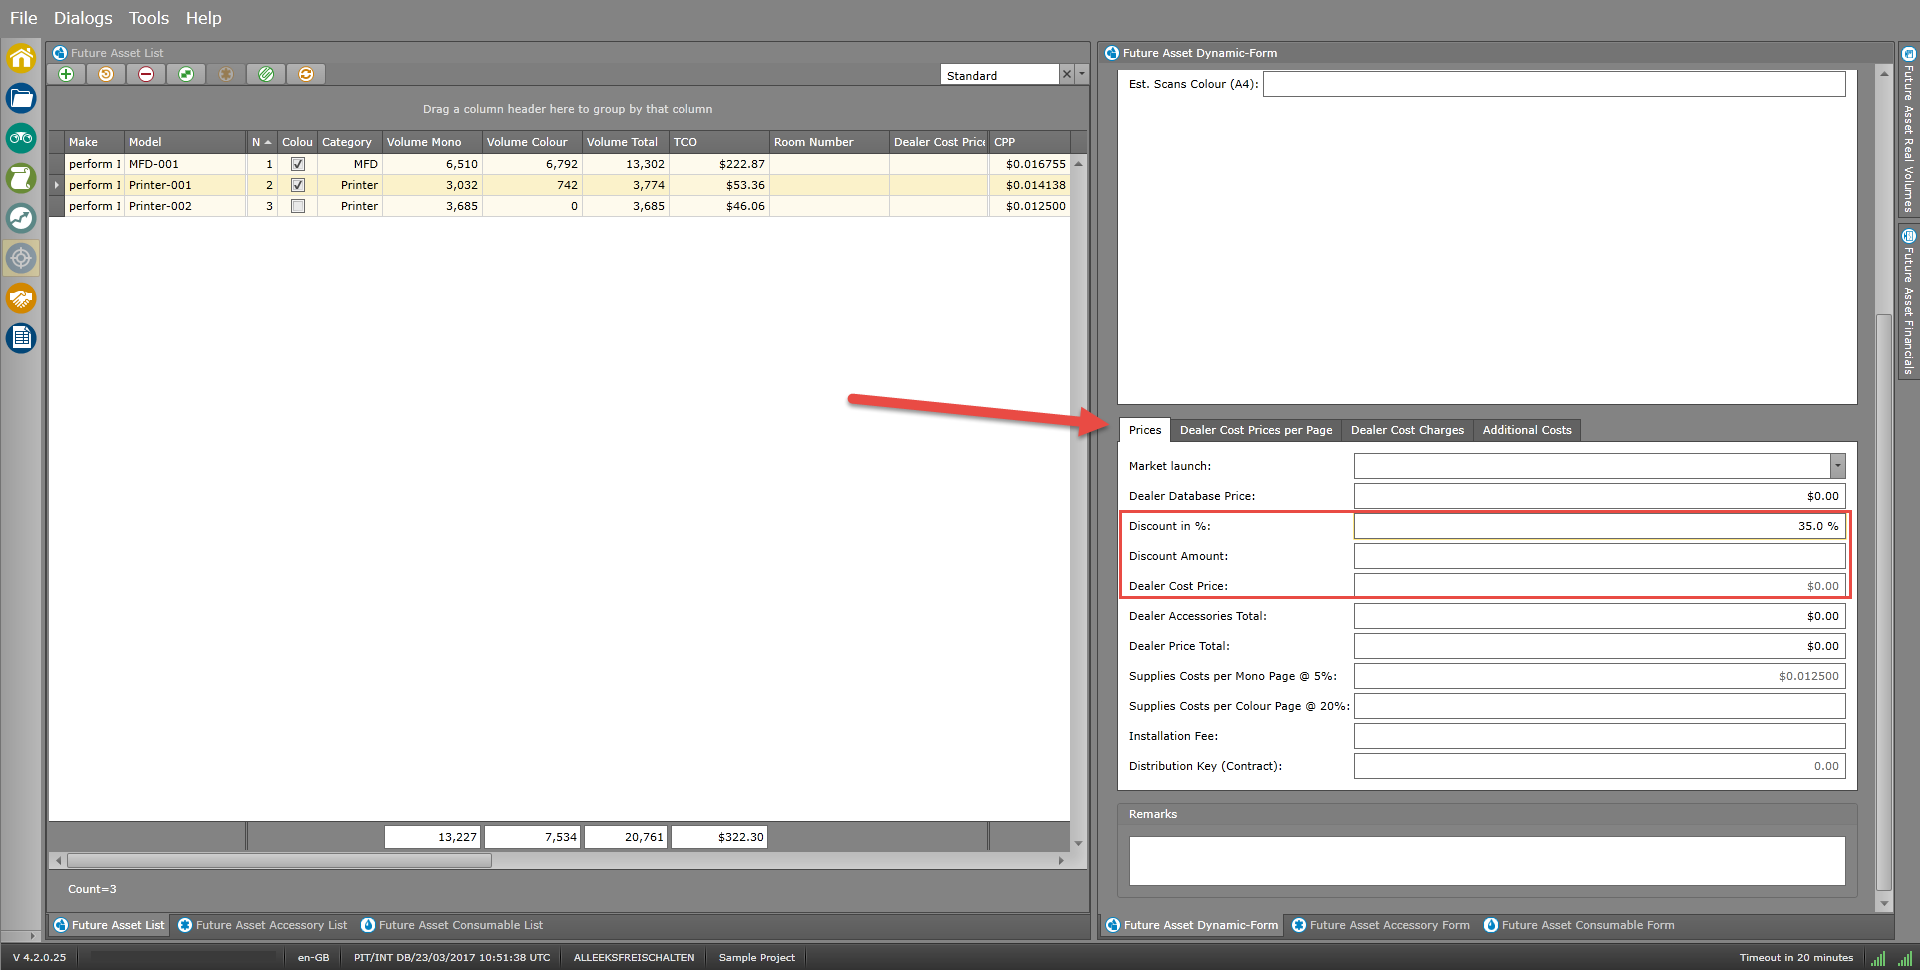
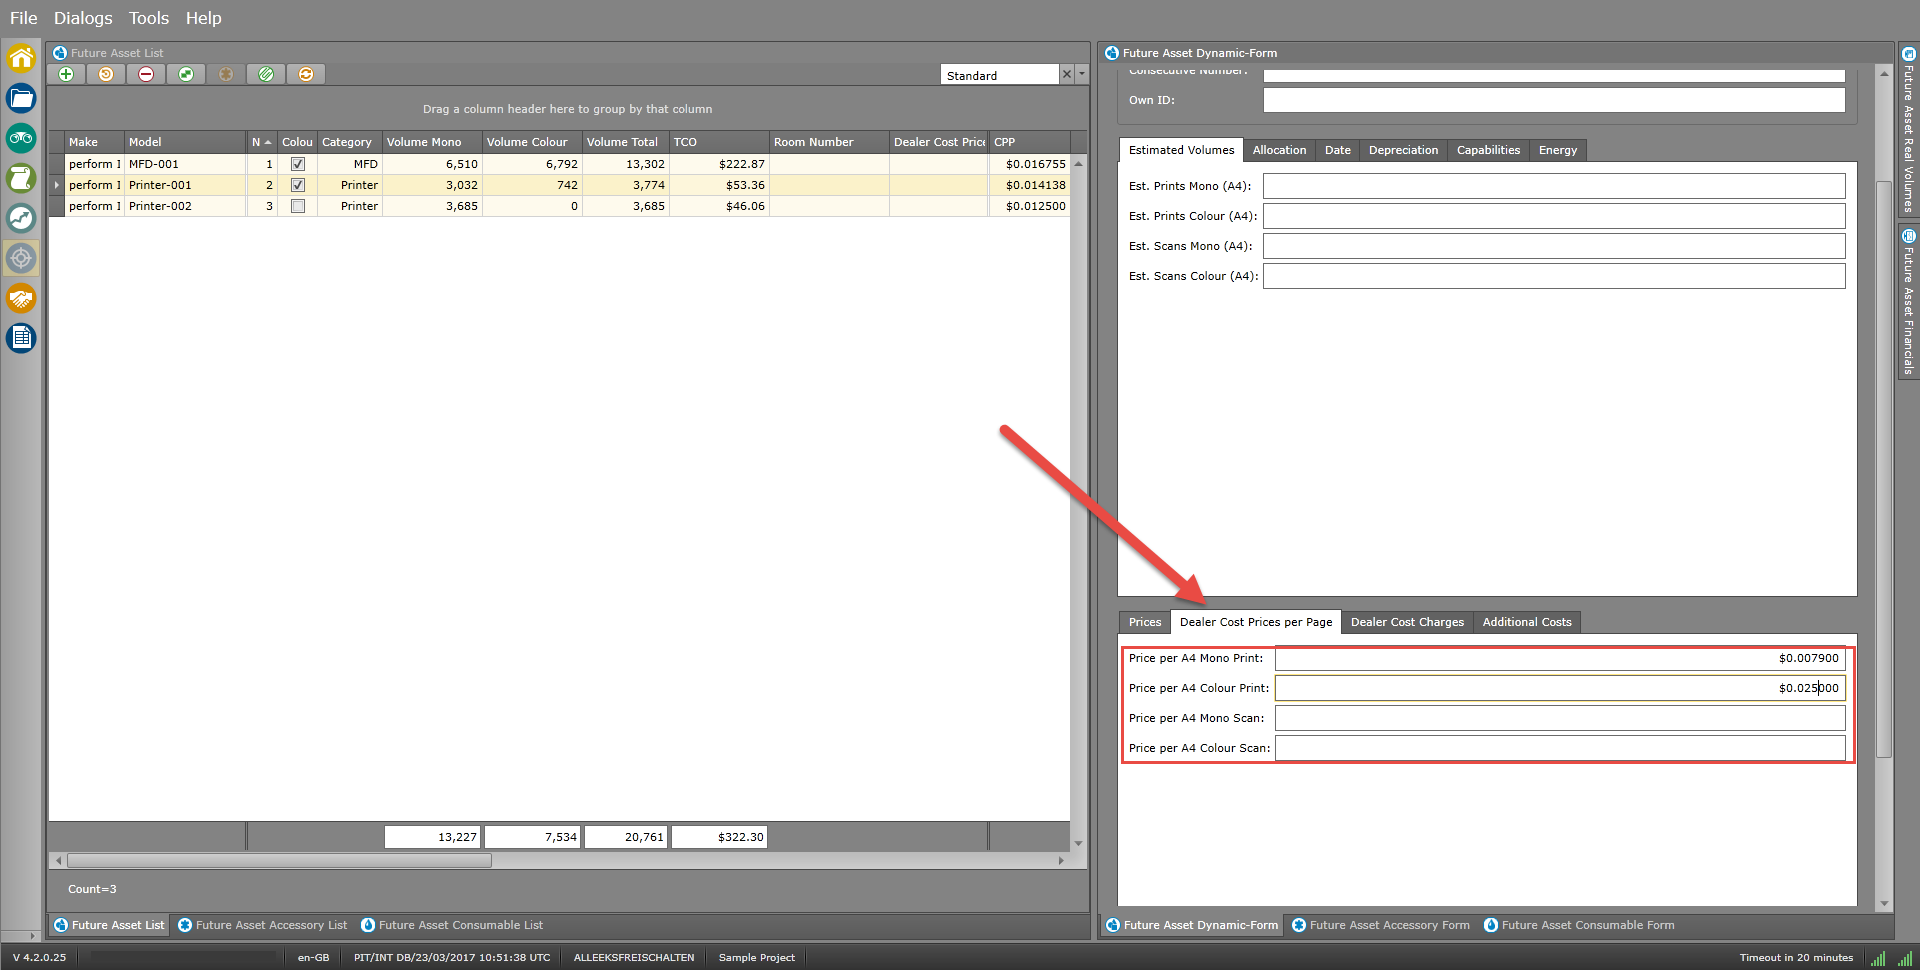
Distribute commercial data for the new devices
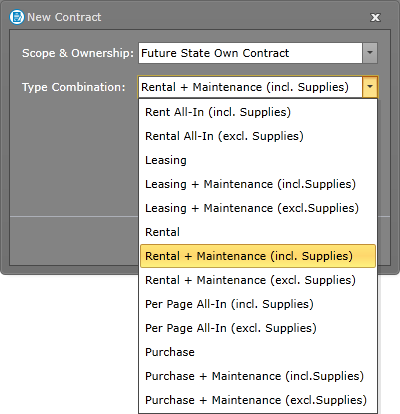
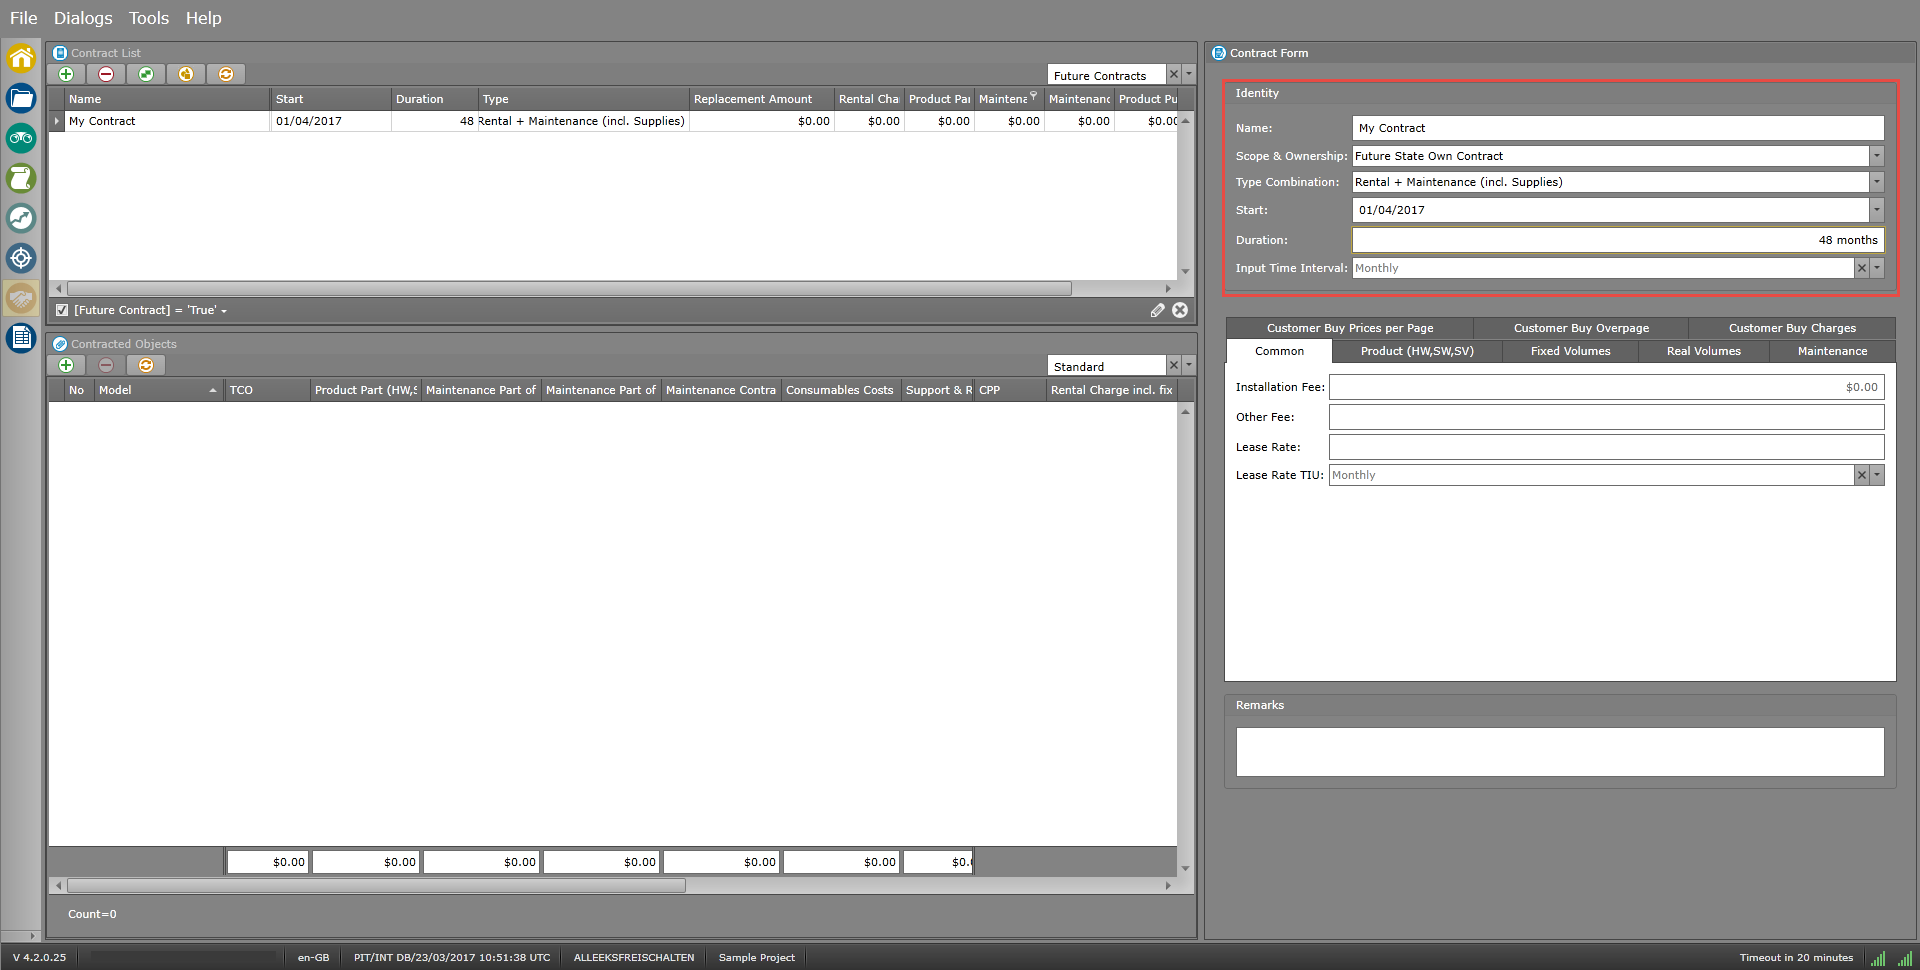
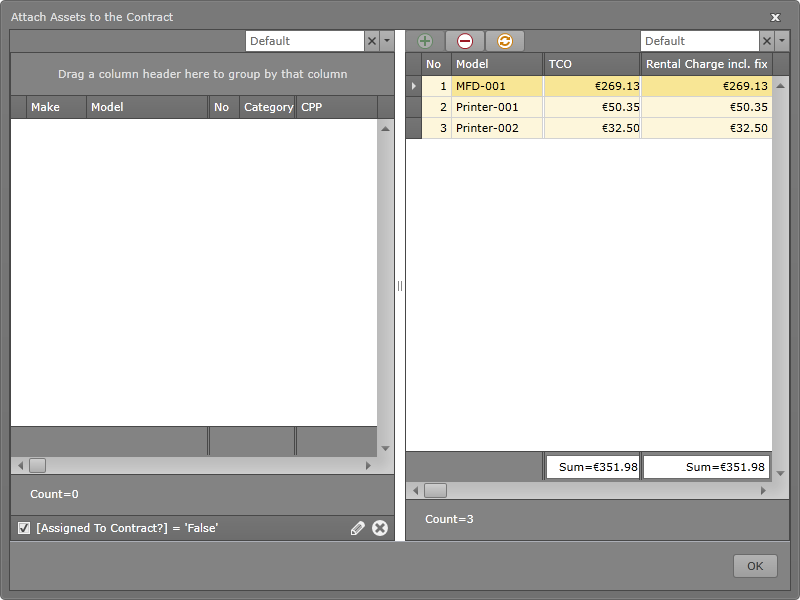
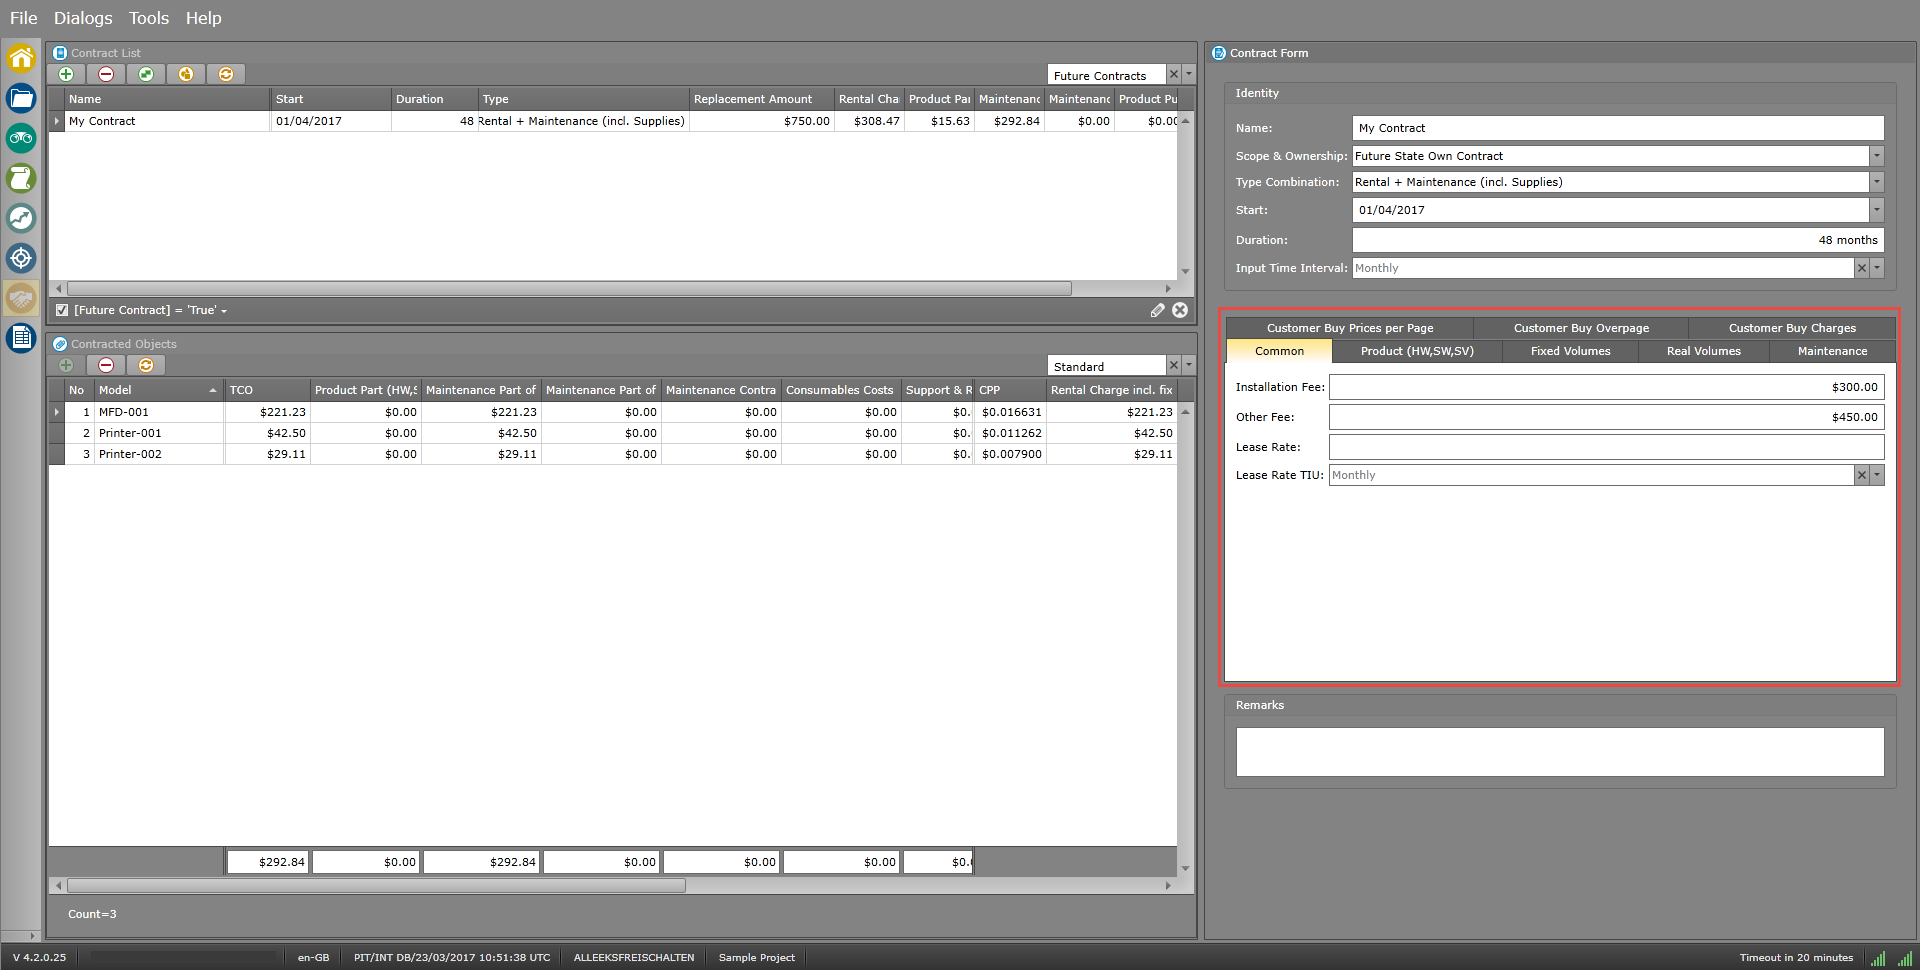
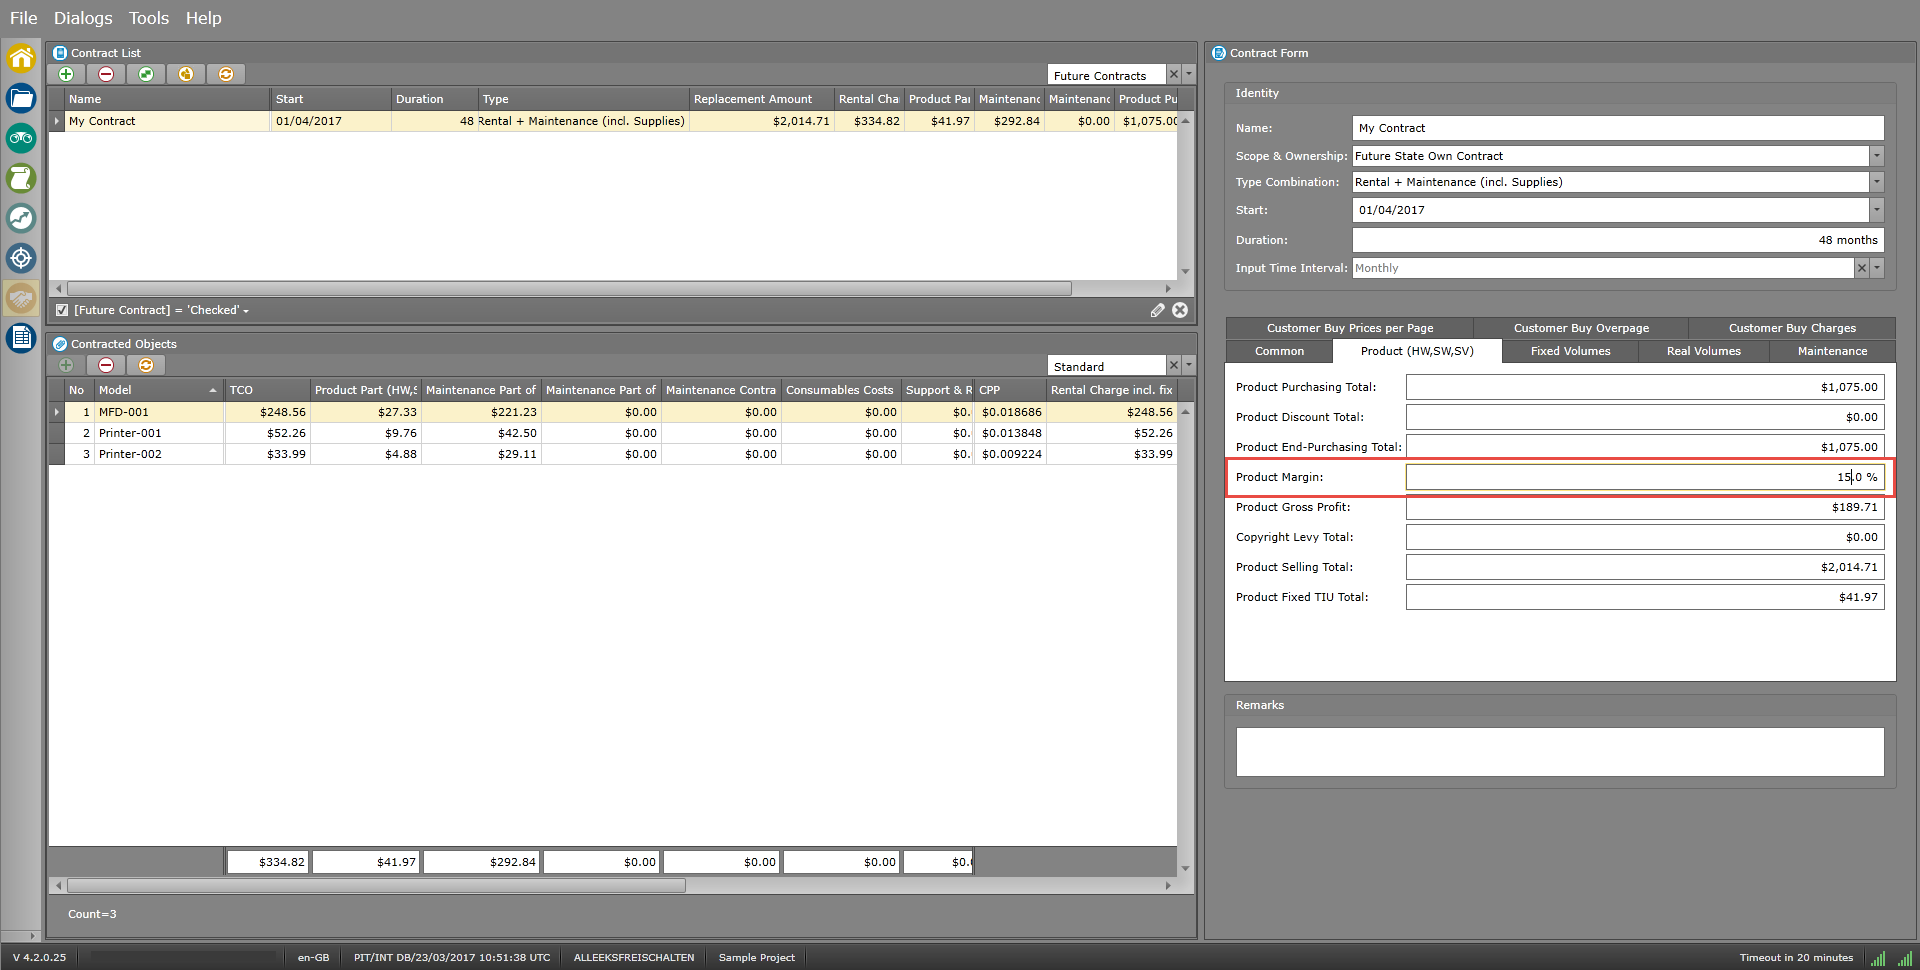
 Future State Contracts
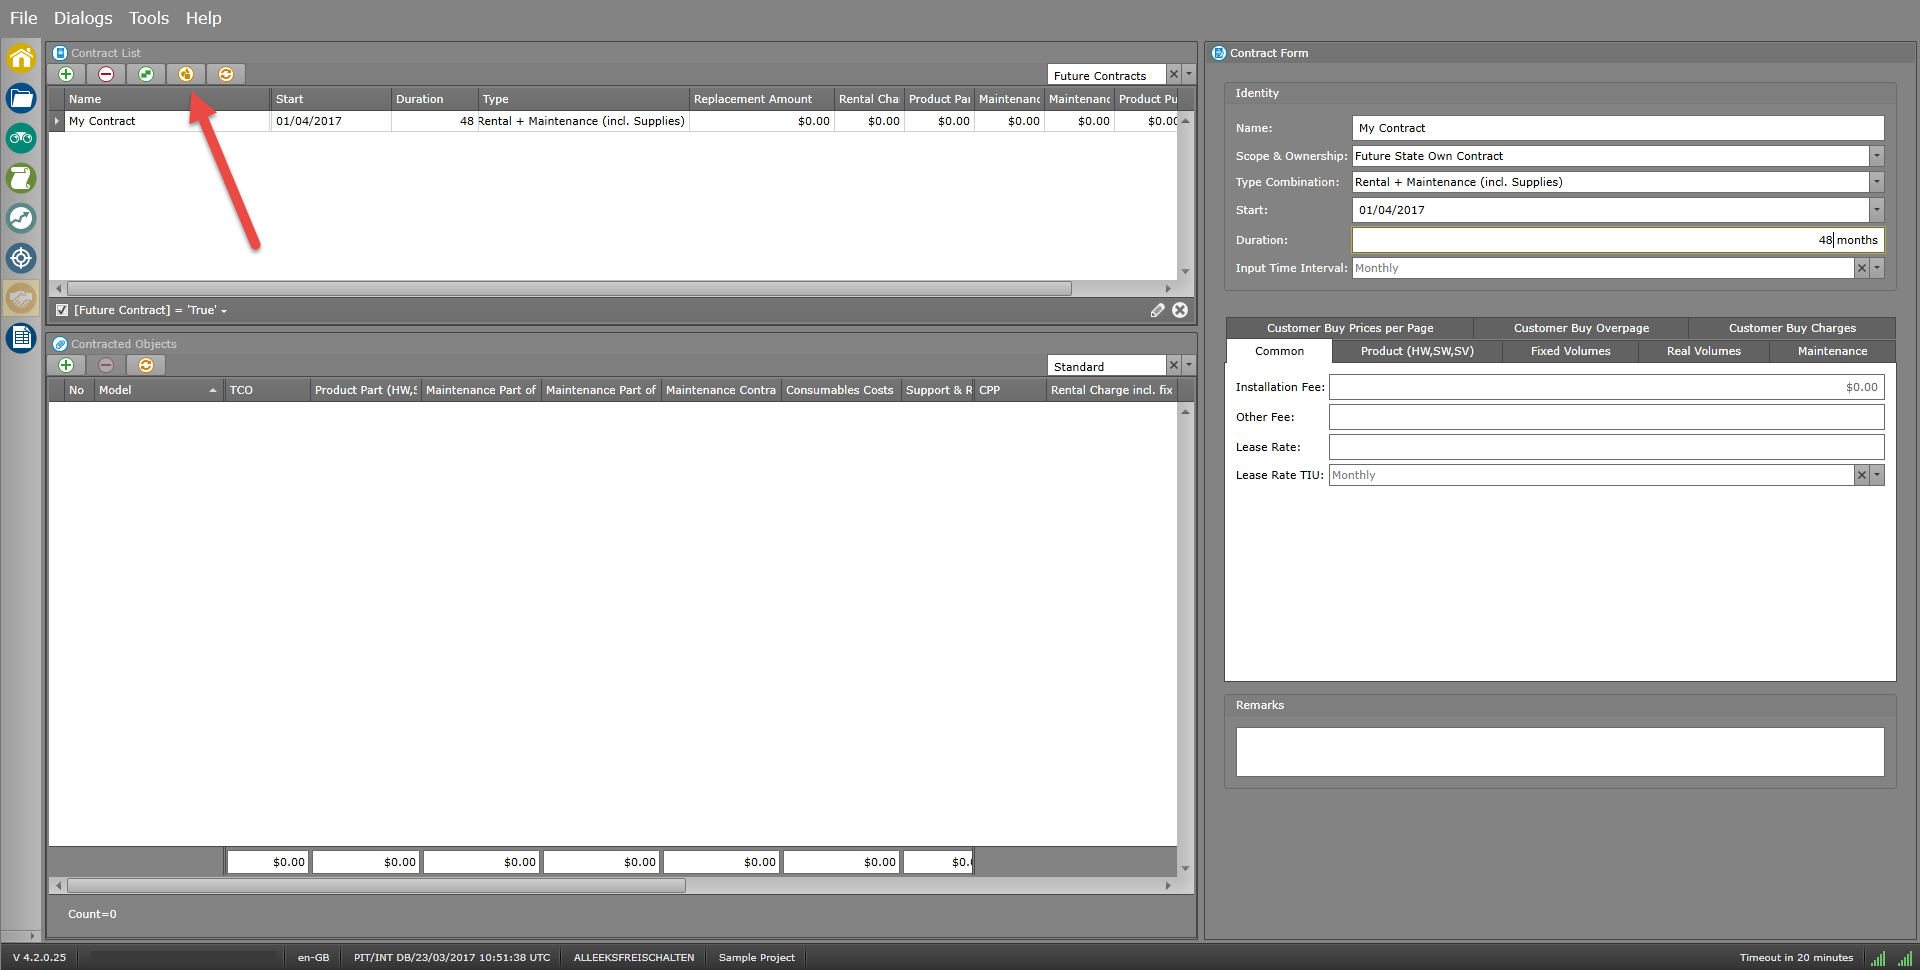
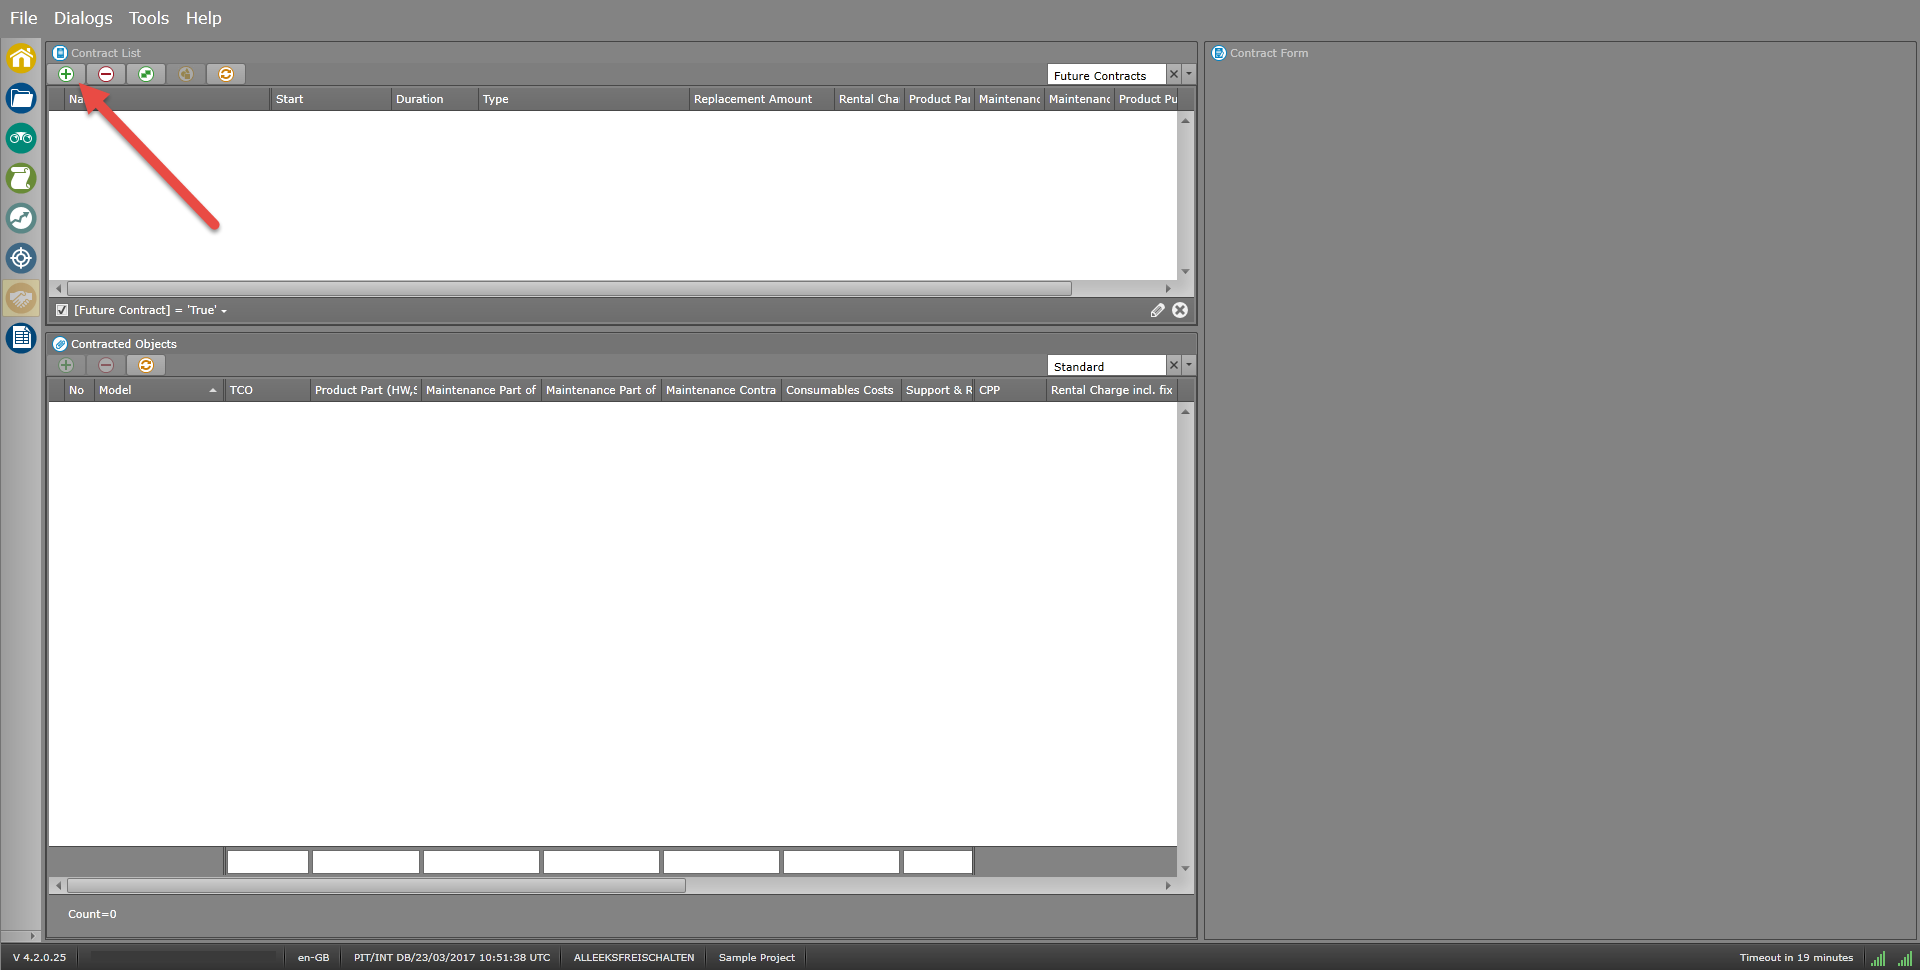
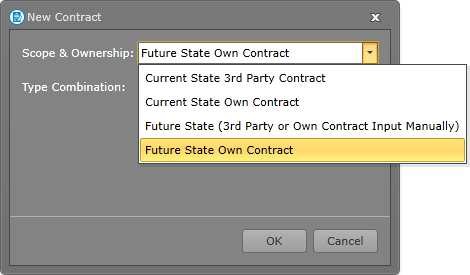
 at the top of the Contract List
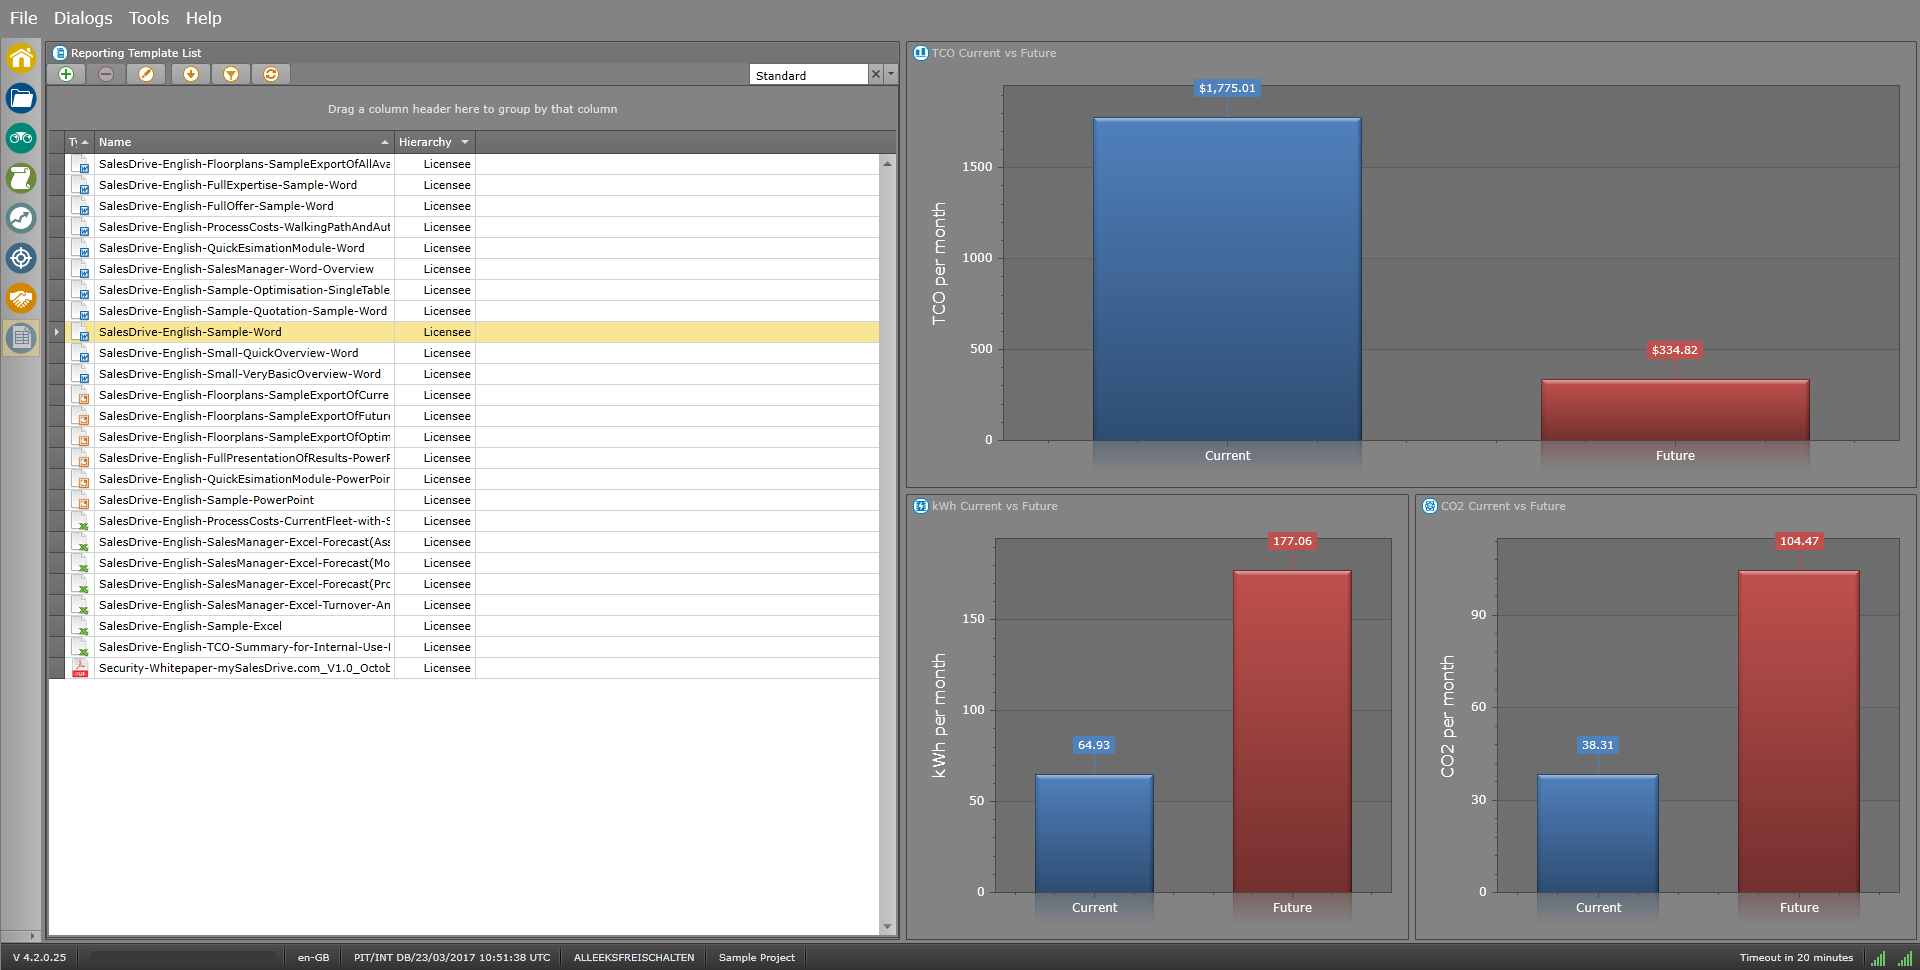
 Future State Dashboard
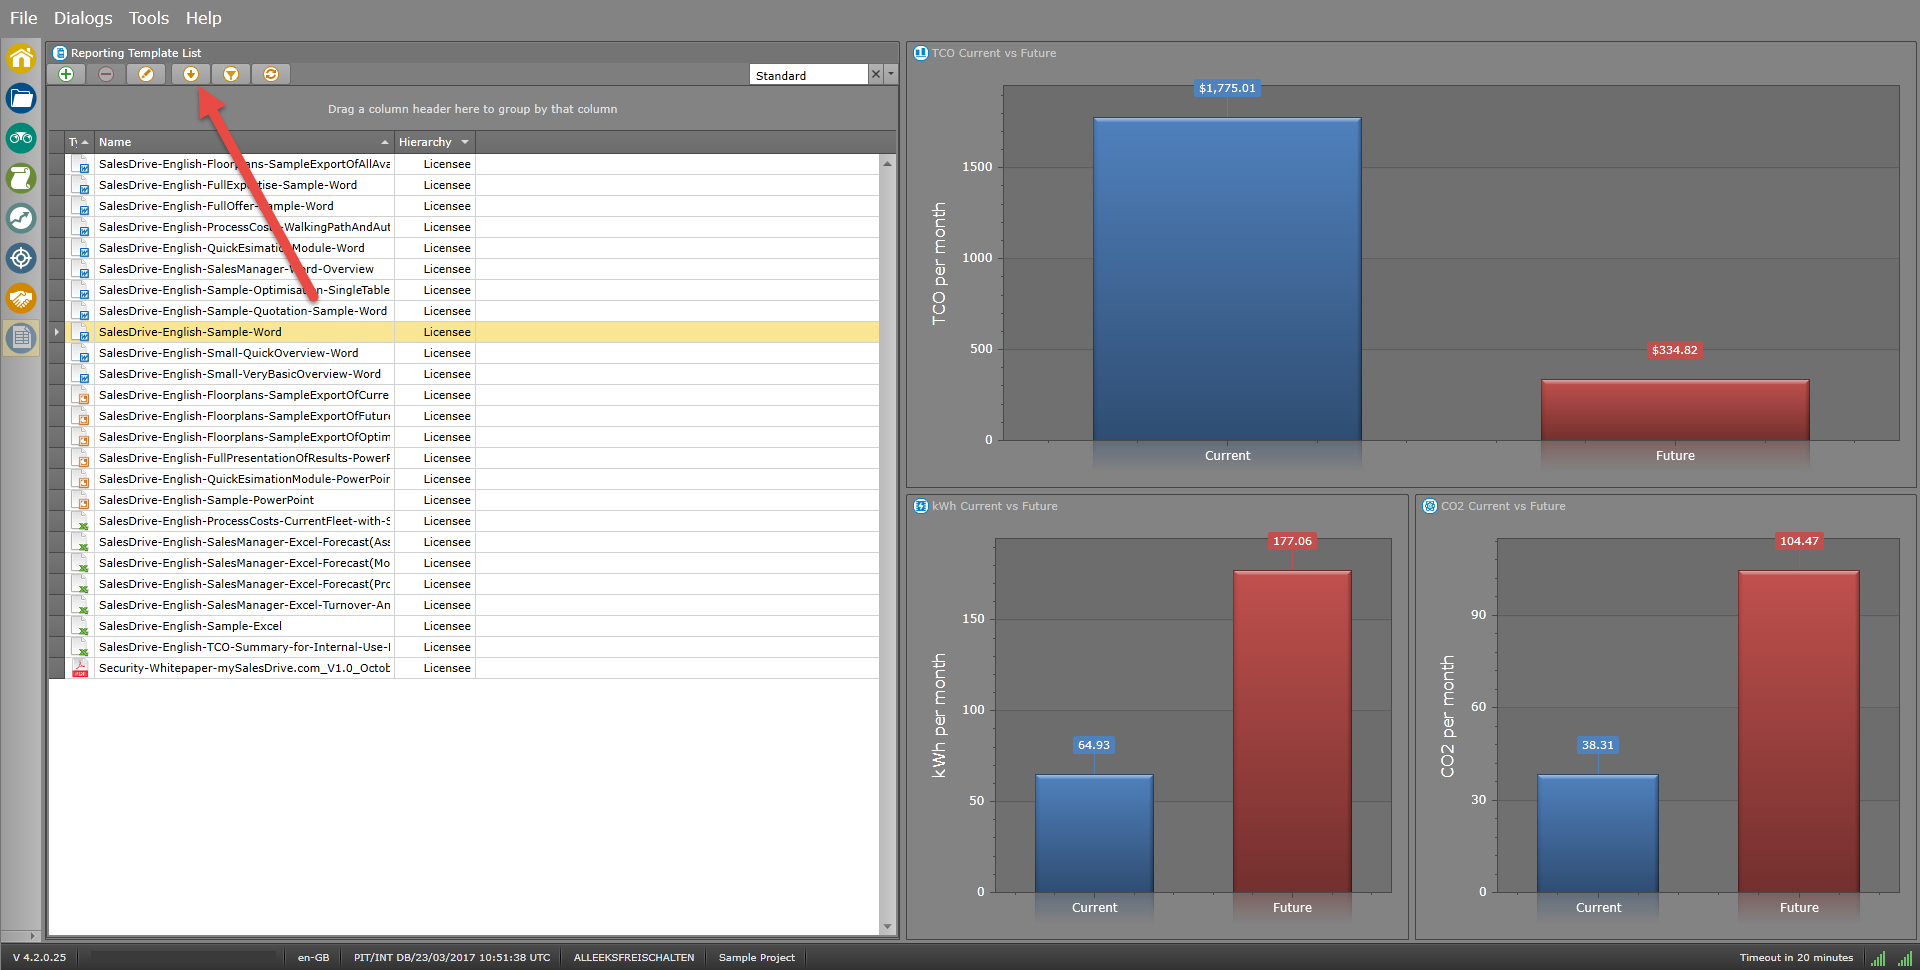
This workspace displays the comparison of the current and the future state
The following results will be compared
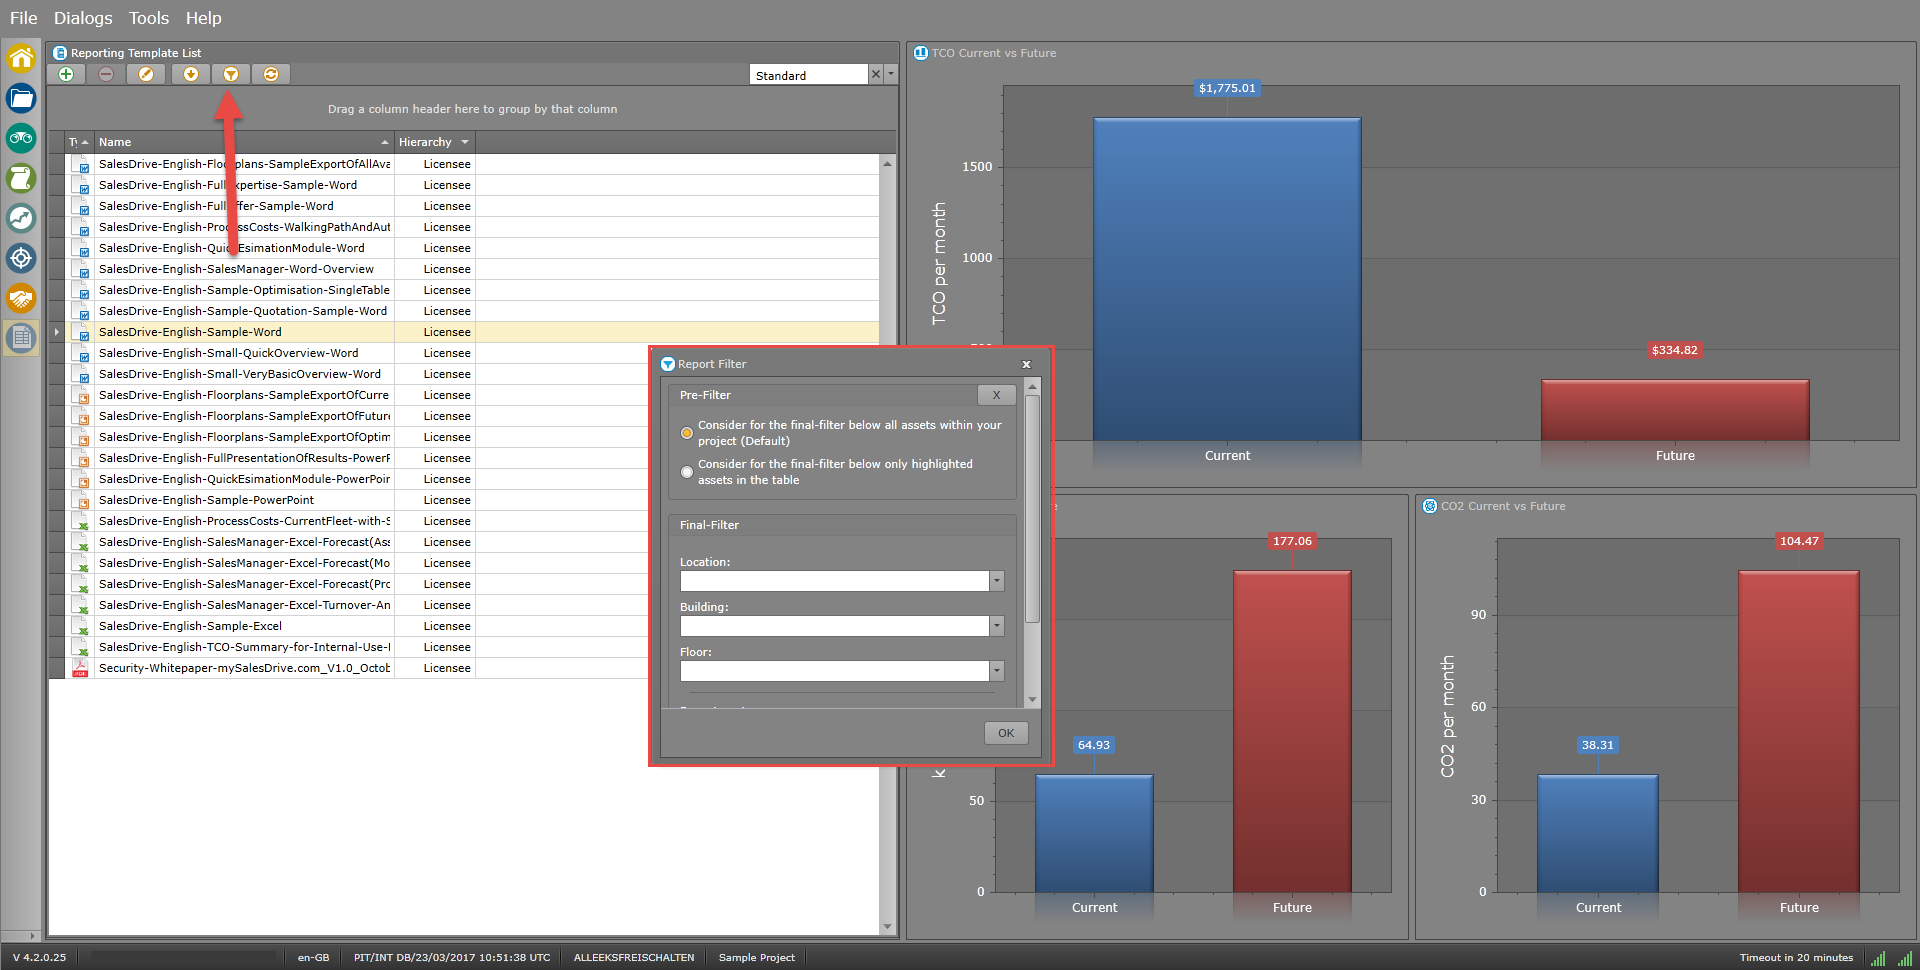
 Report Generator
The report generator workspace provides an overview of the results of the current selected project

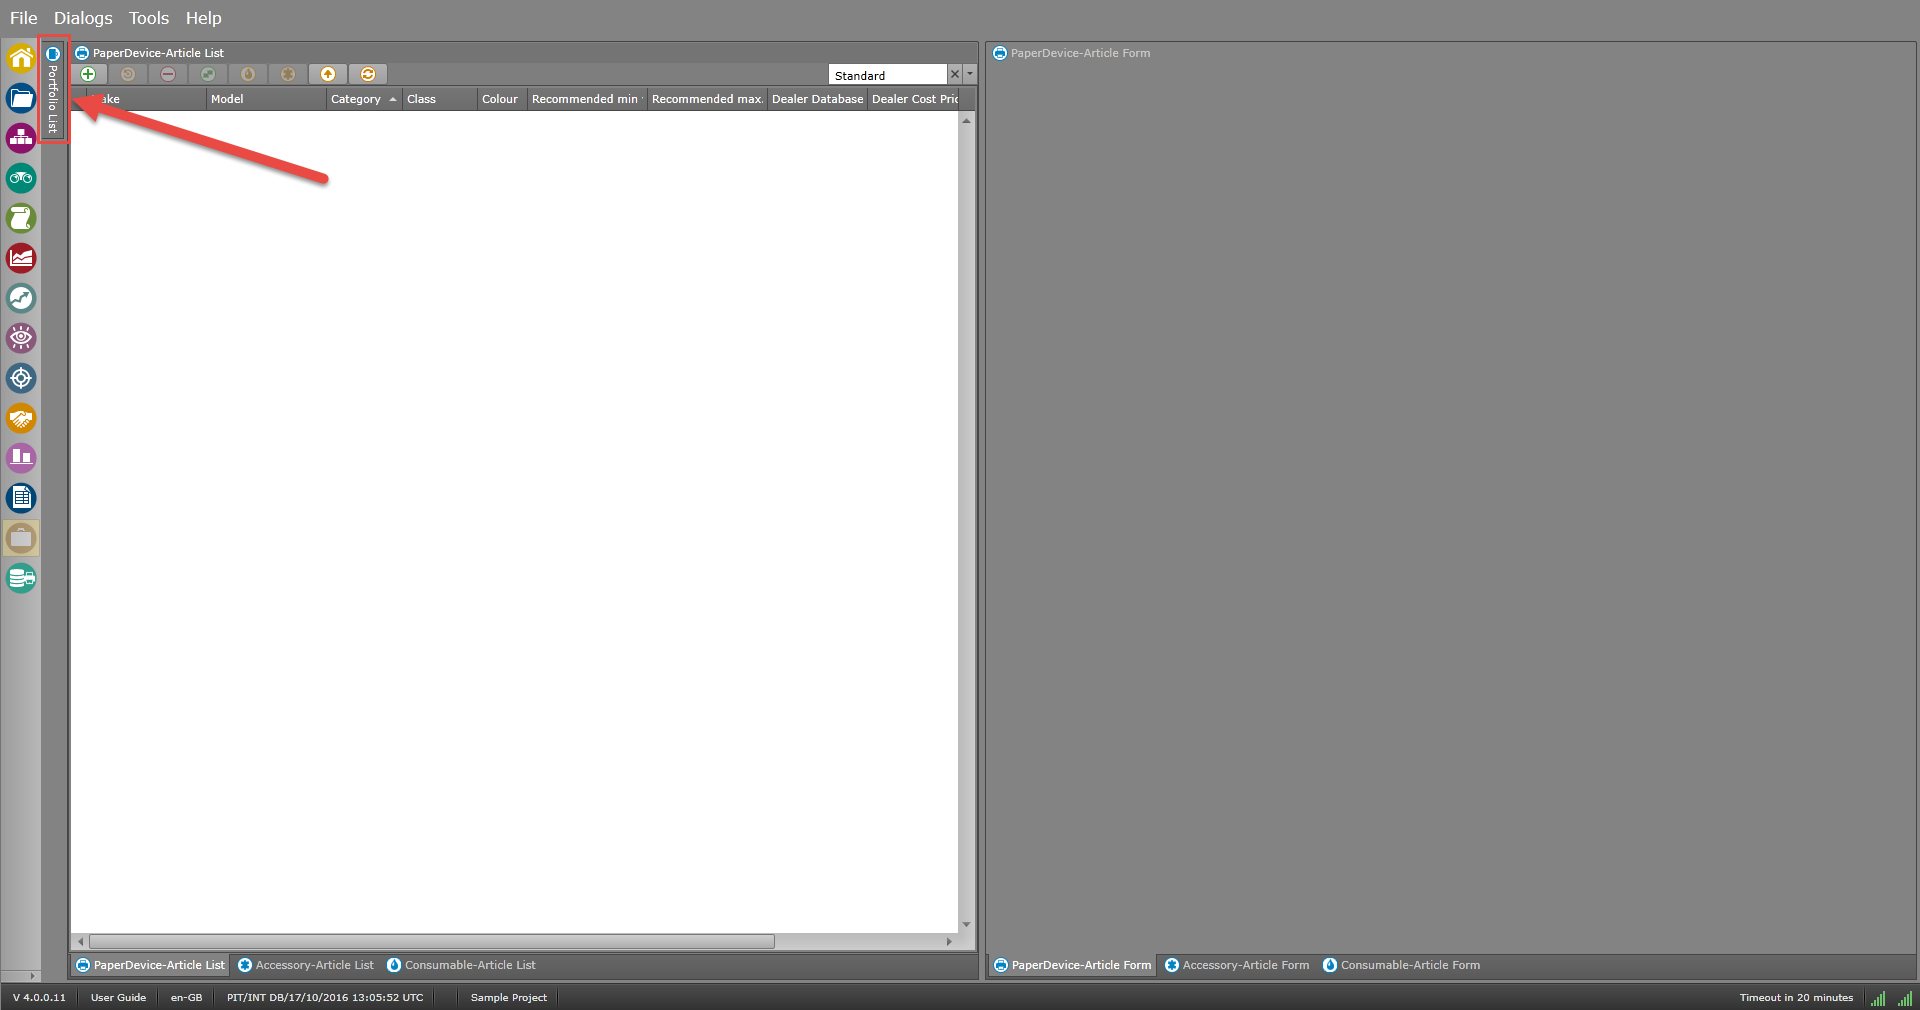
 Portfolio
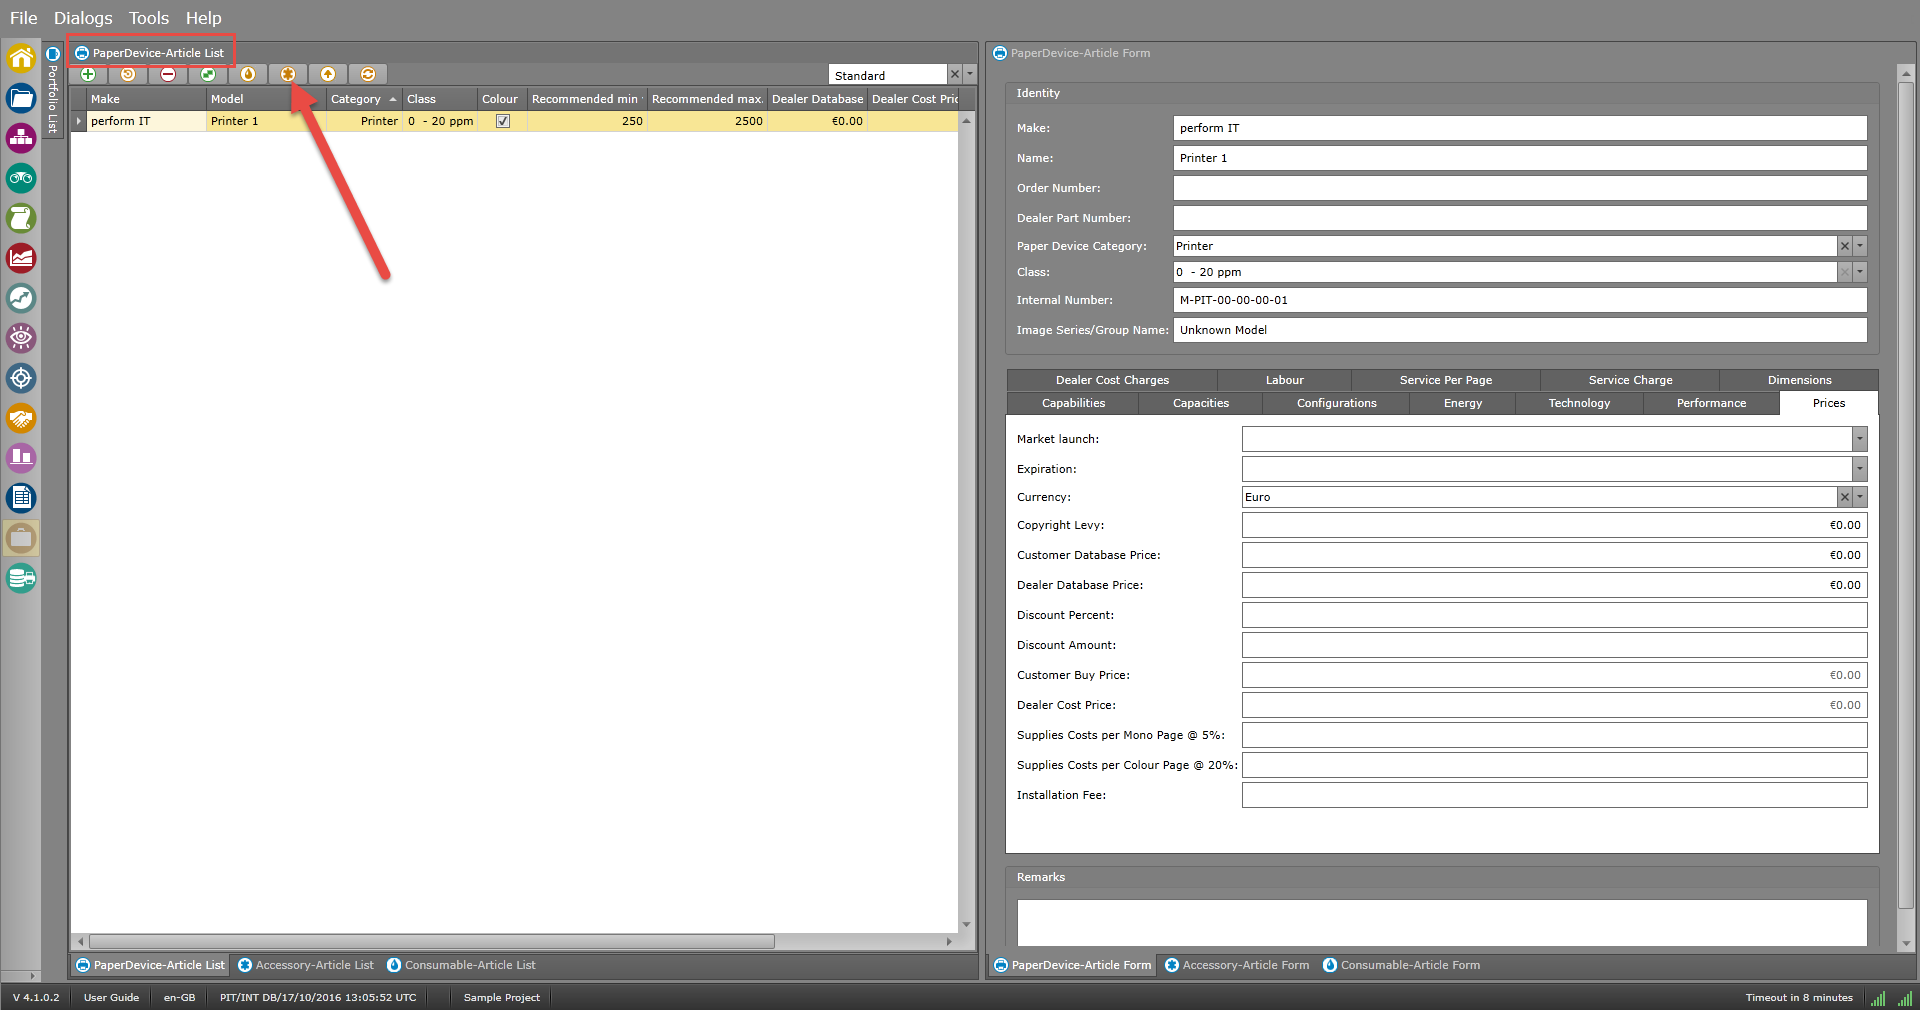
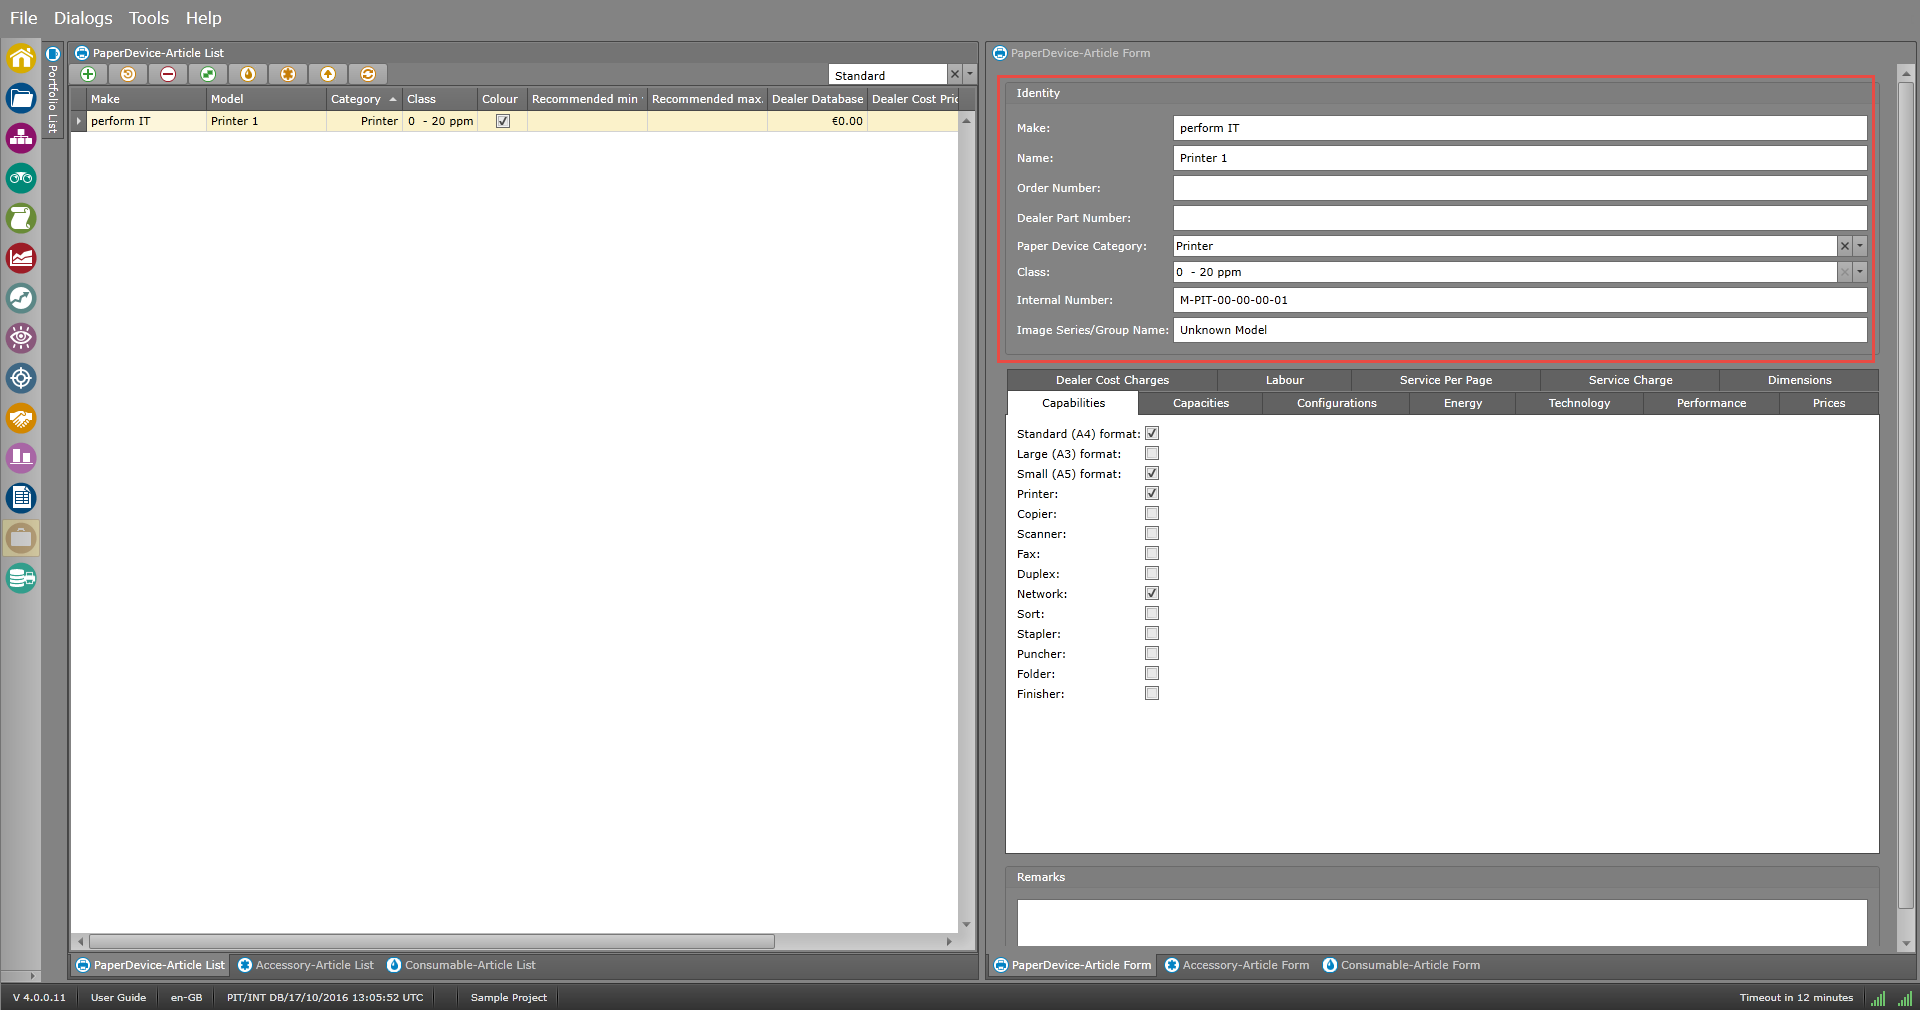
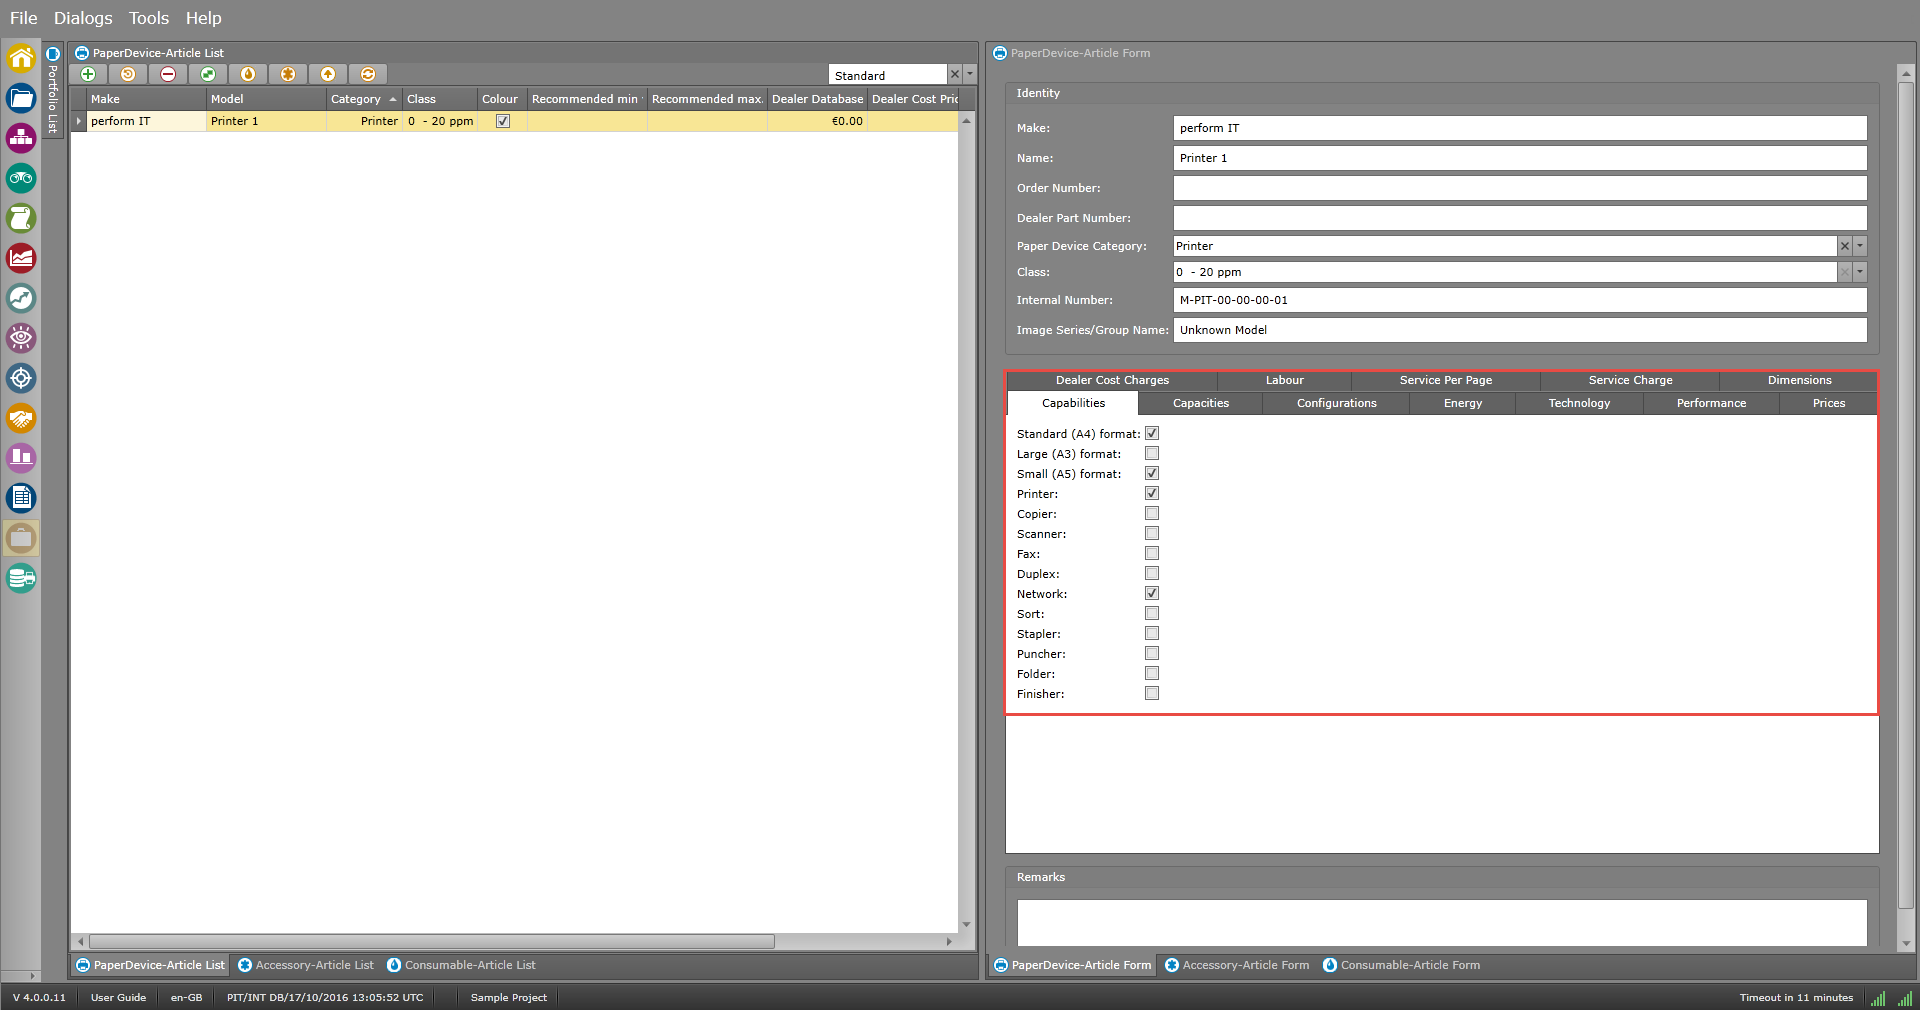
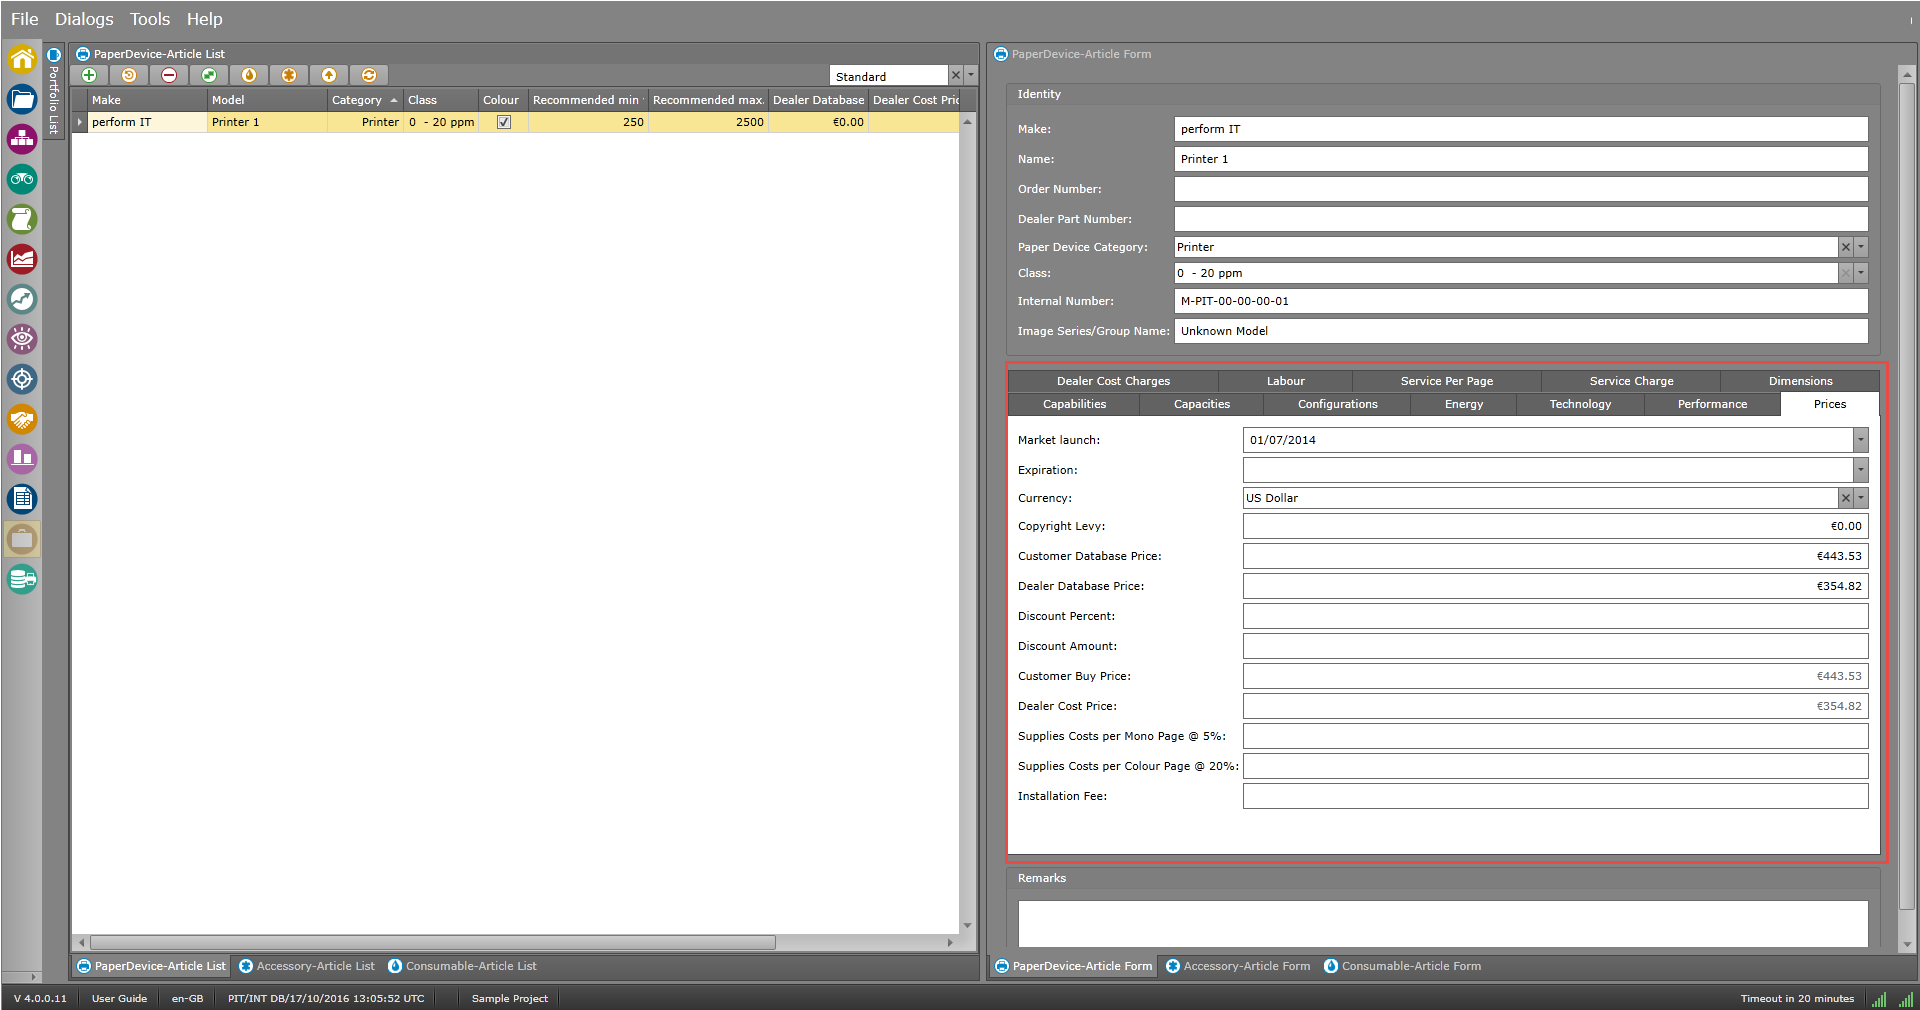
The portfolio is a custom database. It provides the possibility to pre-configure devices from the device database and deposit custom prices (e.g. customer prices, service clicks).
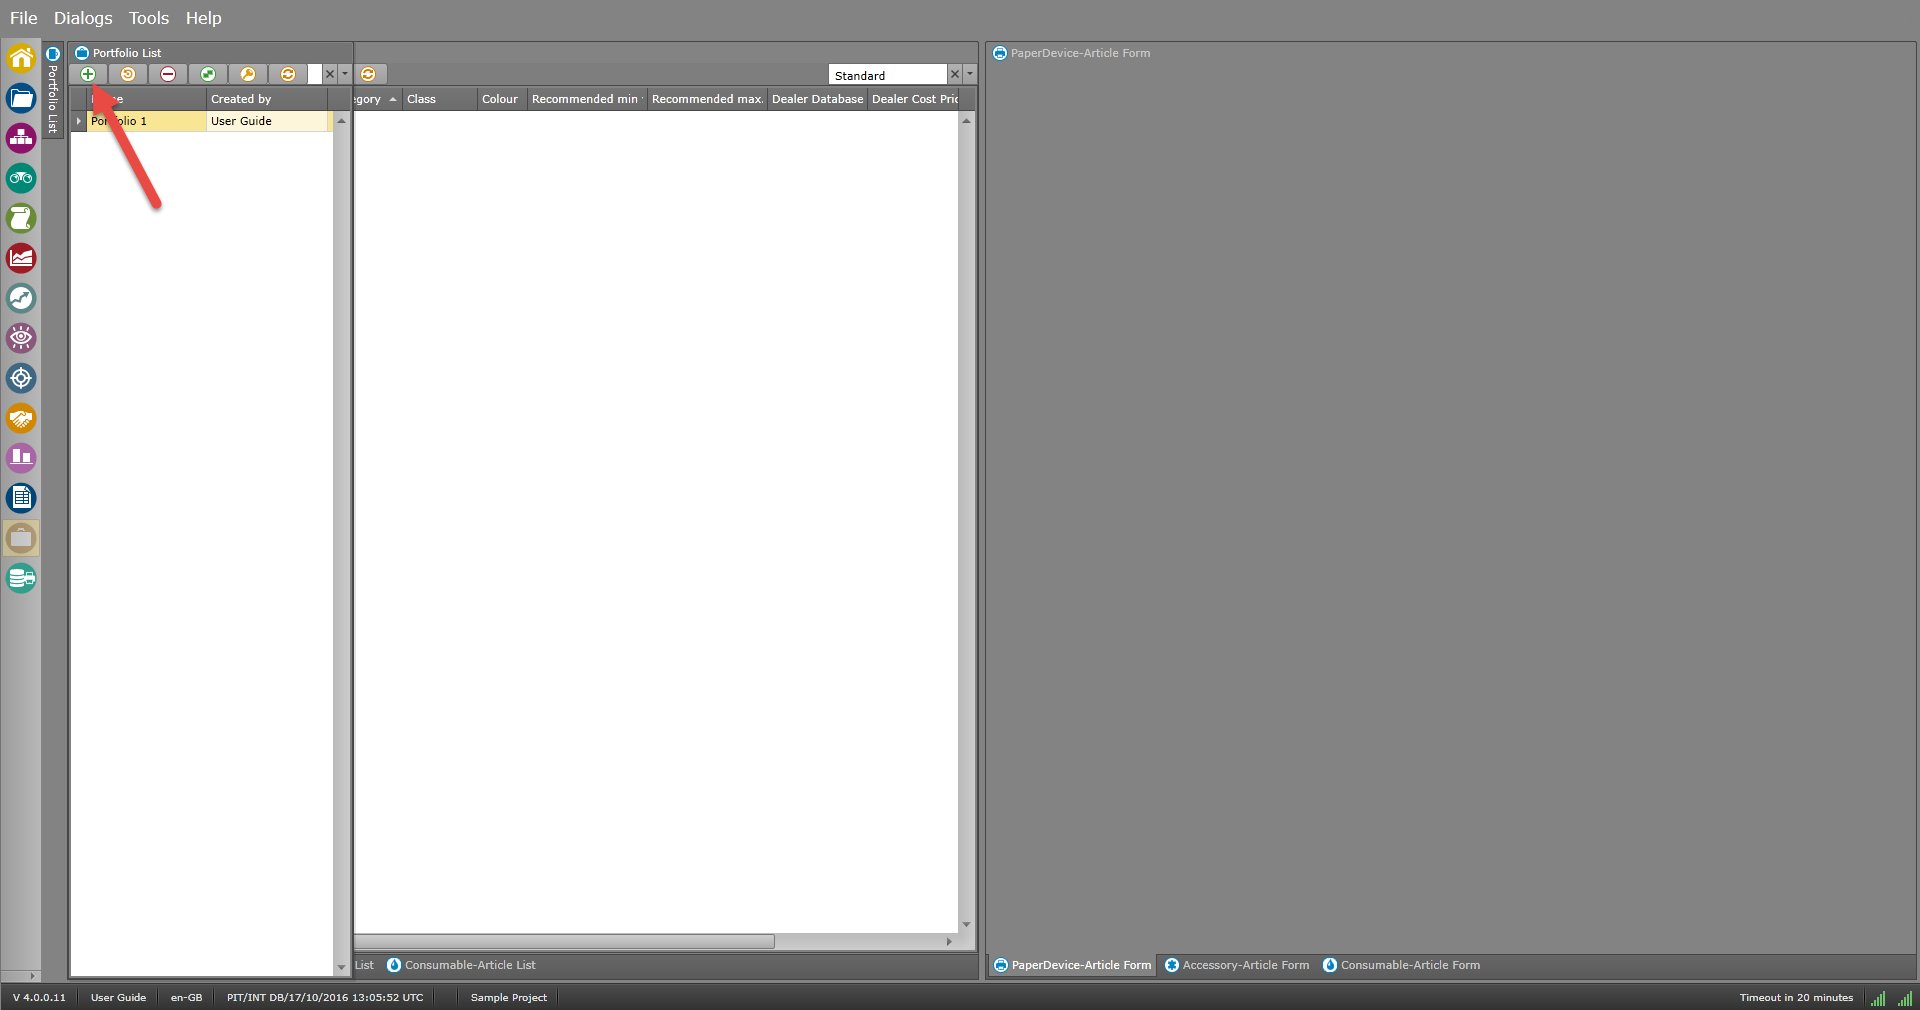 Add button at the top of the portfolio list
  Add button at the top of the article list
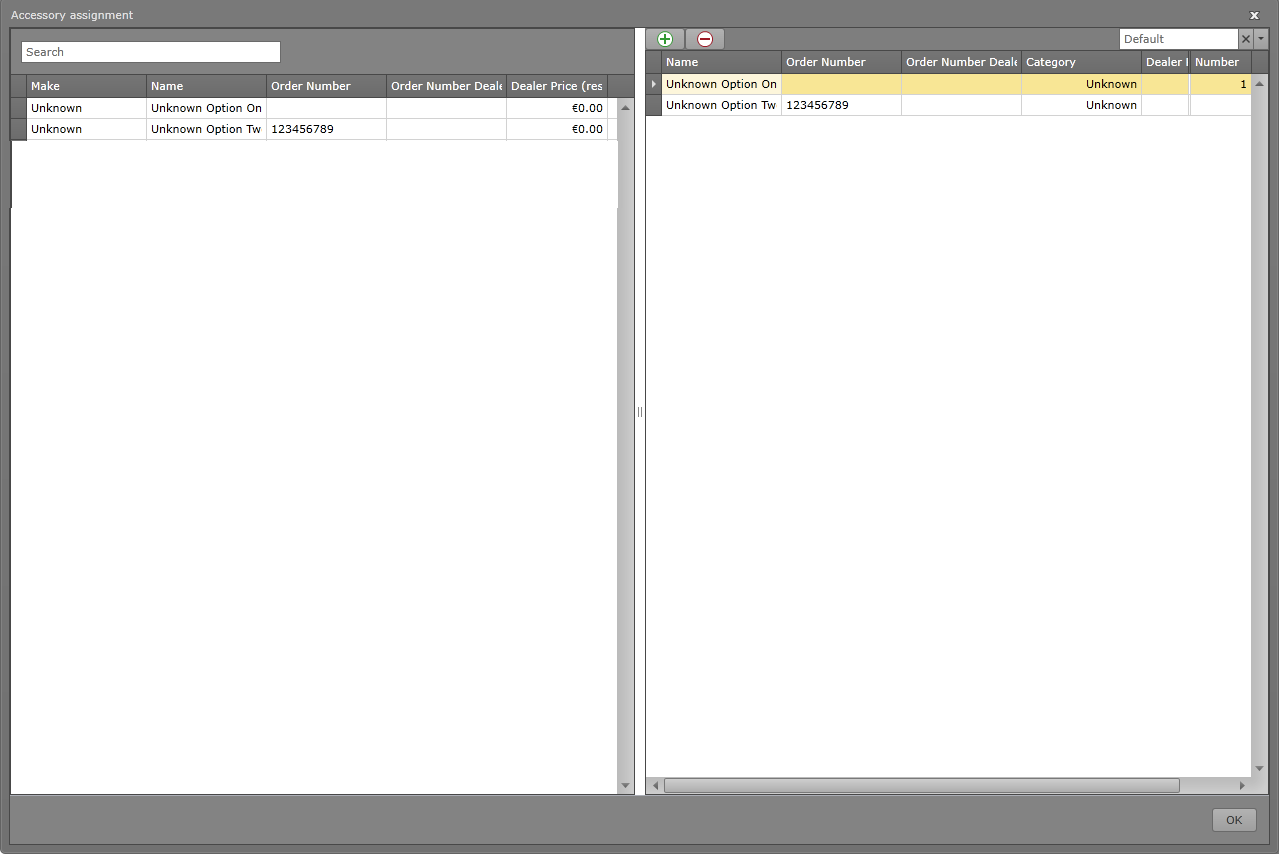
 accessory button
 delete button
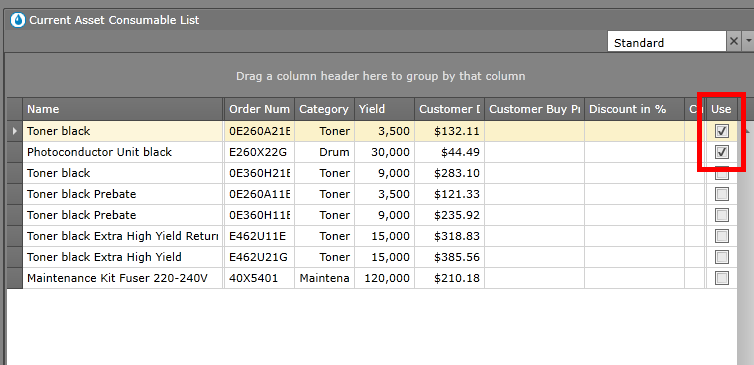
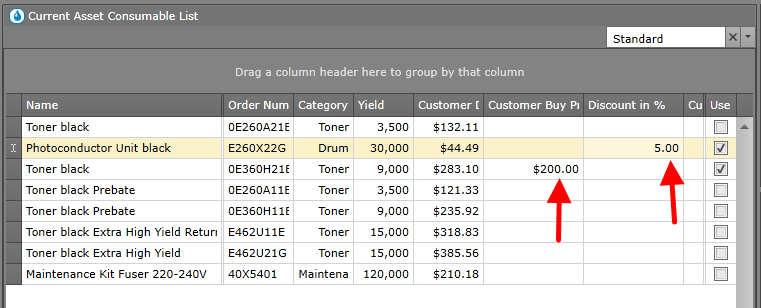
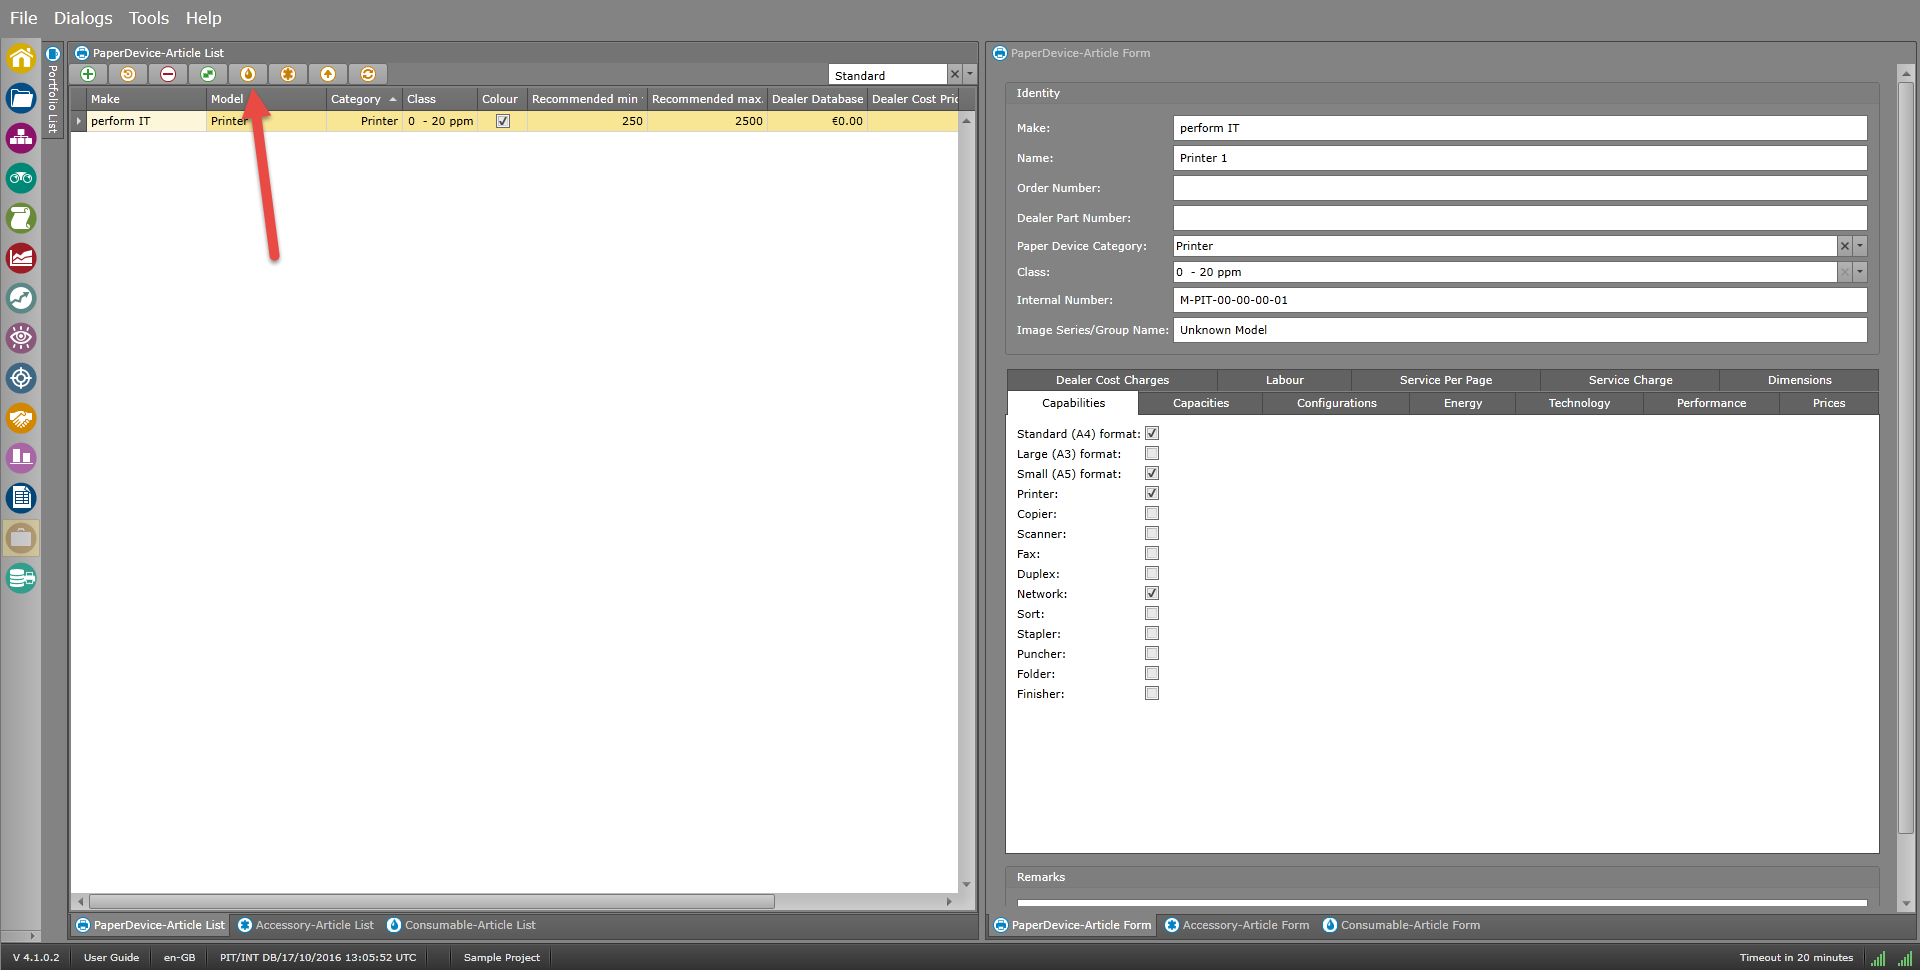 consumables button delete button
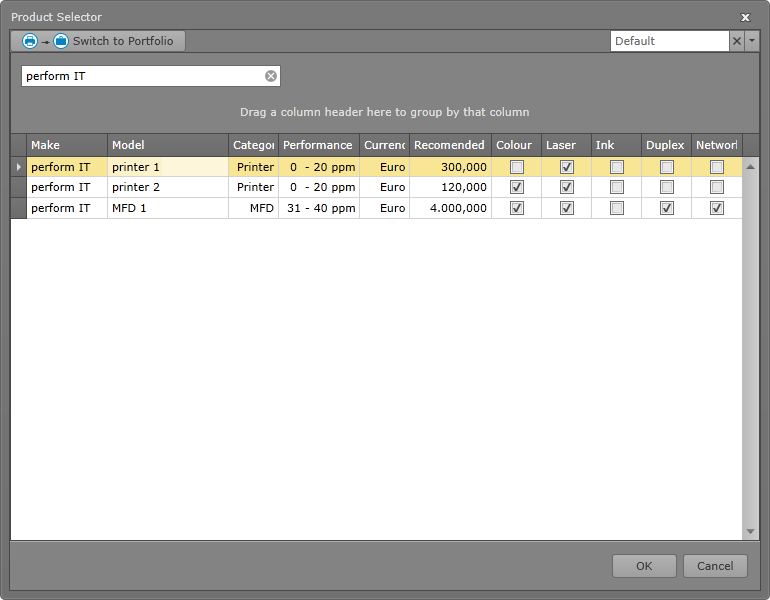
After having created a portfolio you can use the customs configurations within the product selector in the different workspaces
For Example Future Assets Configuration:
 add button
 Device Database
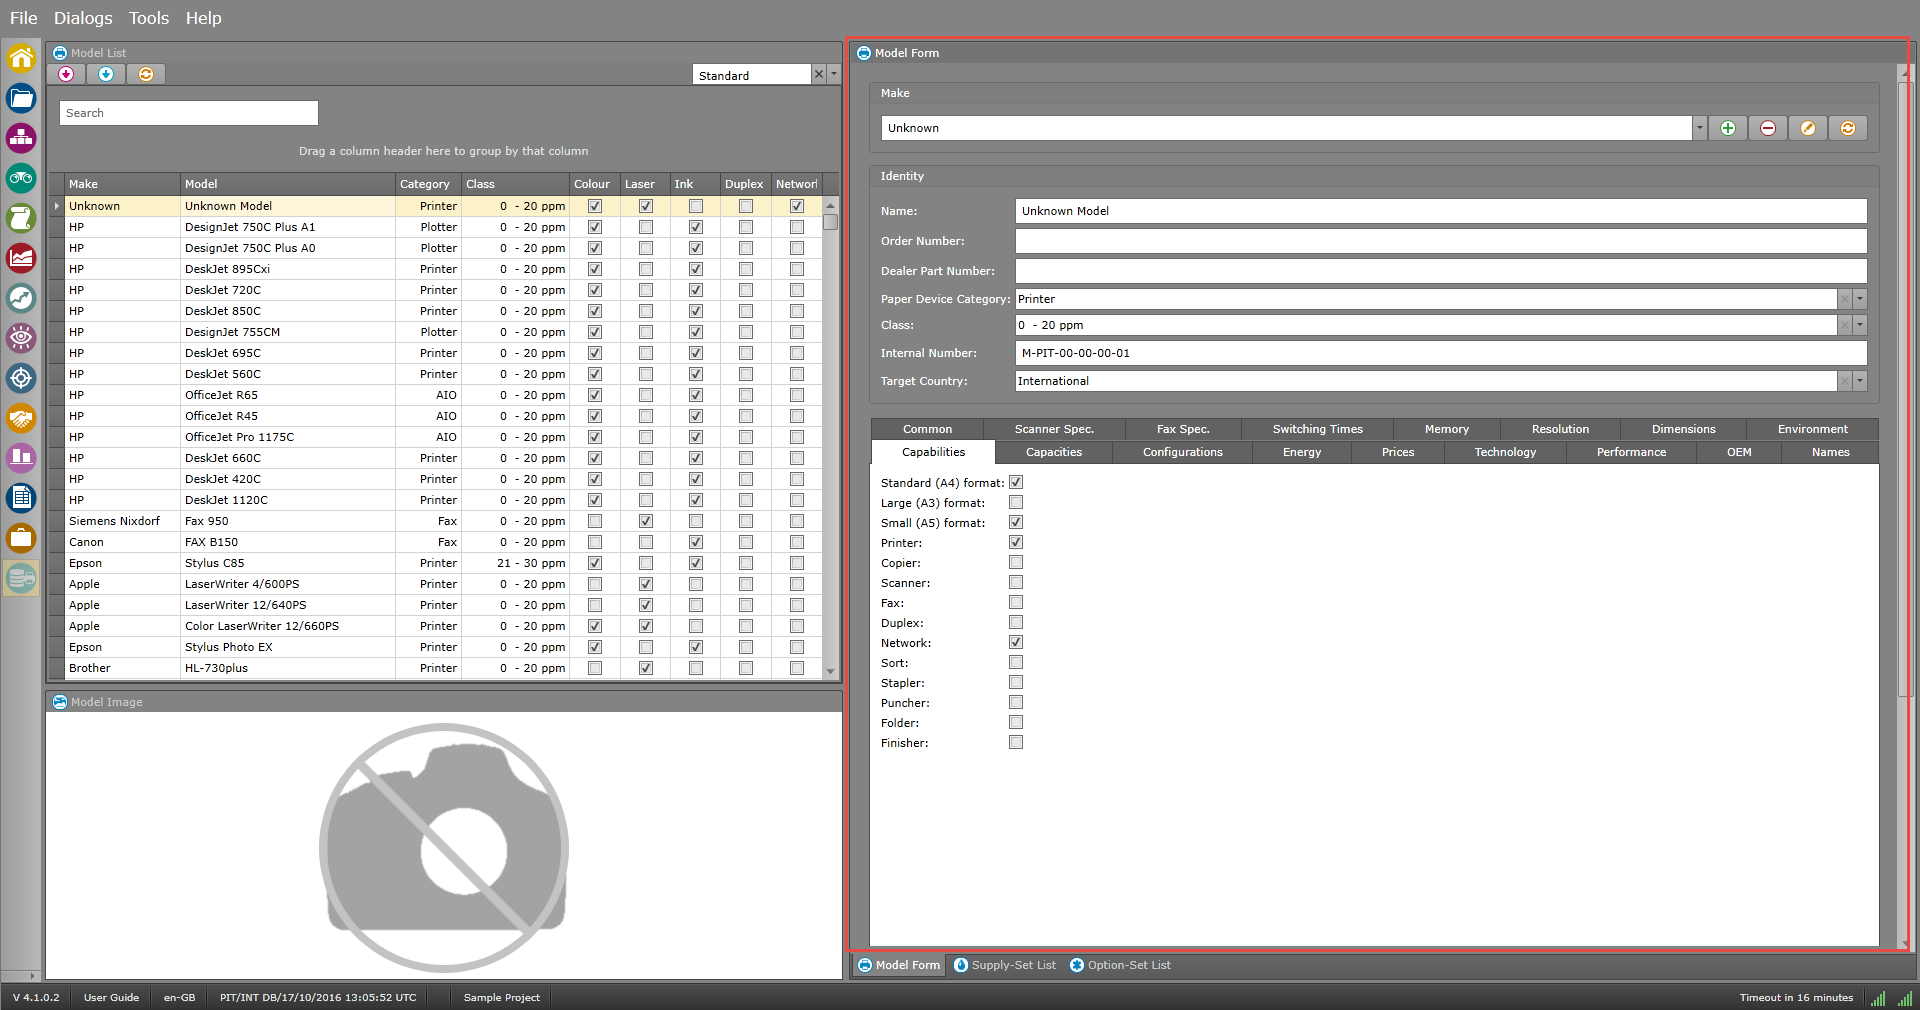
In this workspace, you have an overview of the assets stored in the database of
You can:

