 Home
Home
In the Home workspace you receive an overview of all available workspaces with a short description for each of them.
HomeIn the Home workspace you receive an overview of all available workspaces with a short description for each of them.
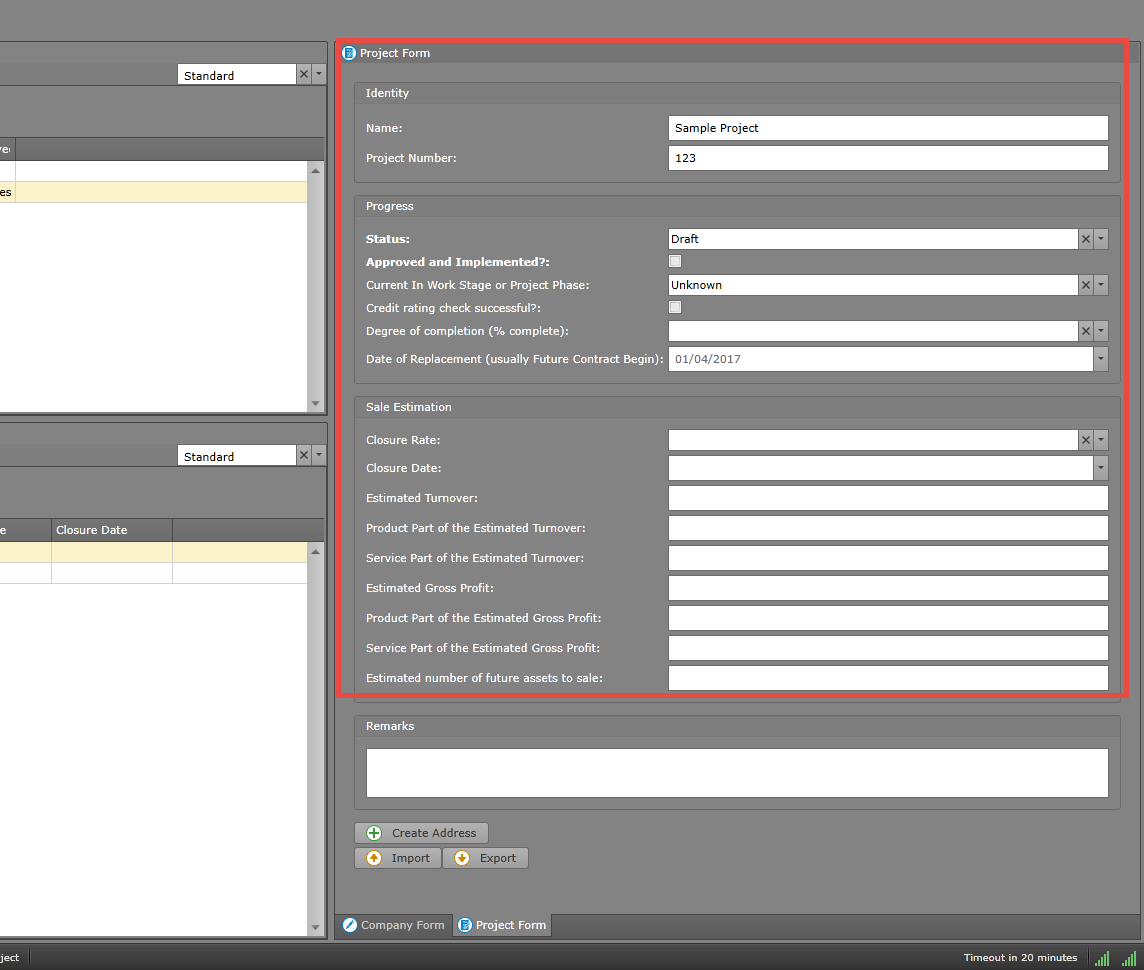
 Project Management
In this workspace you are able to manage customers, projects and settings of selcted projects.
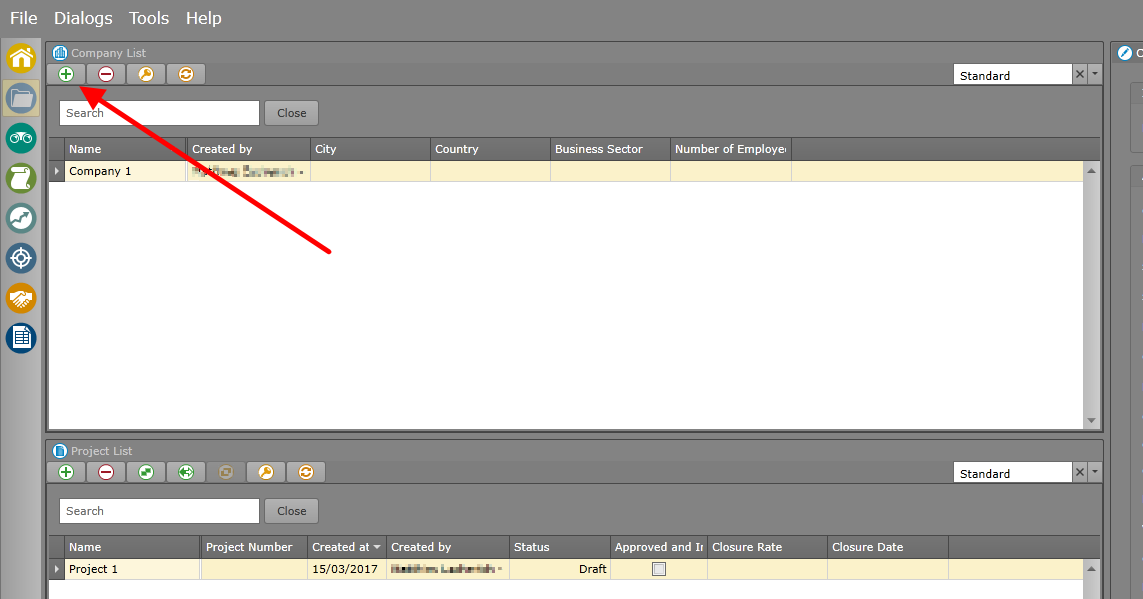 at the top of the company list
 on the top of the Project List
 Button
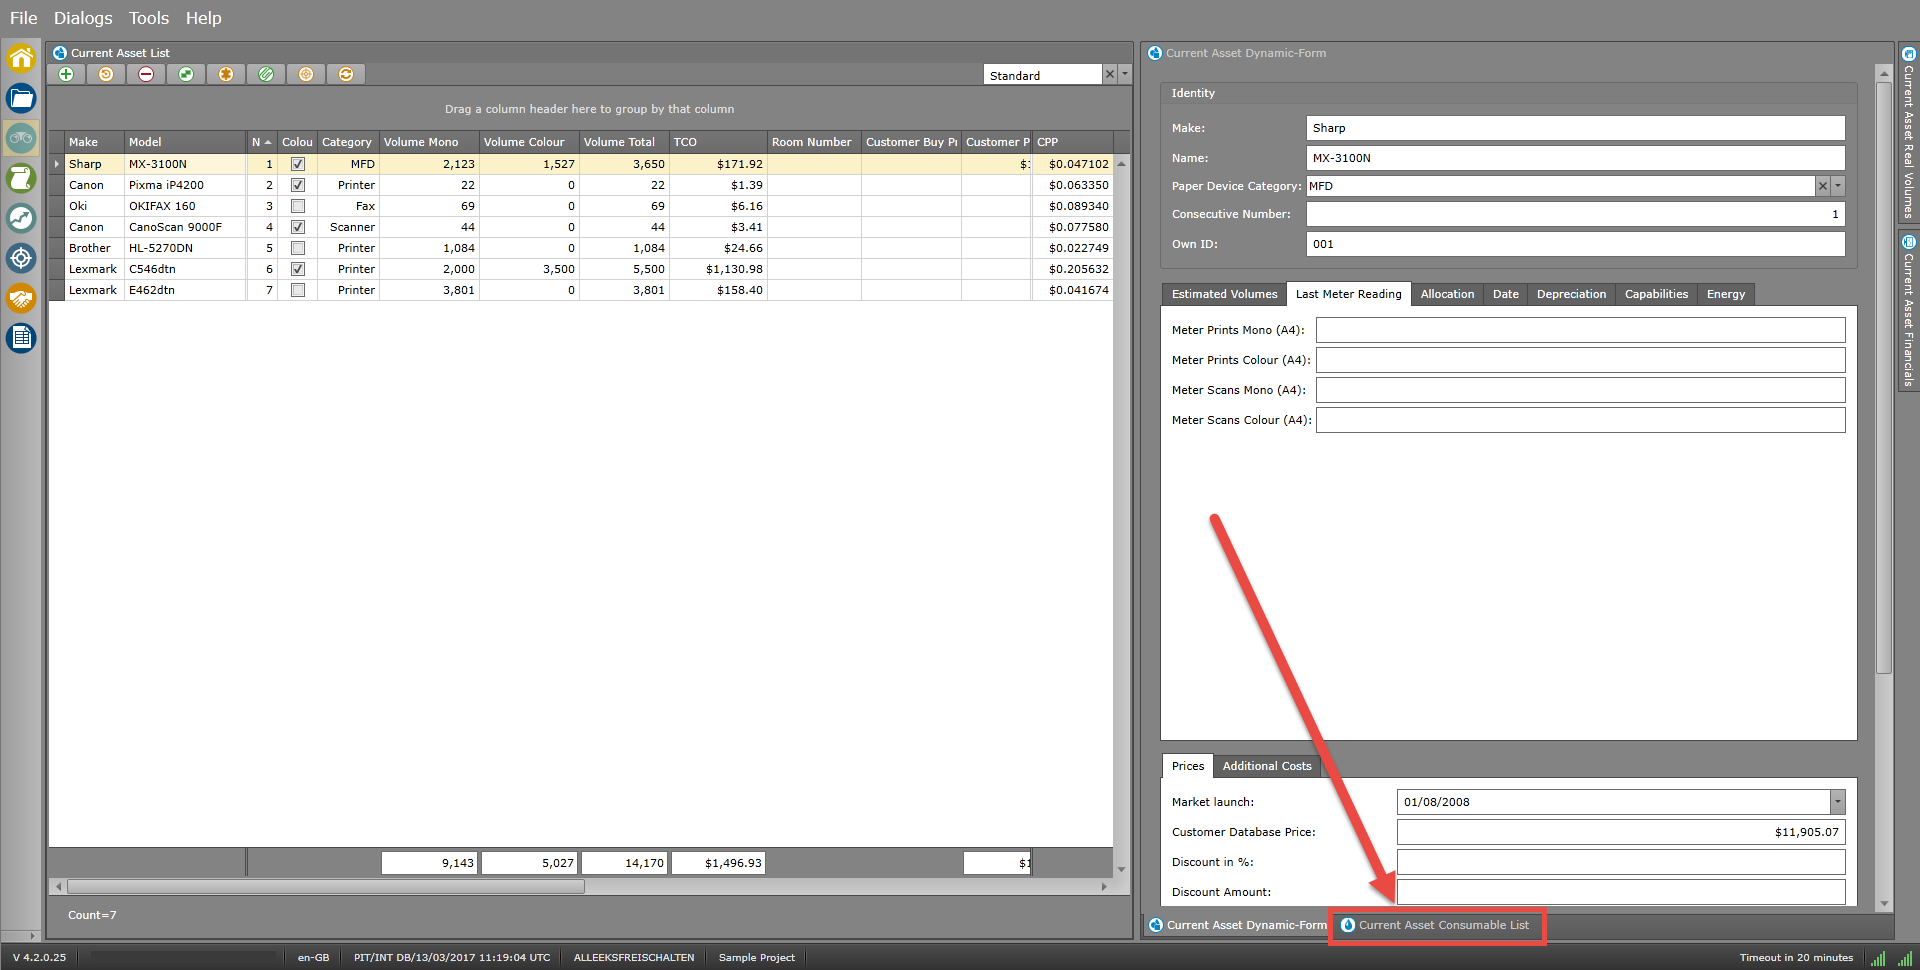
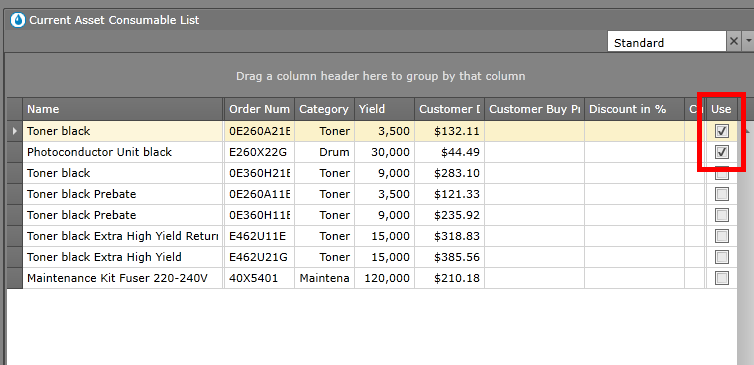
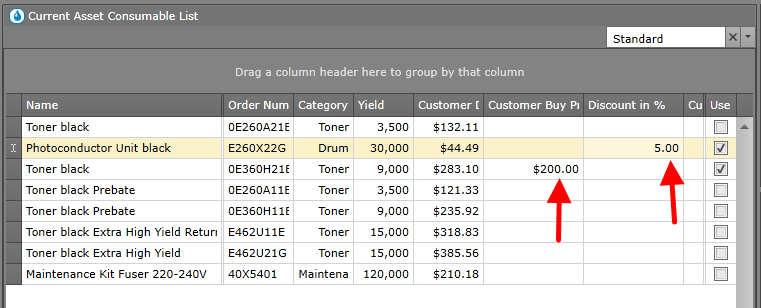
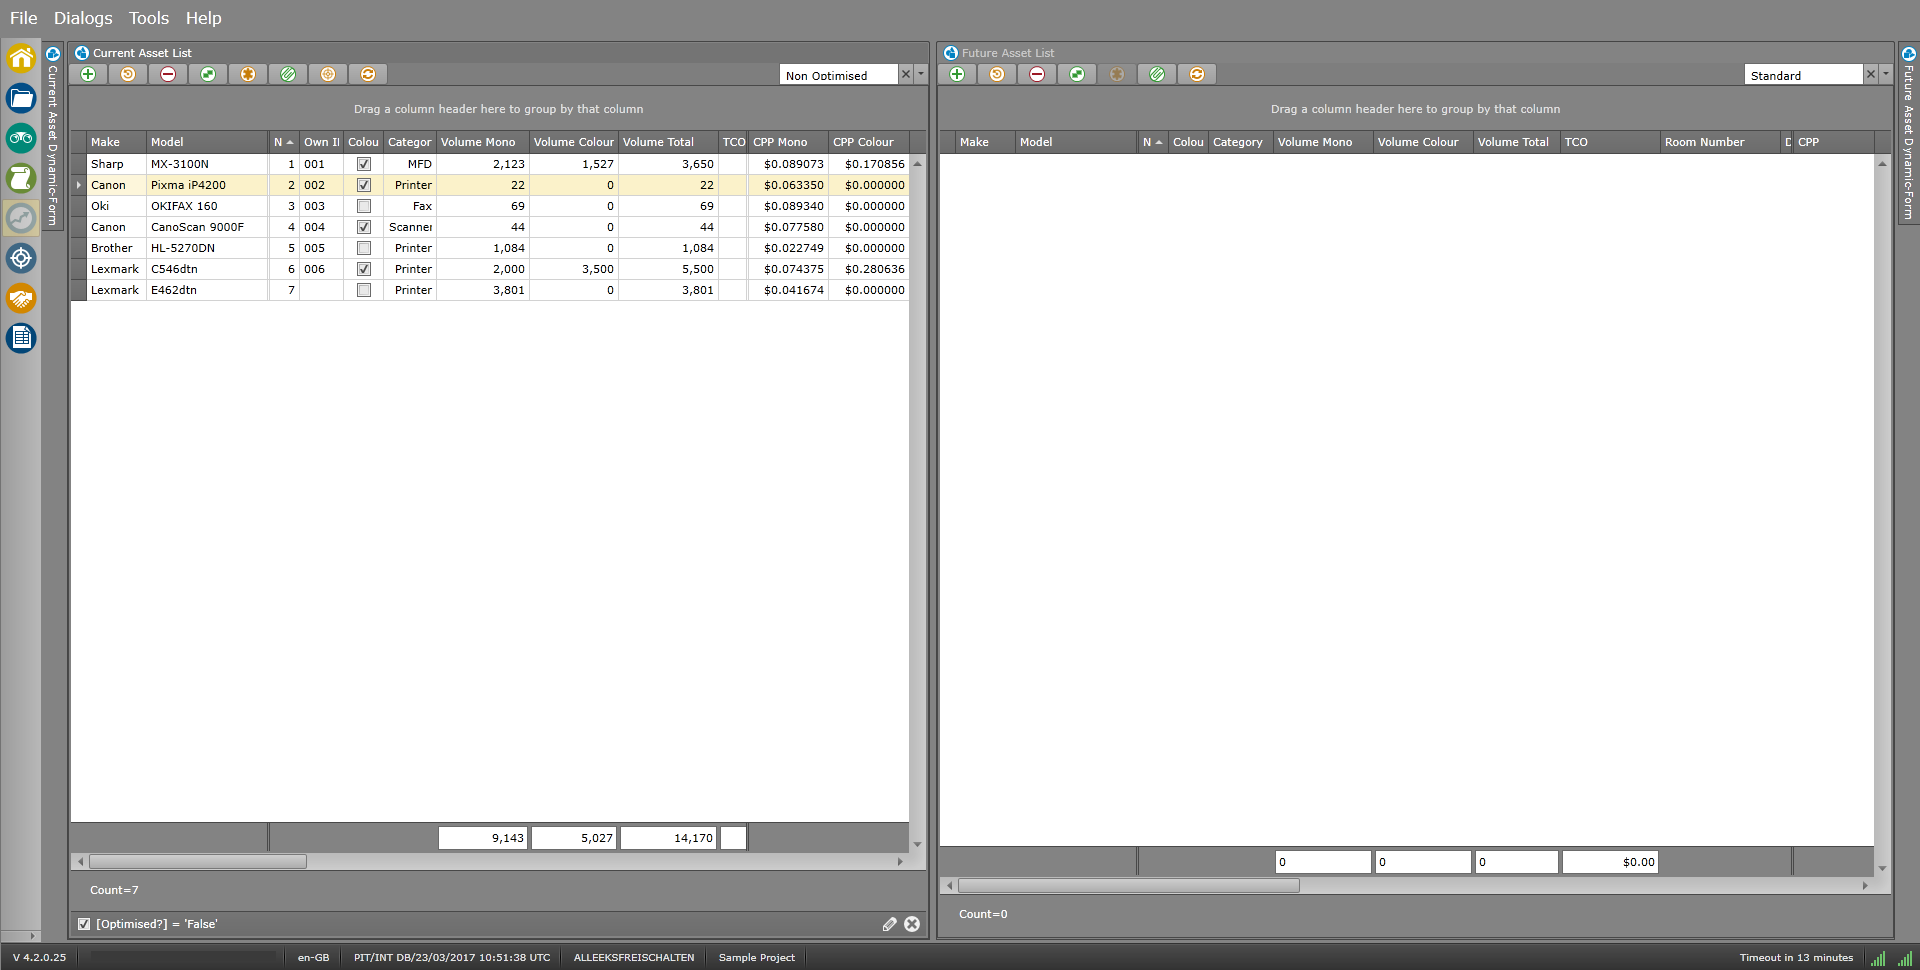
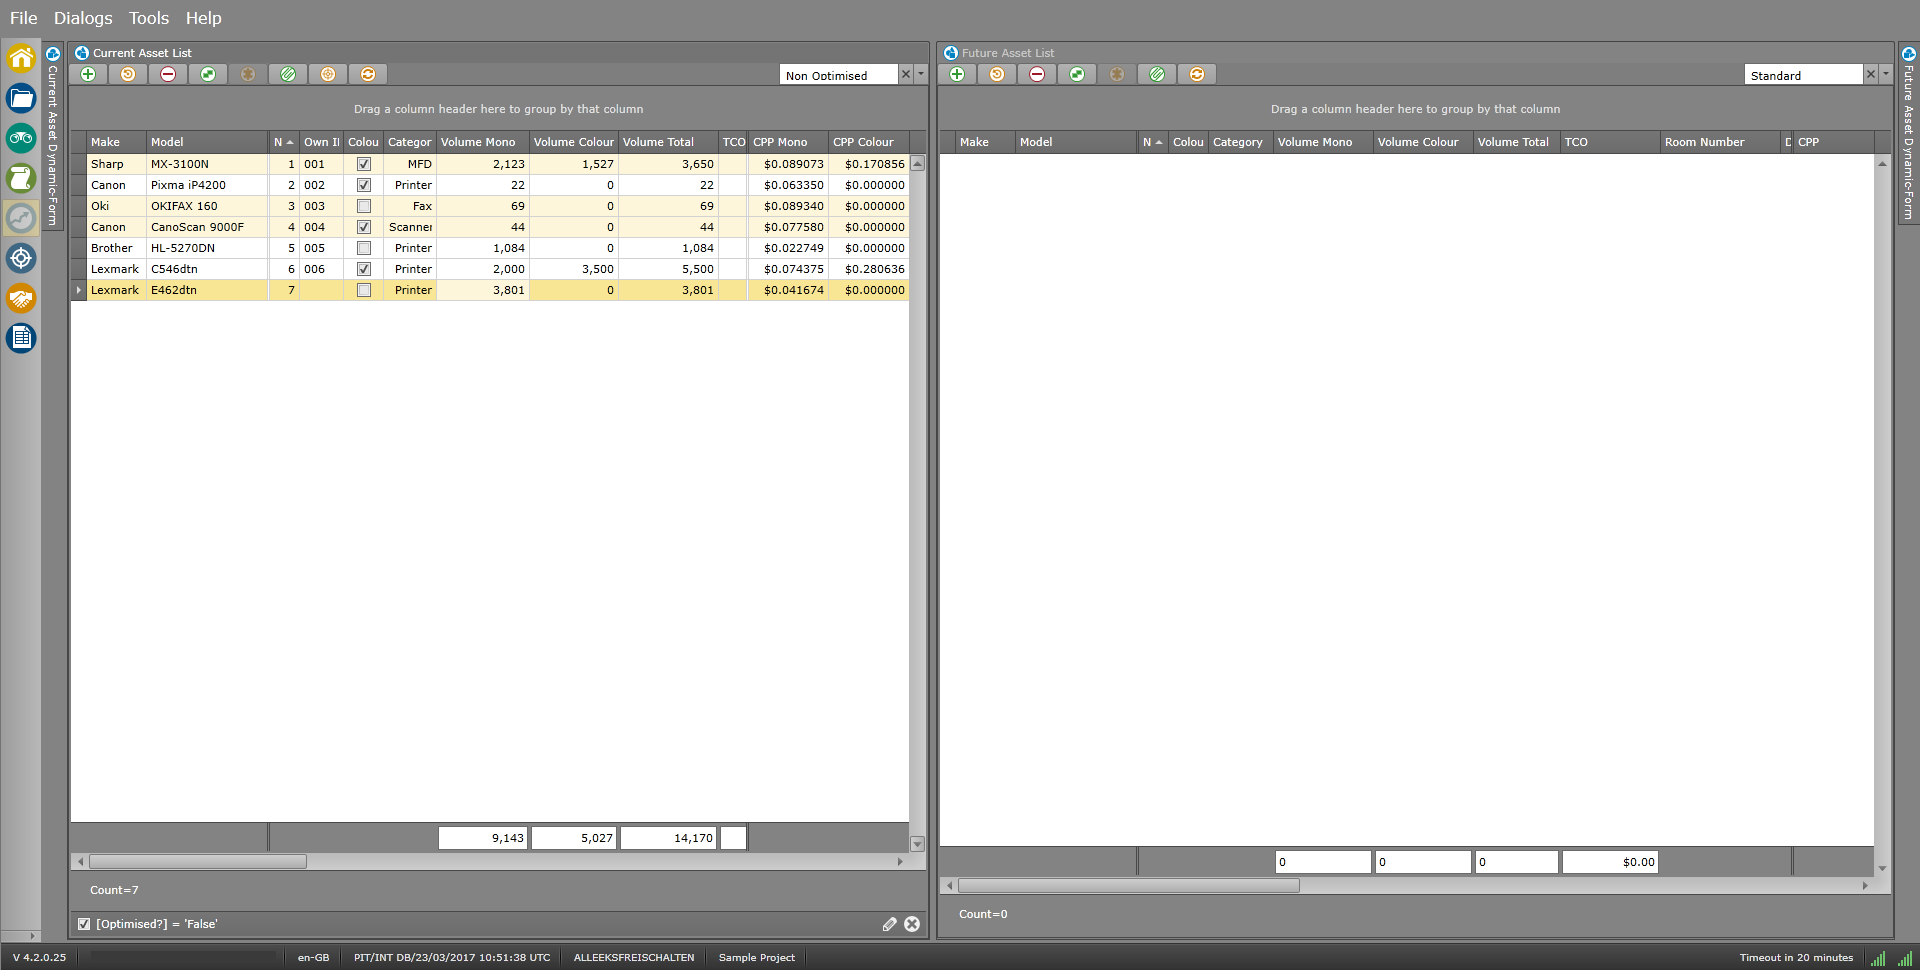
 Current State Assets
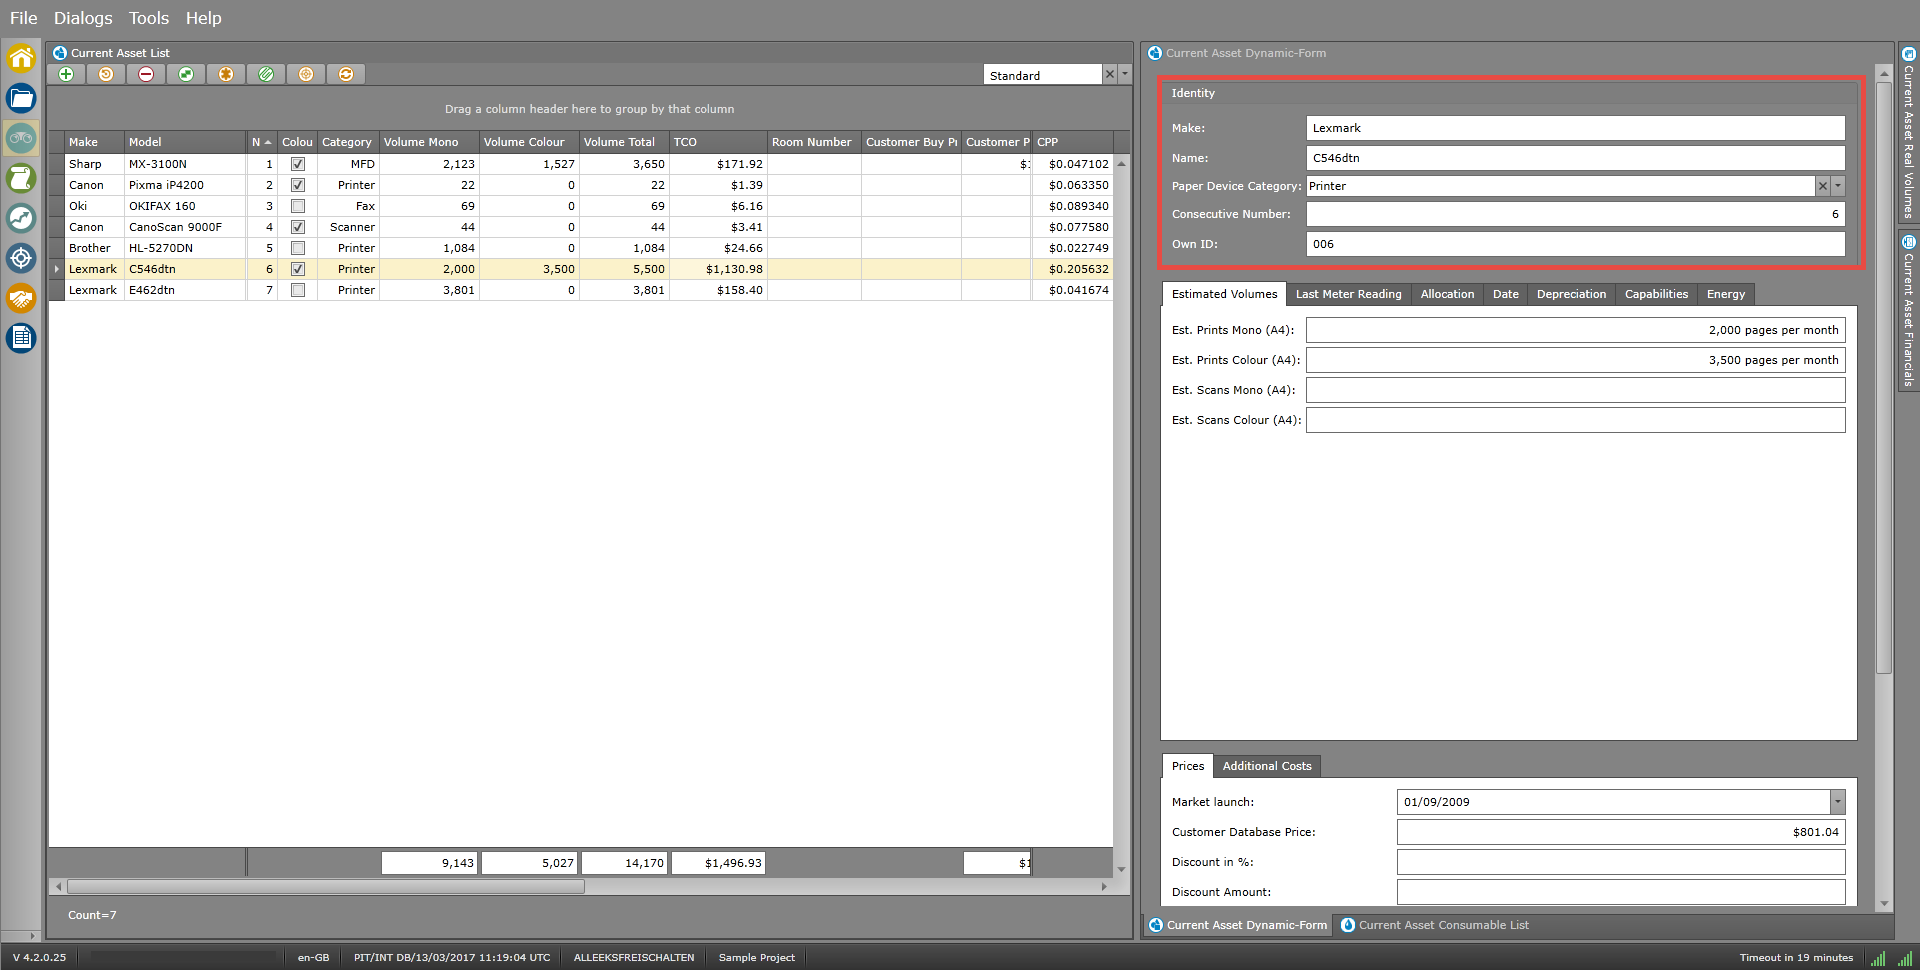
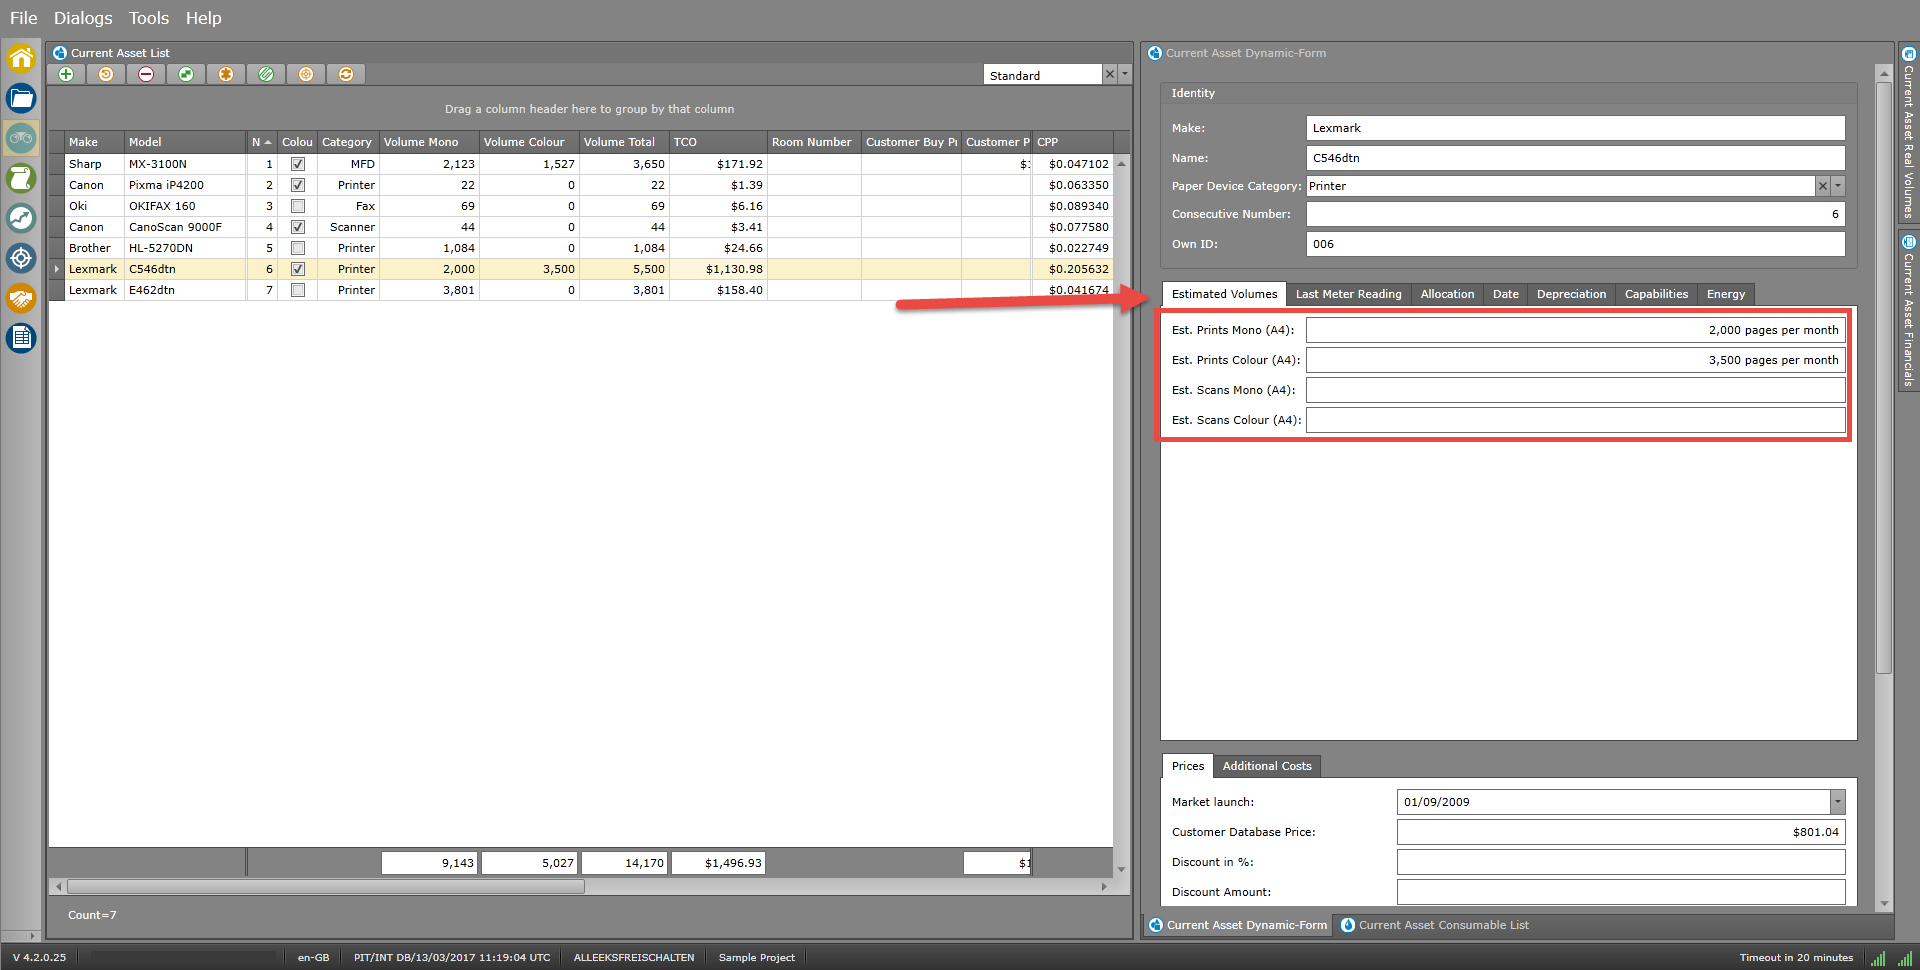
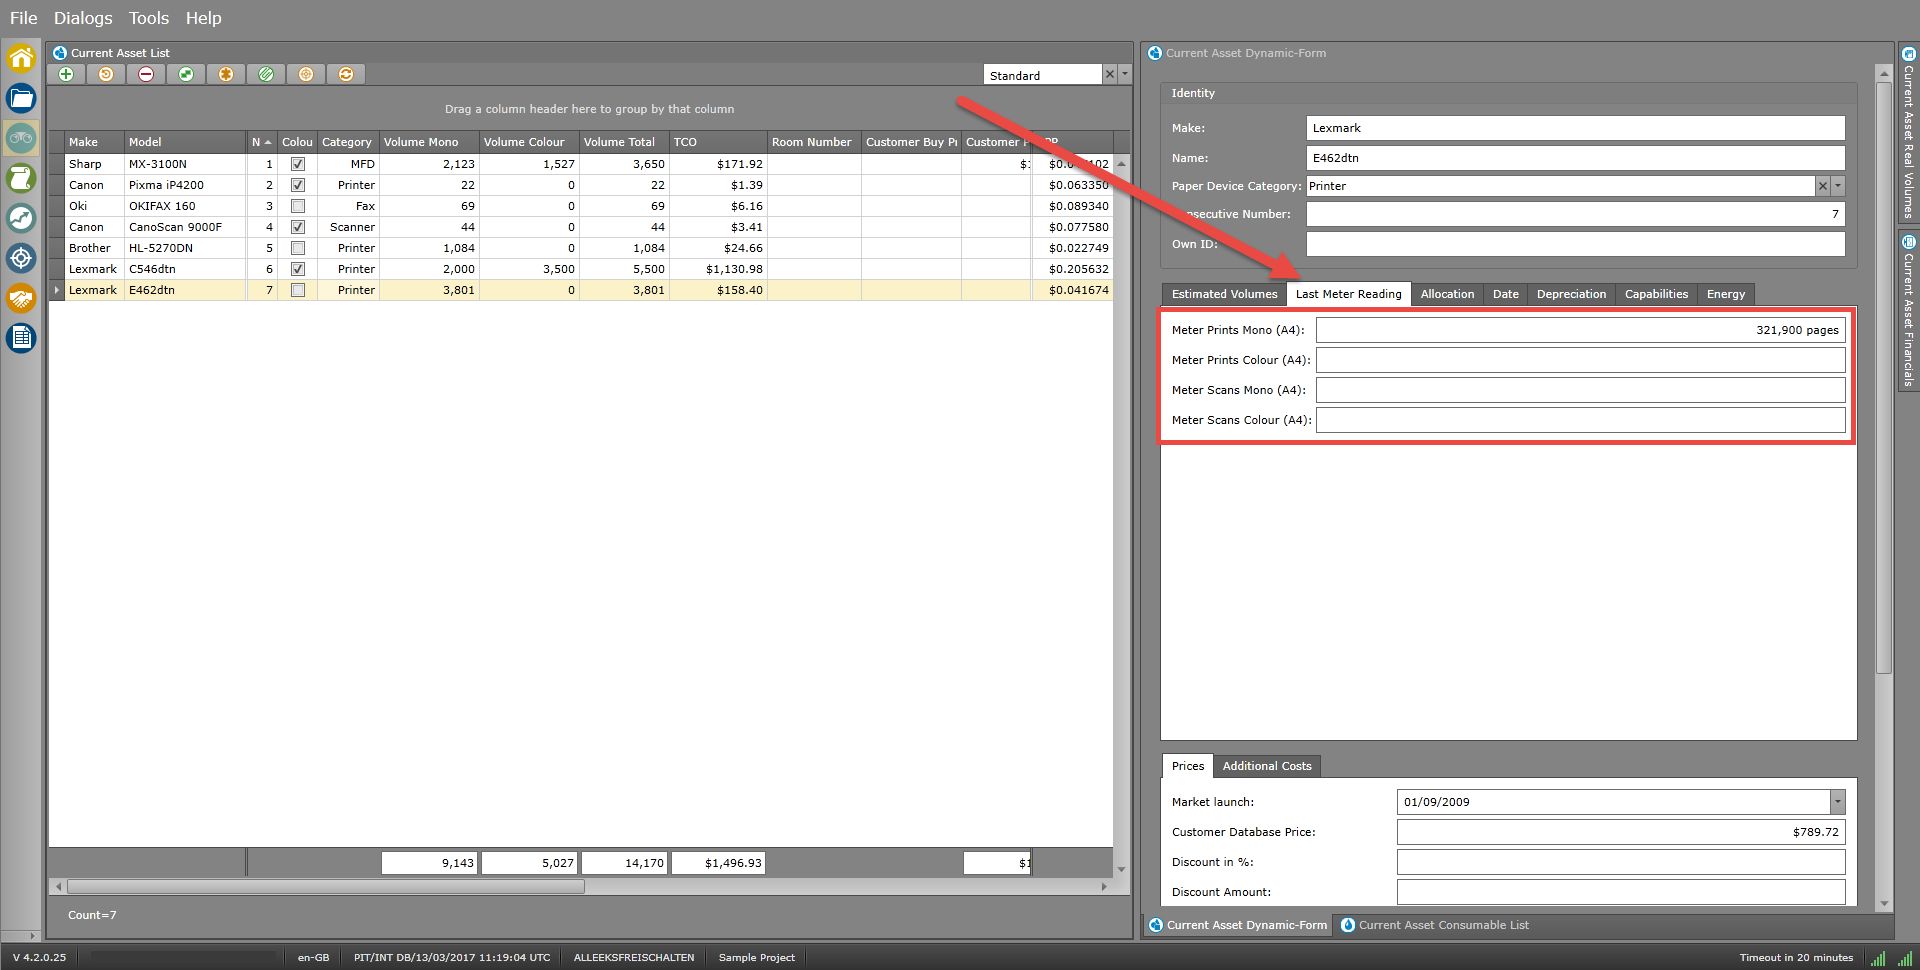
 on top of the Asset List
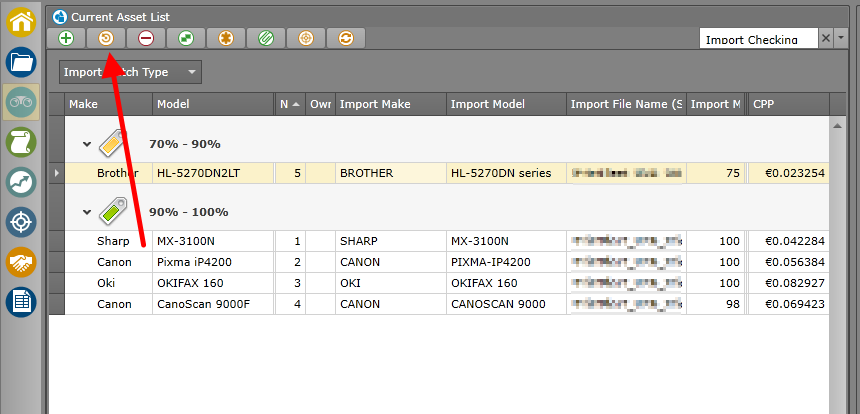 on the action bar
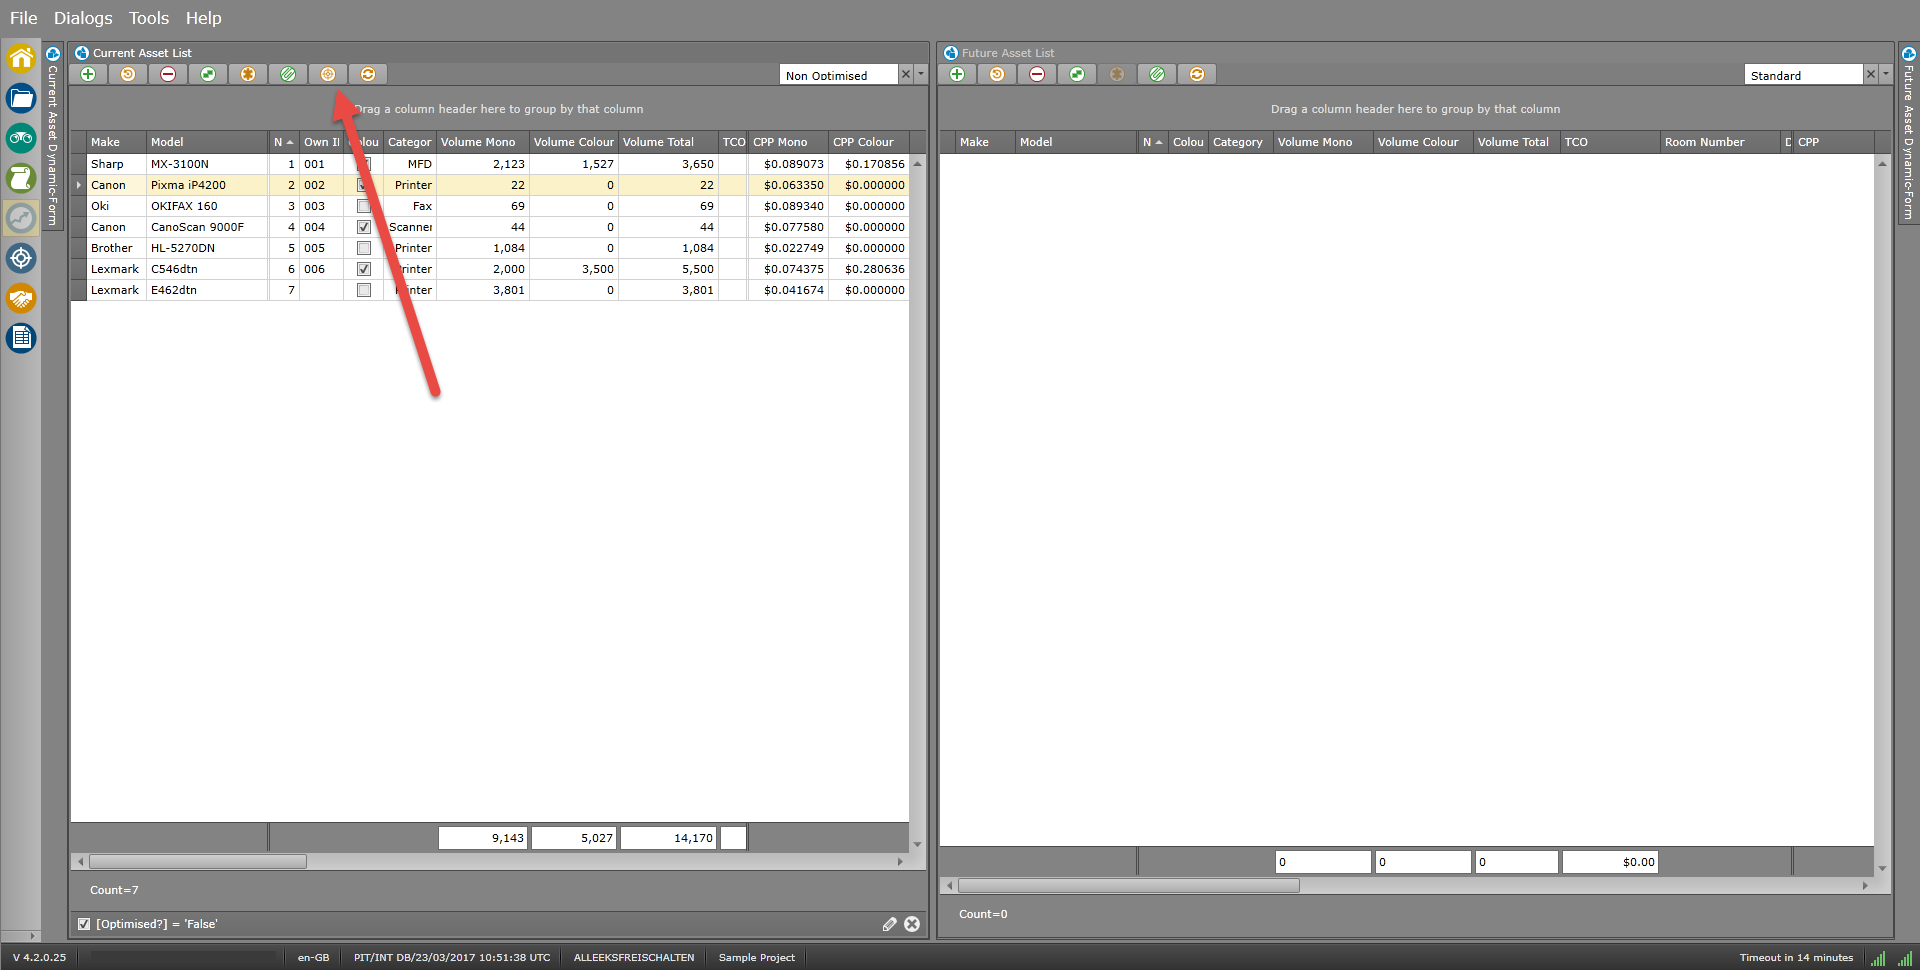
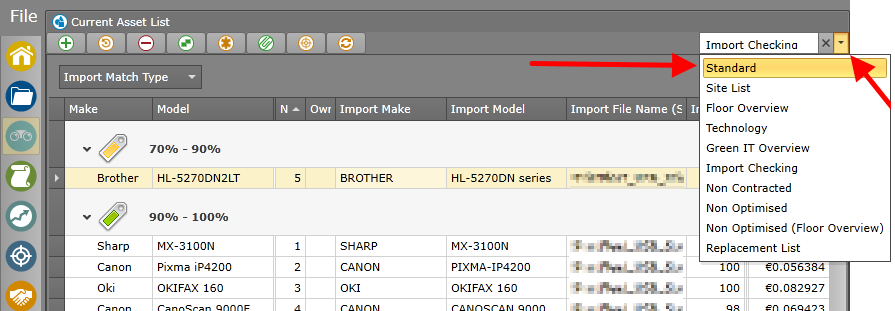
 on top of the Asset List
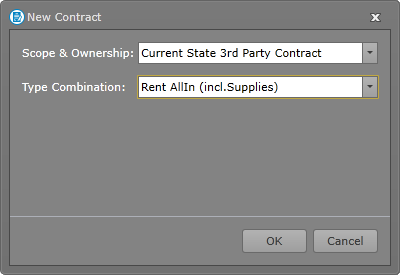
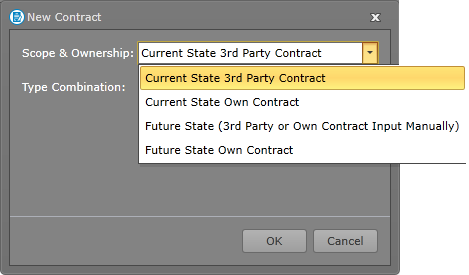
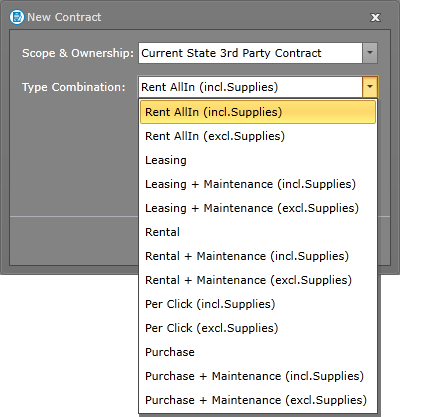
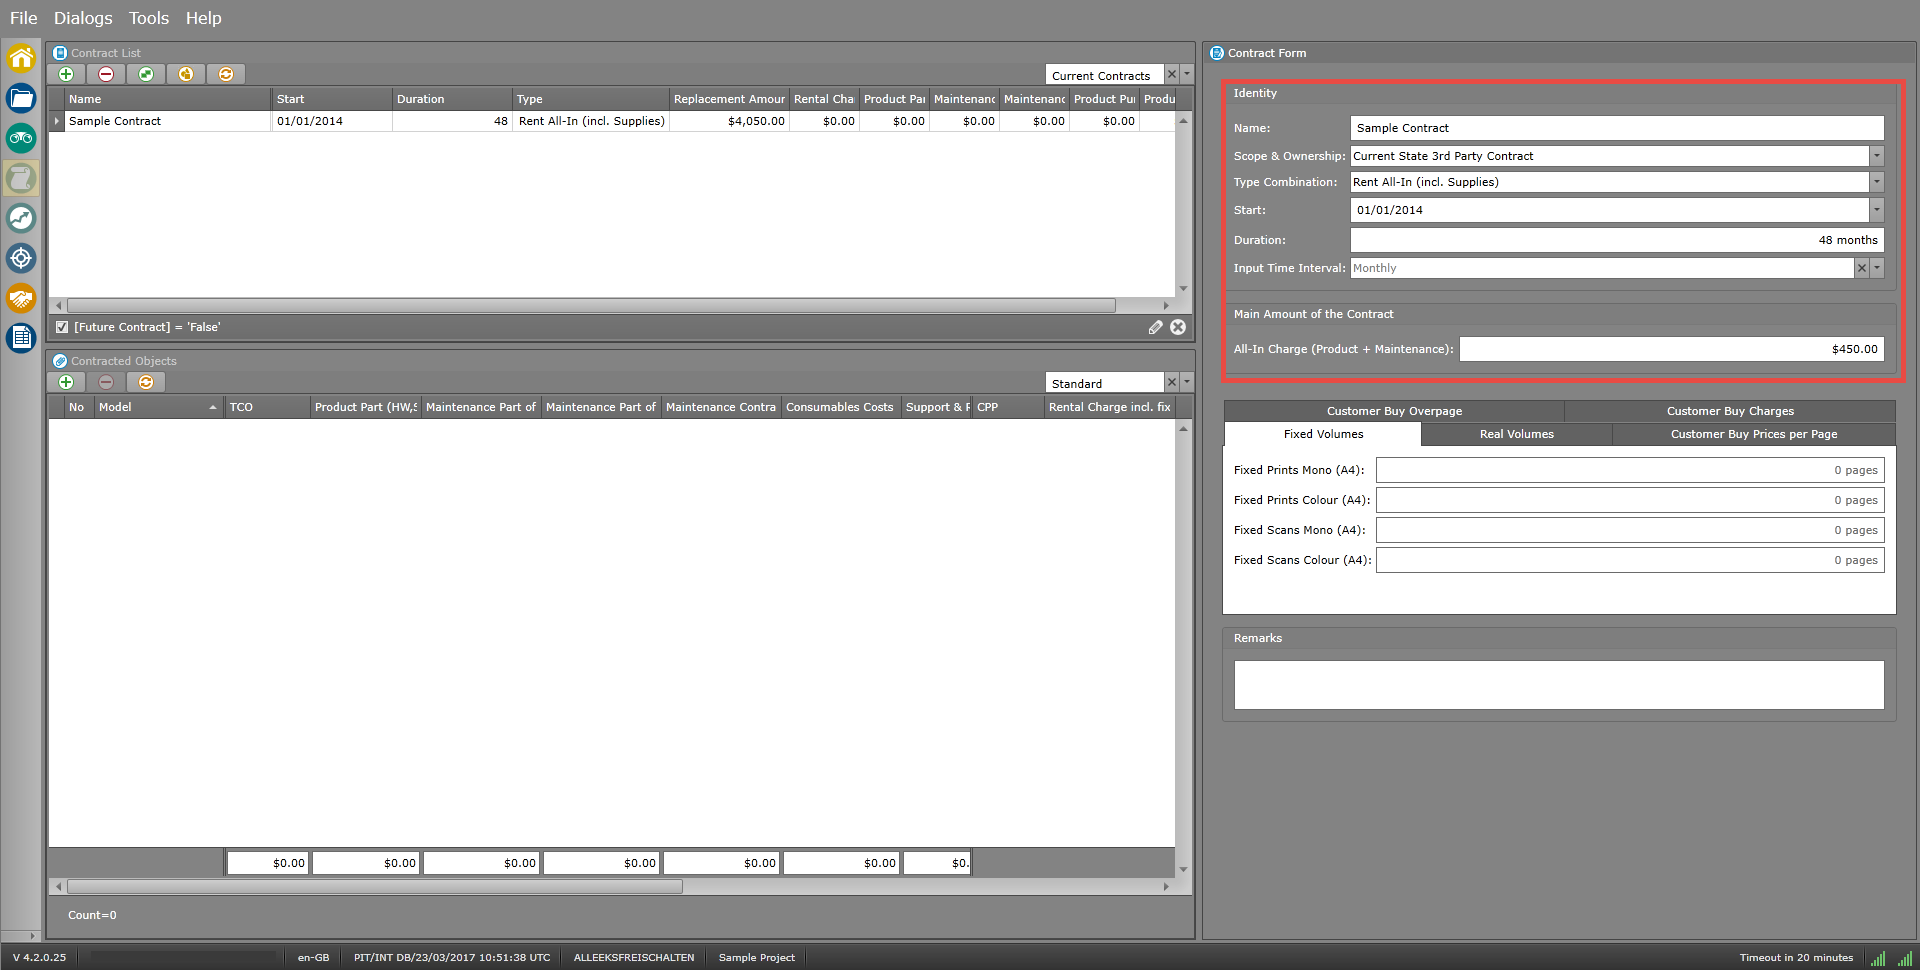
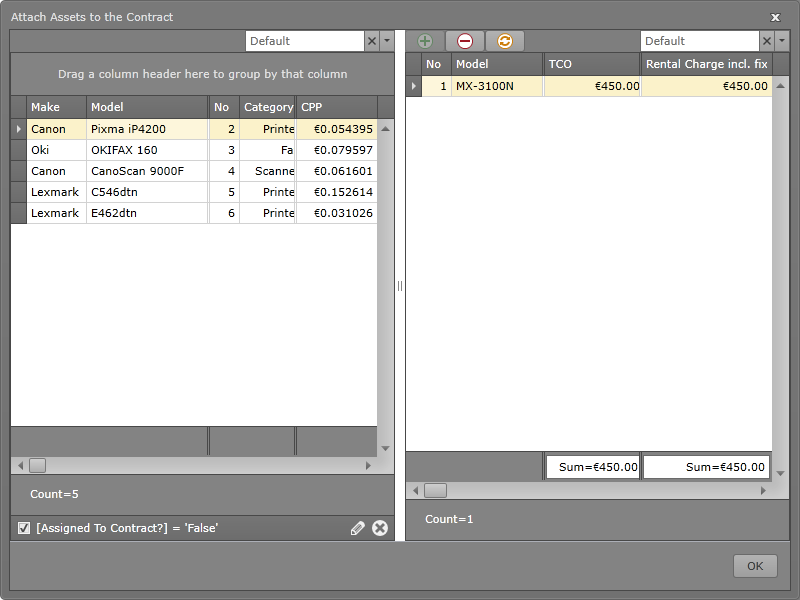
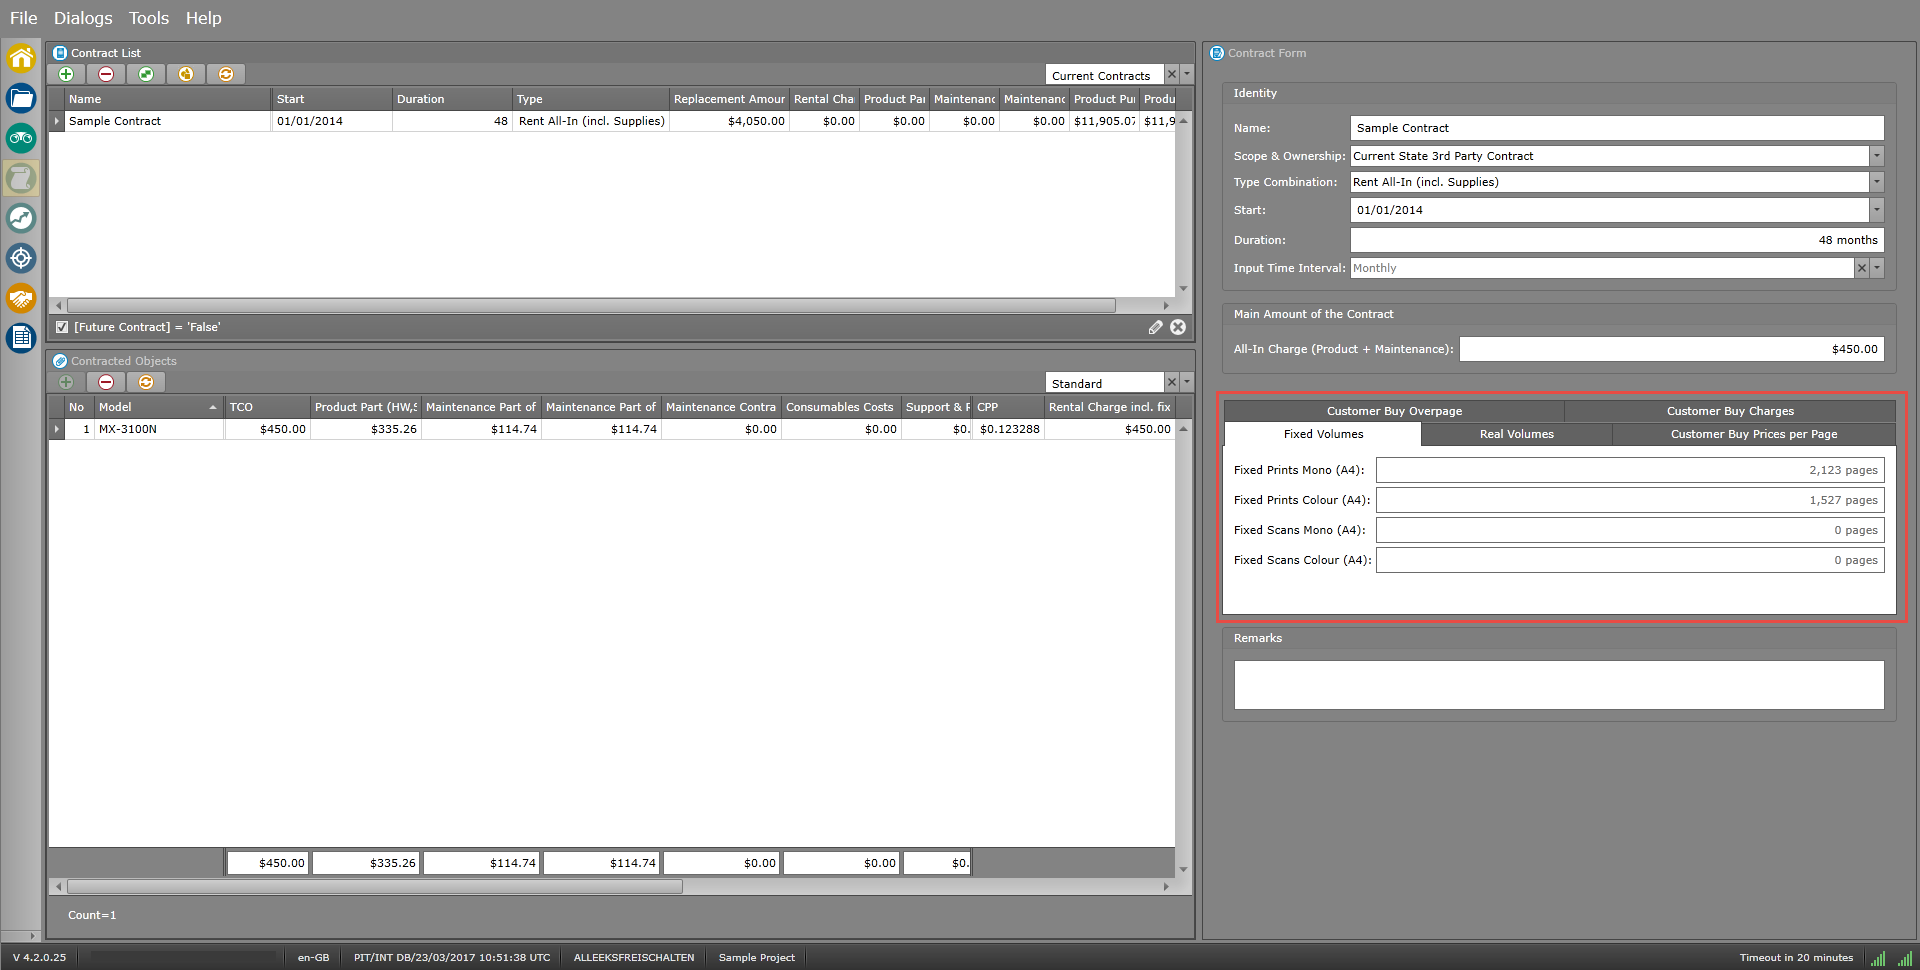
 Current State Contracts
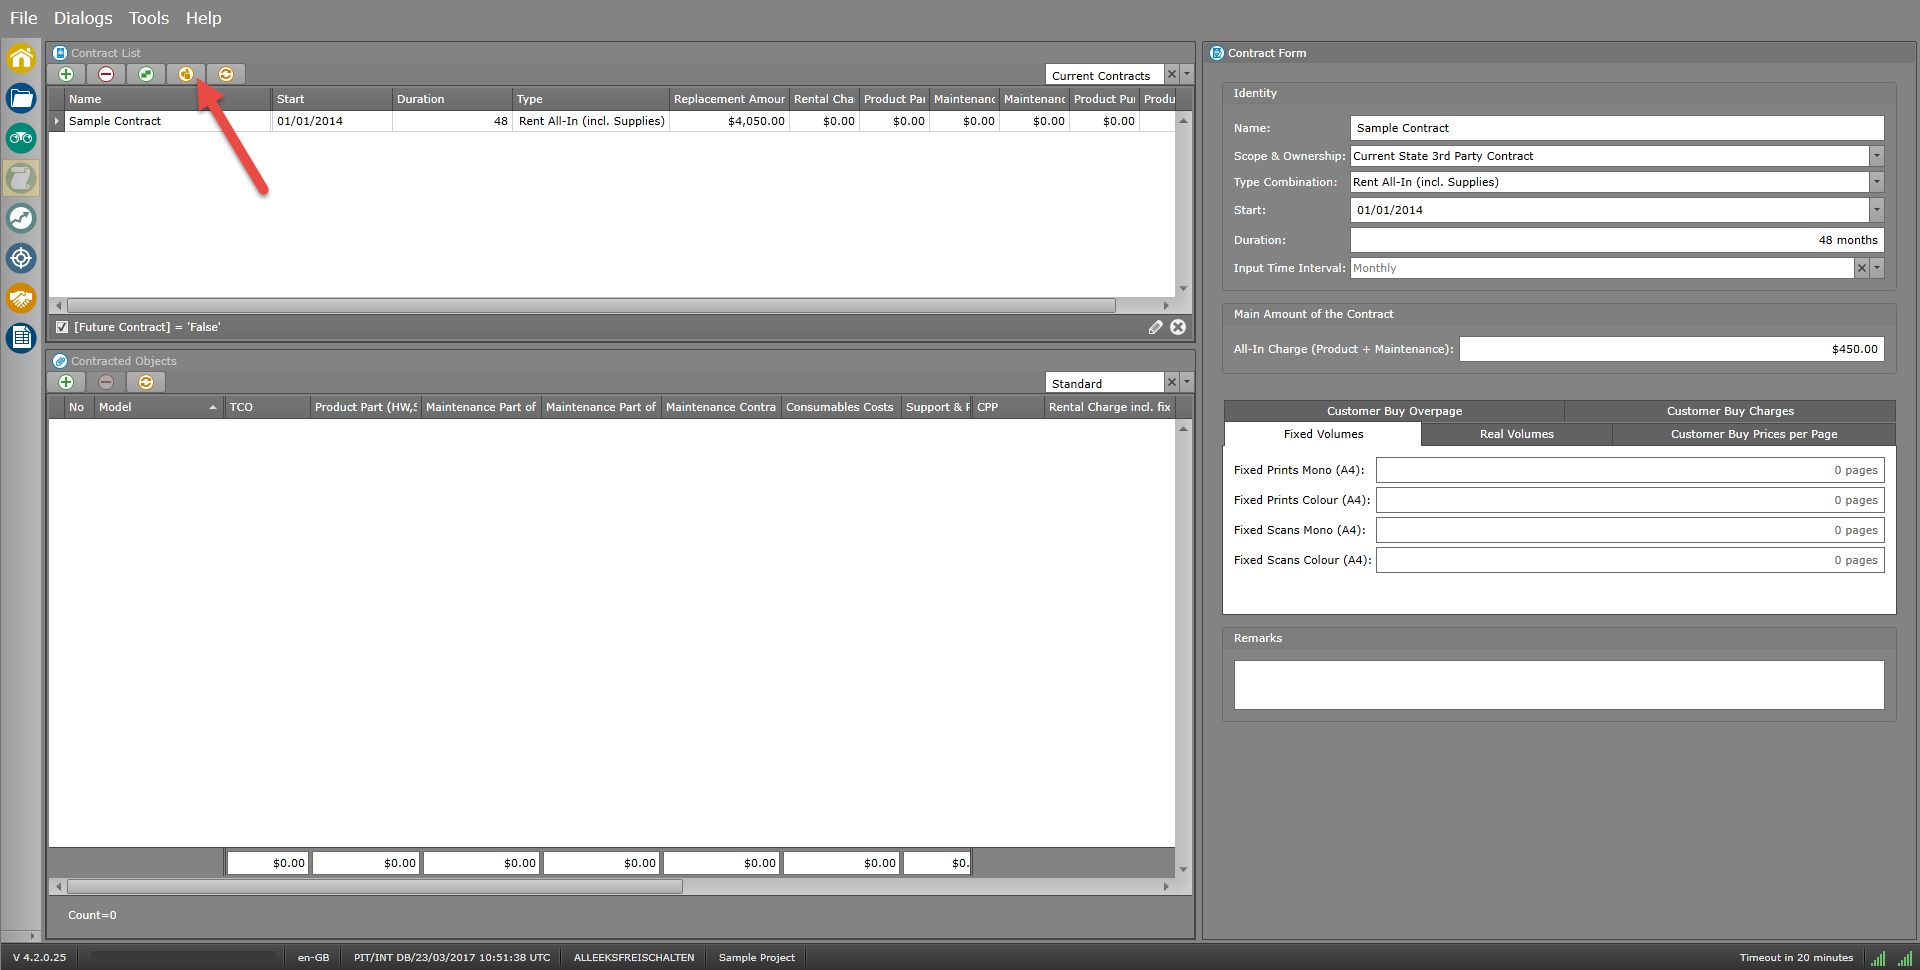
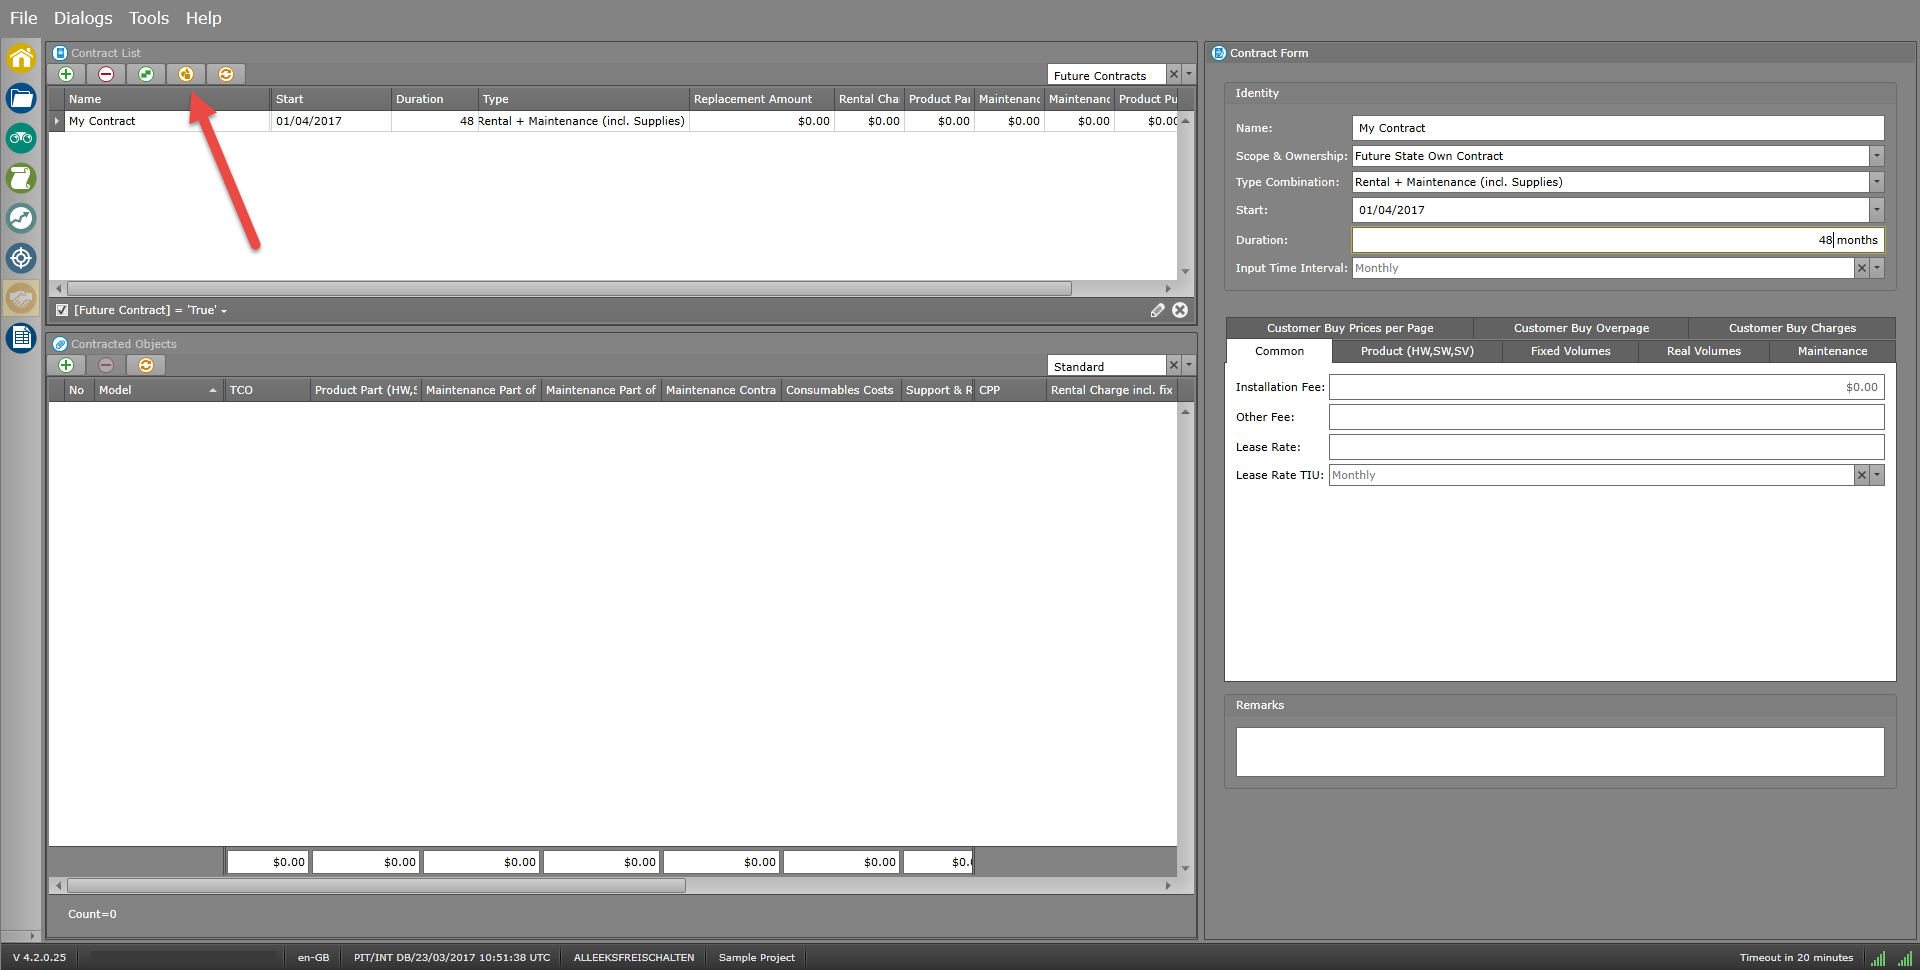
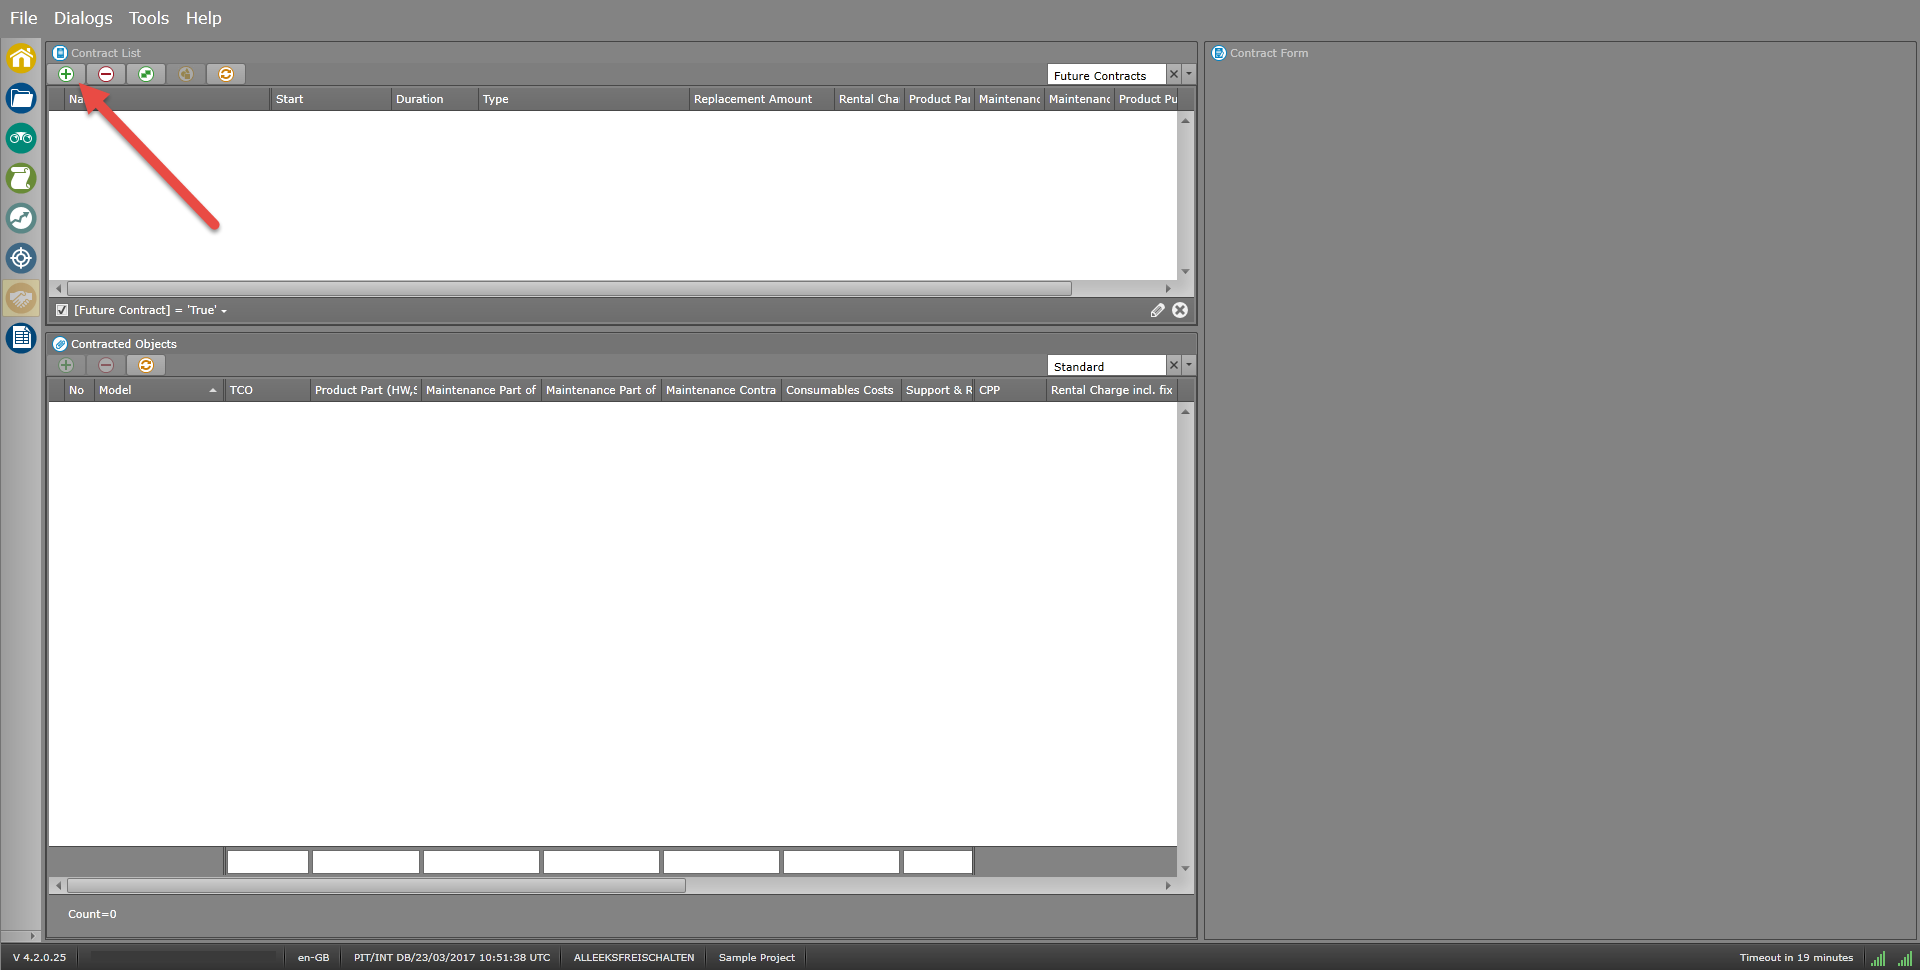
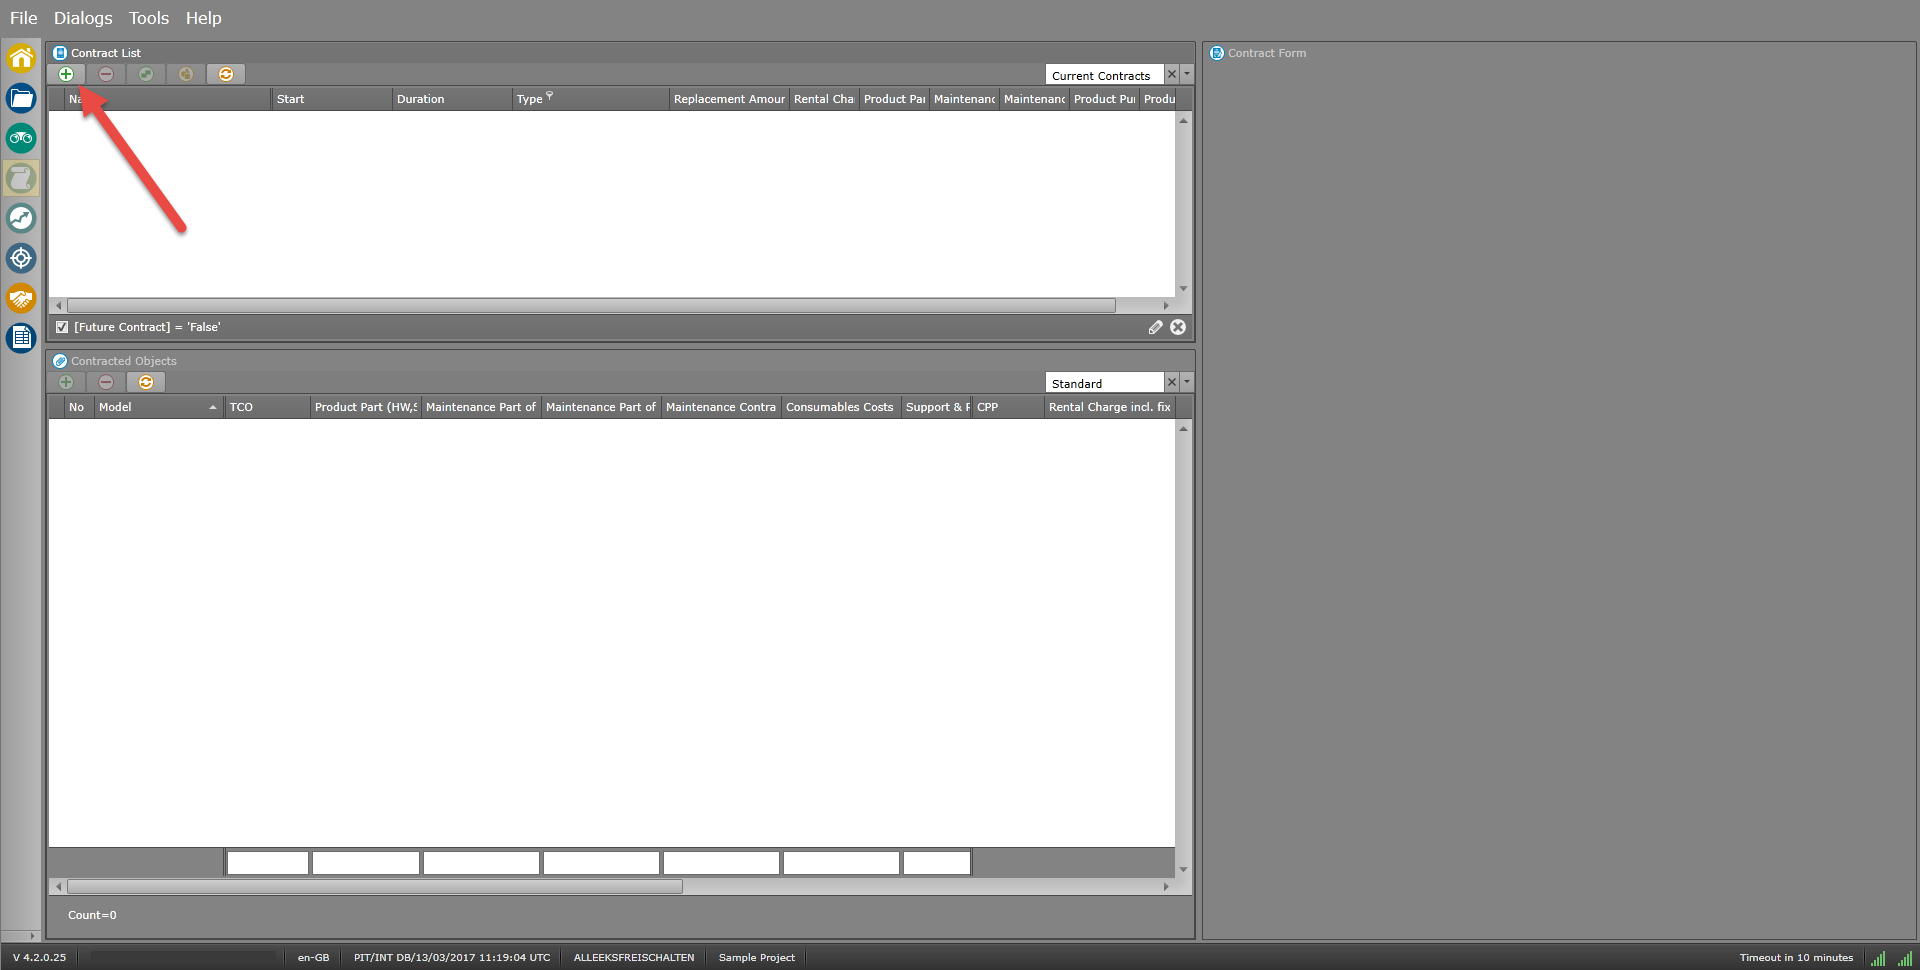 at the top of the Contract List
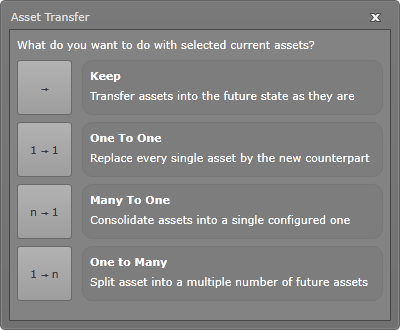
 Optimisation
The optimisation workspace is structured in 2 halves:
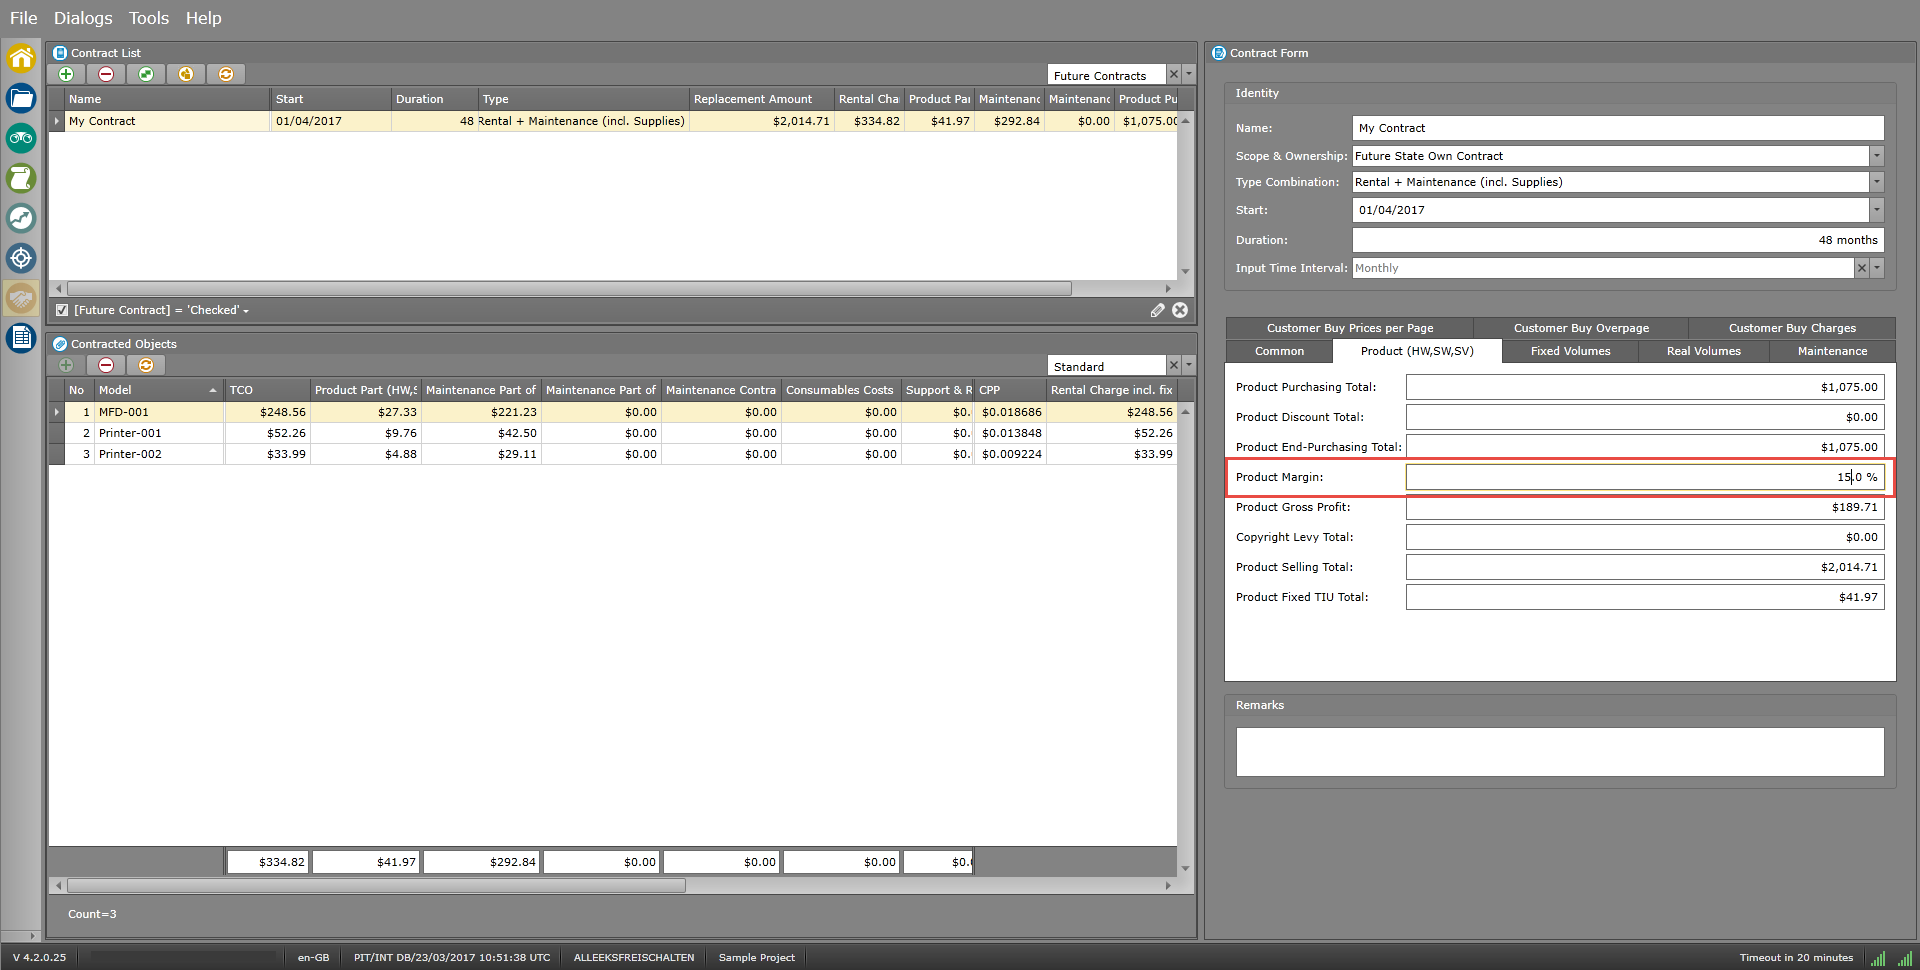
 Future State Assets
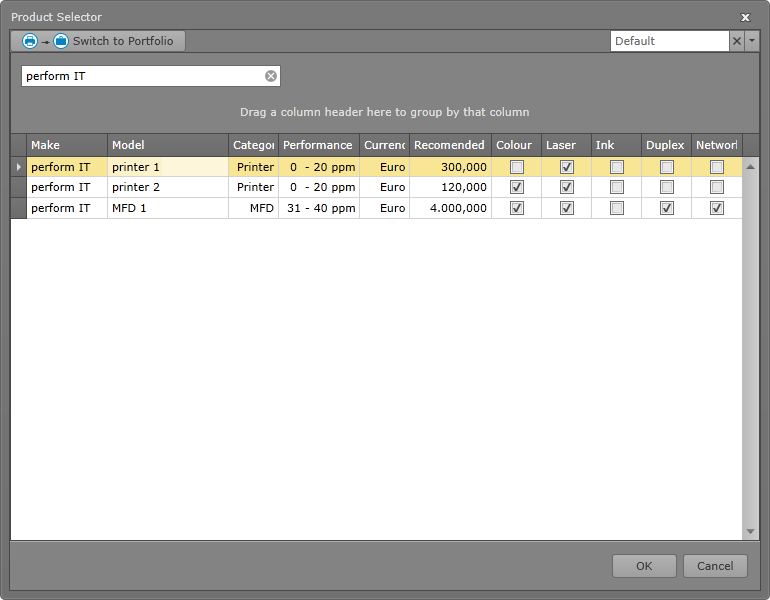
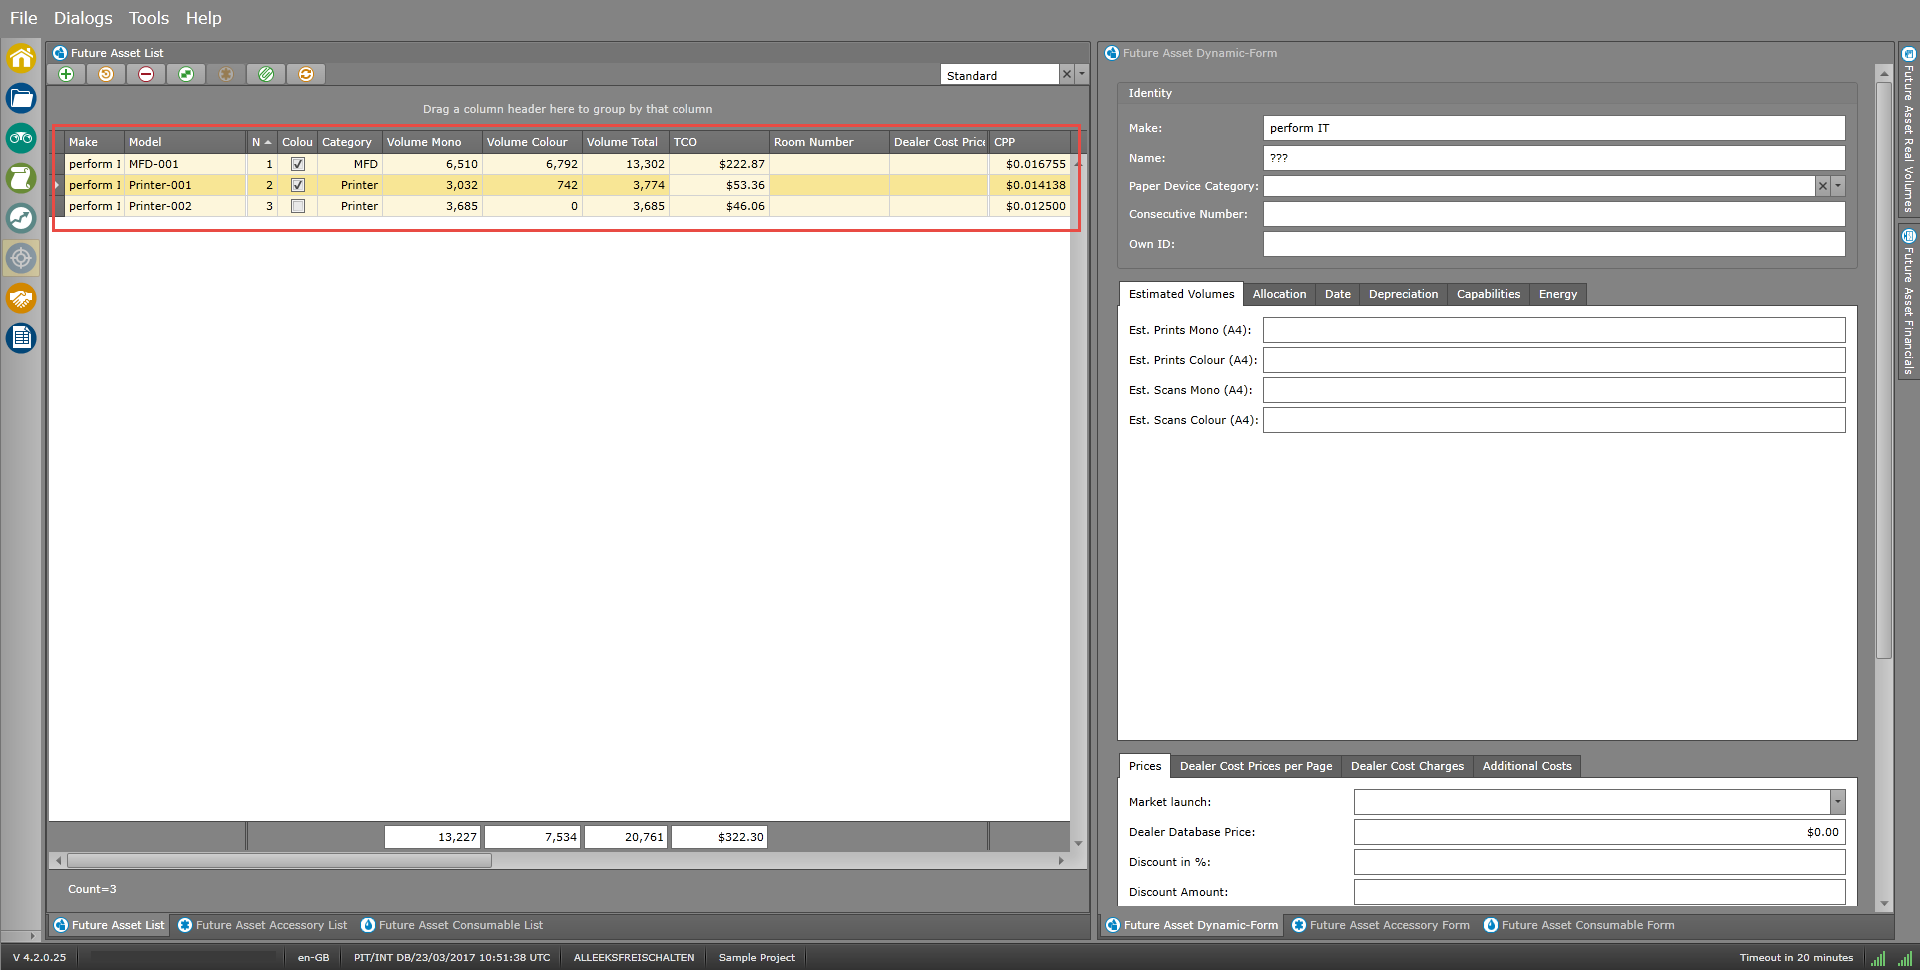
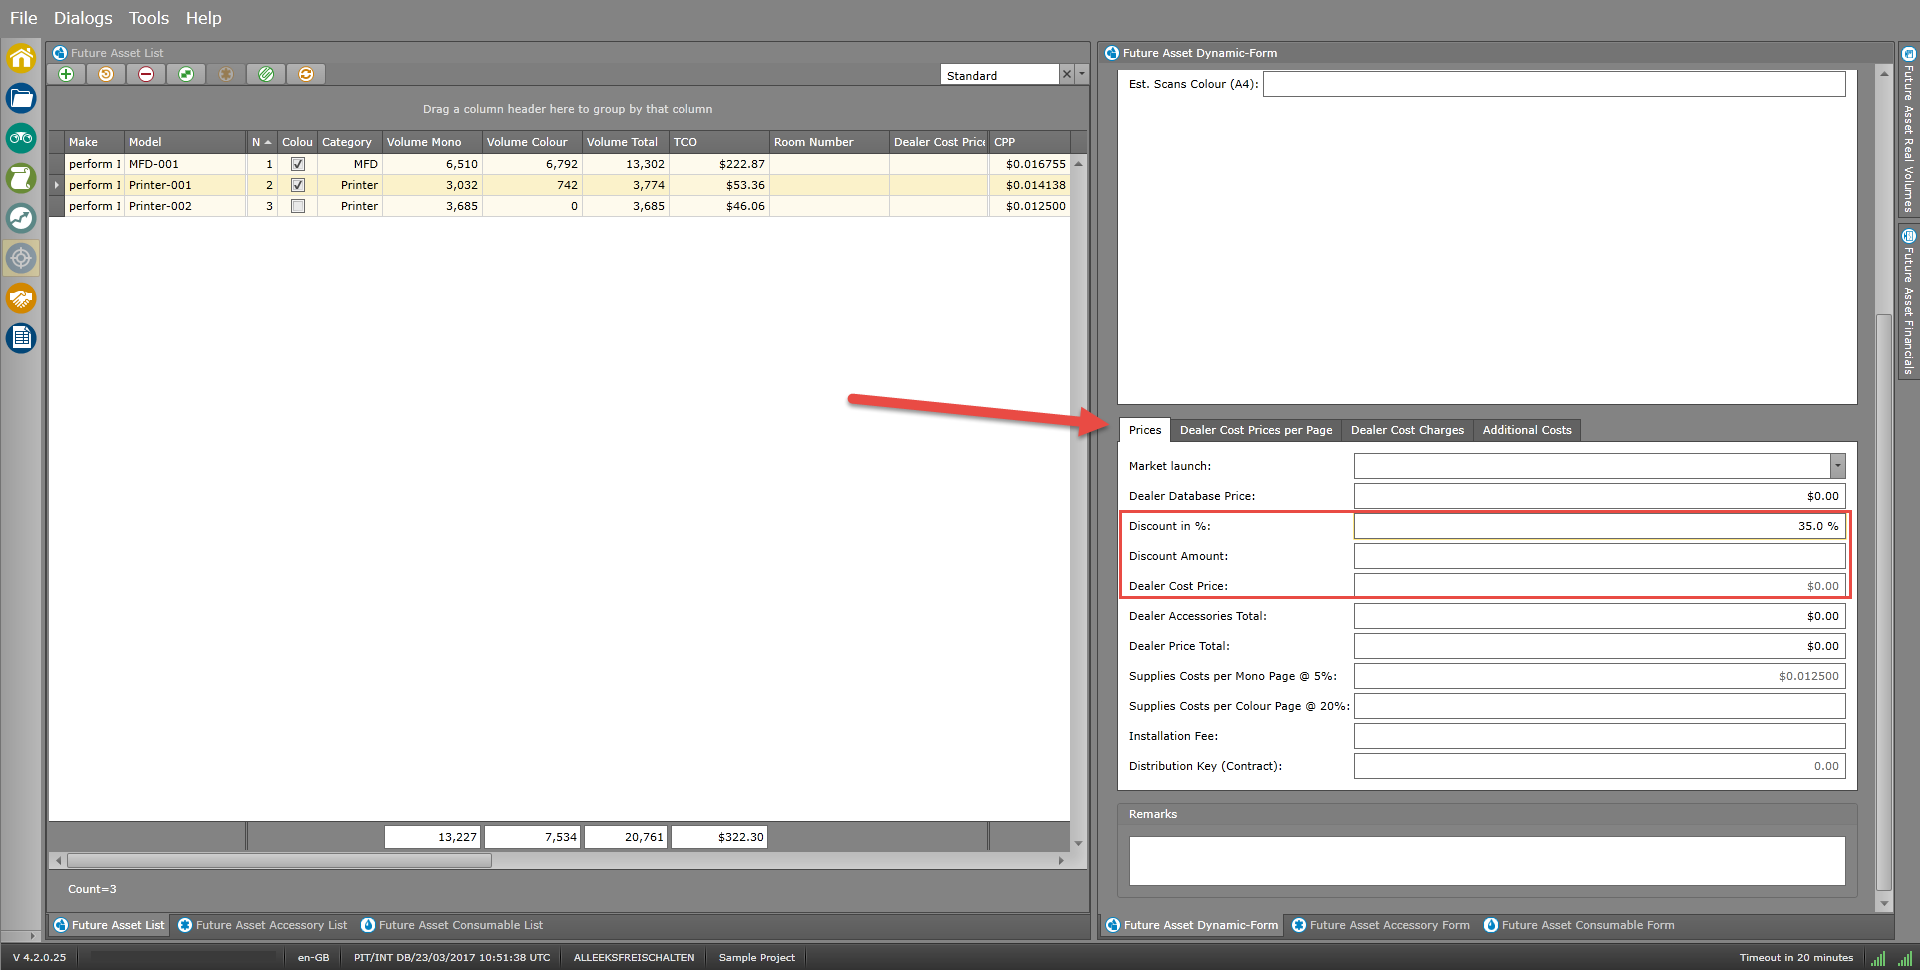
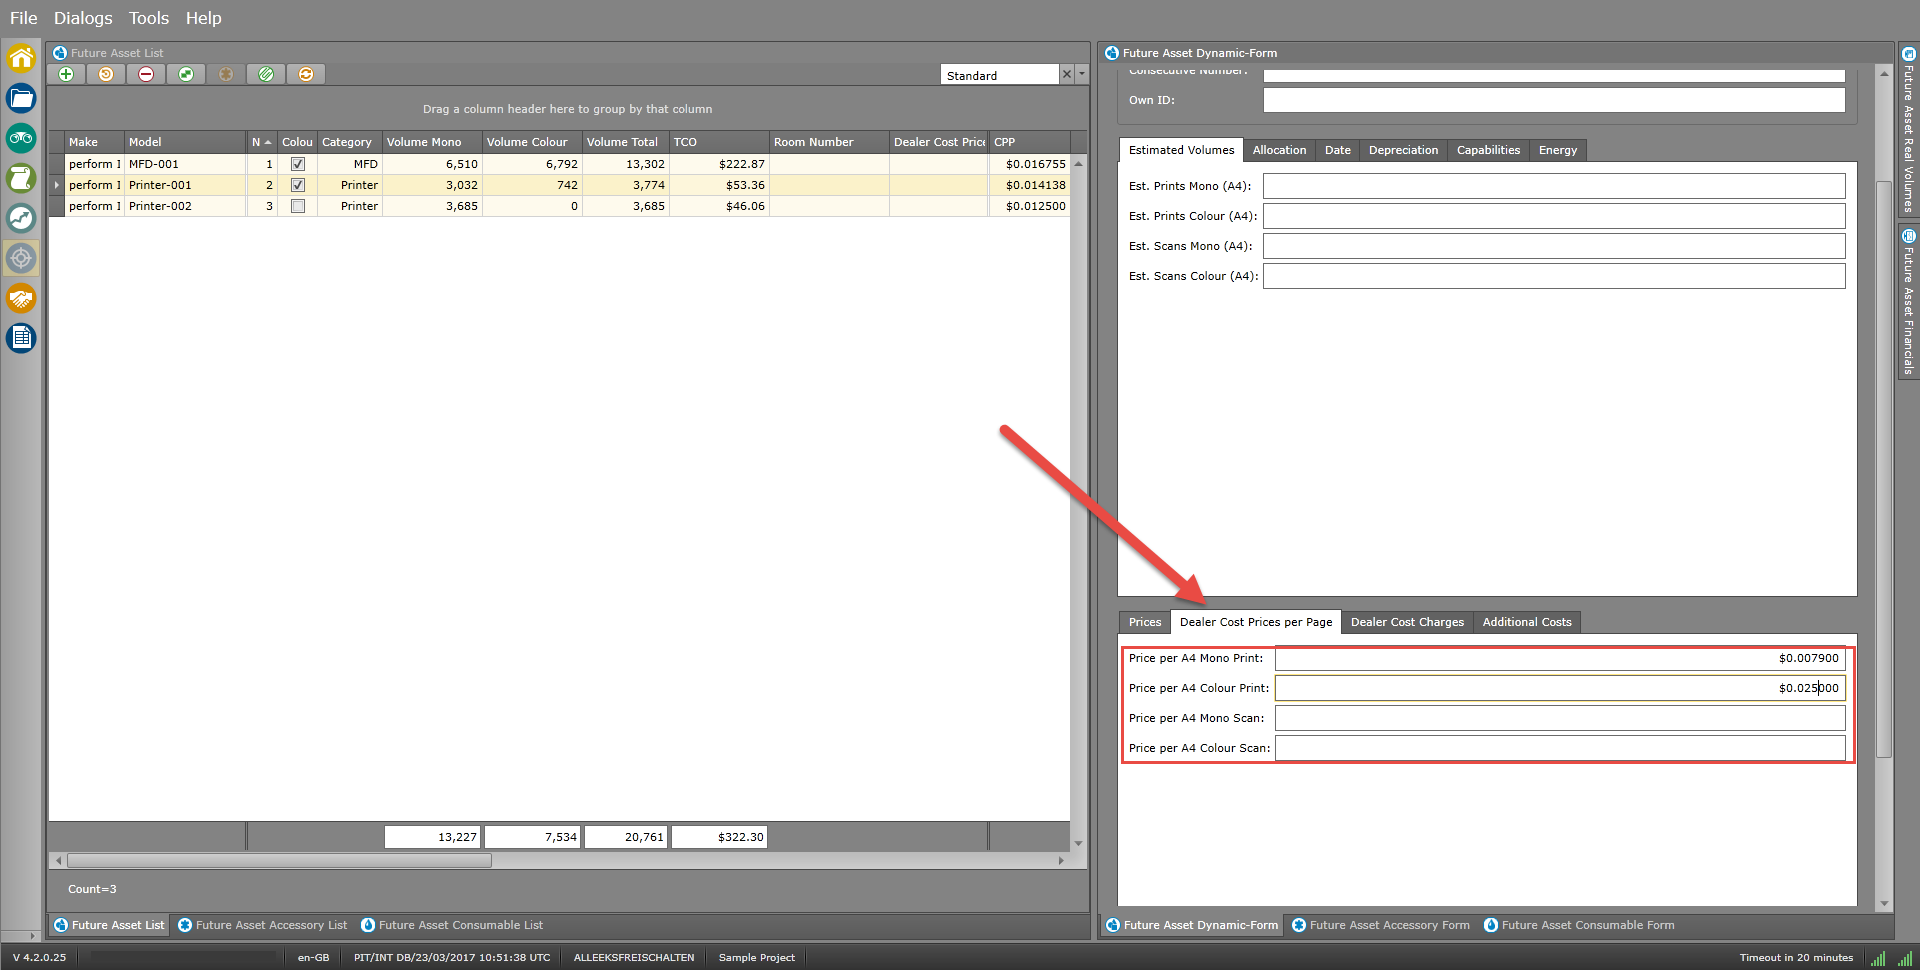
Distribute commercial data for the new devices
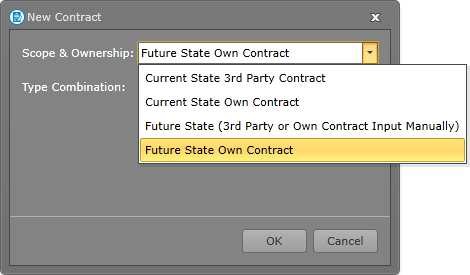
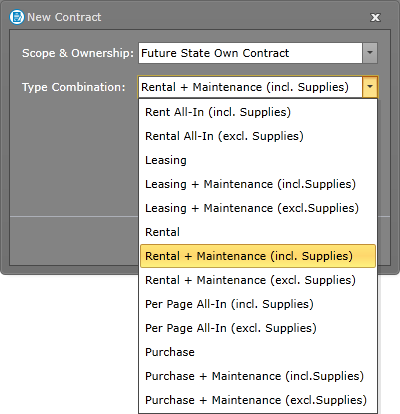
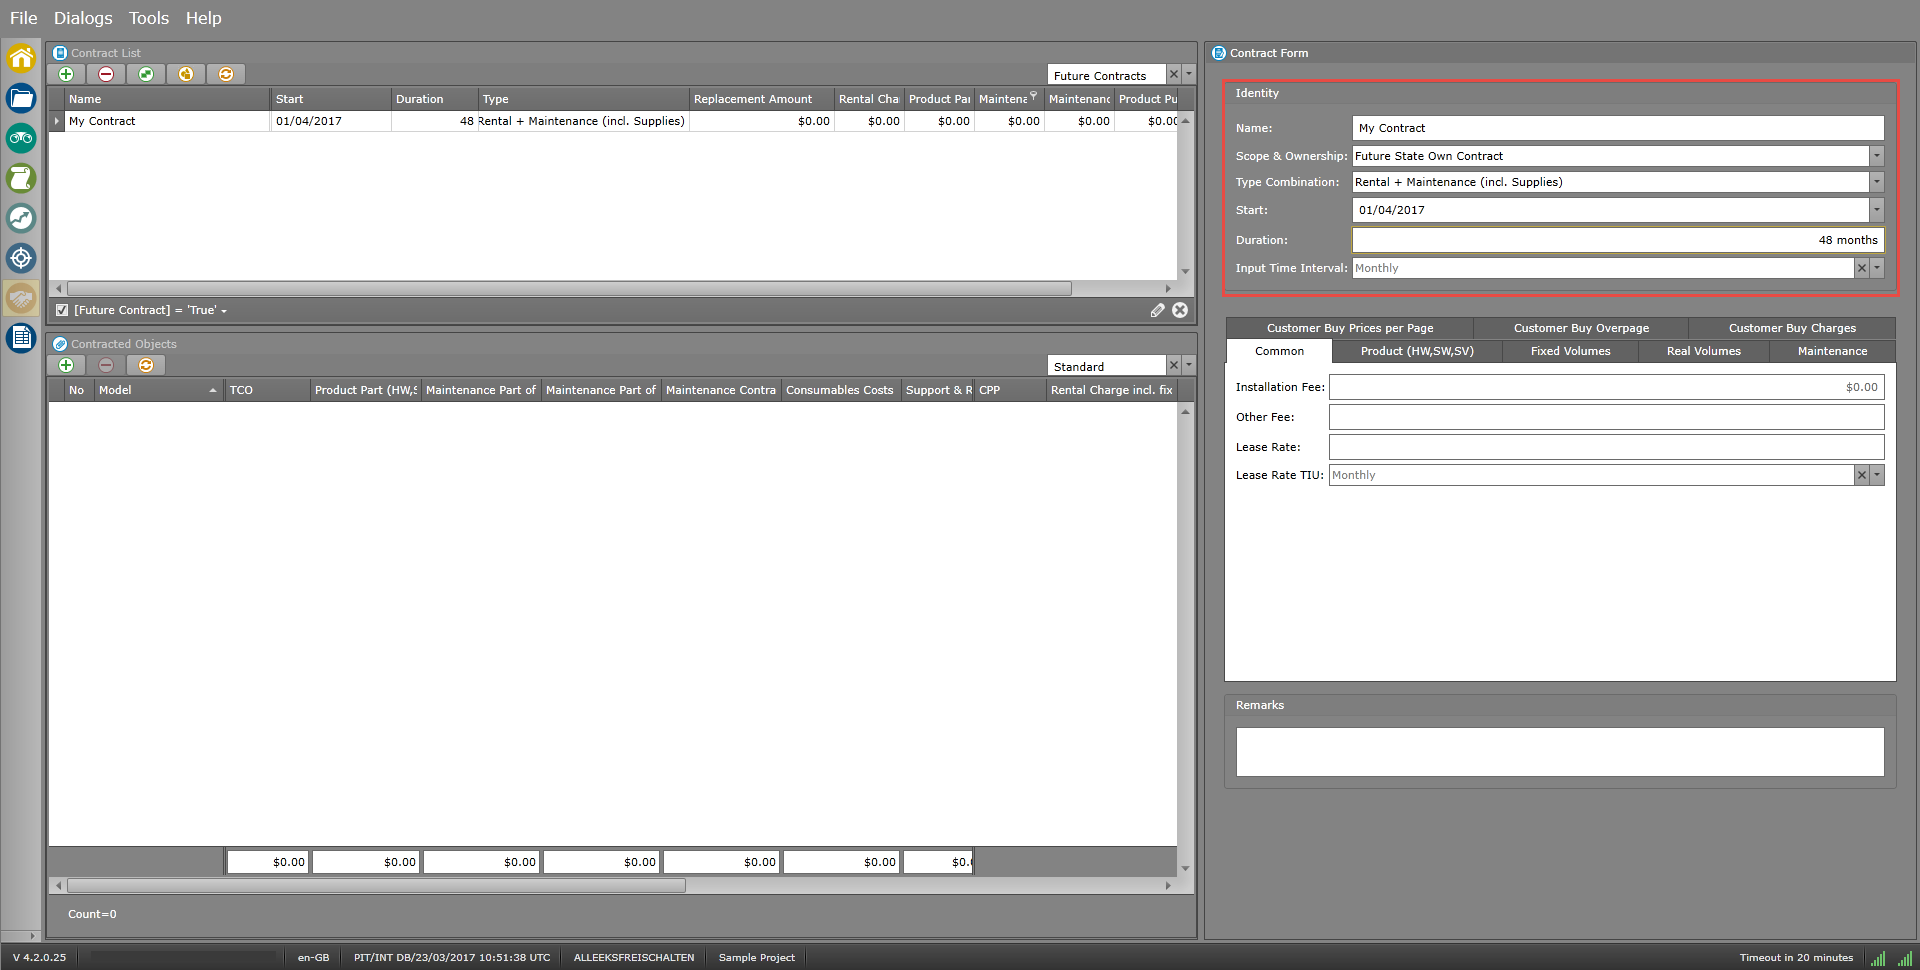
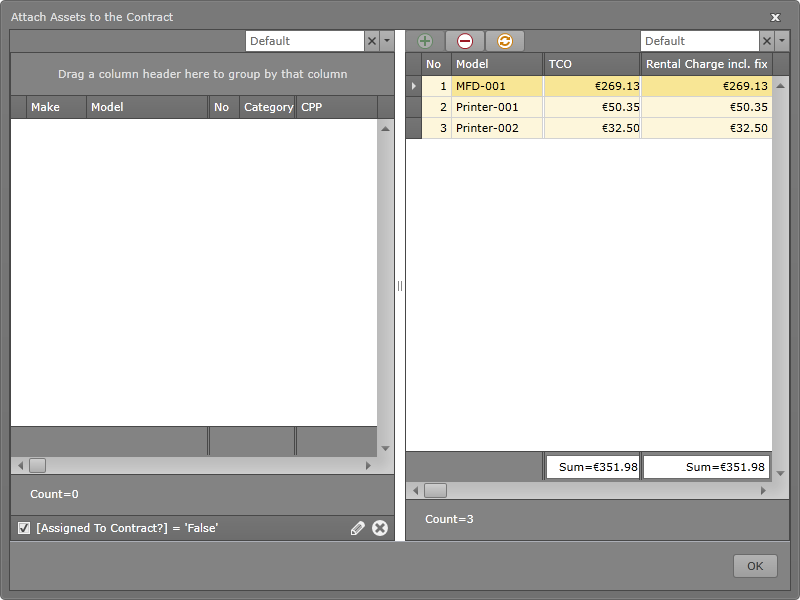
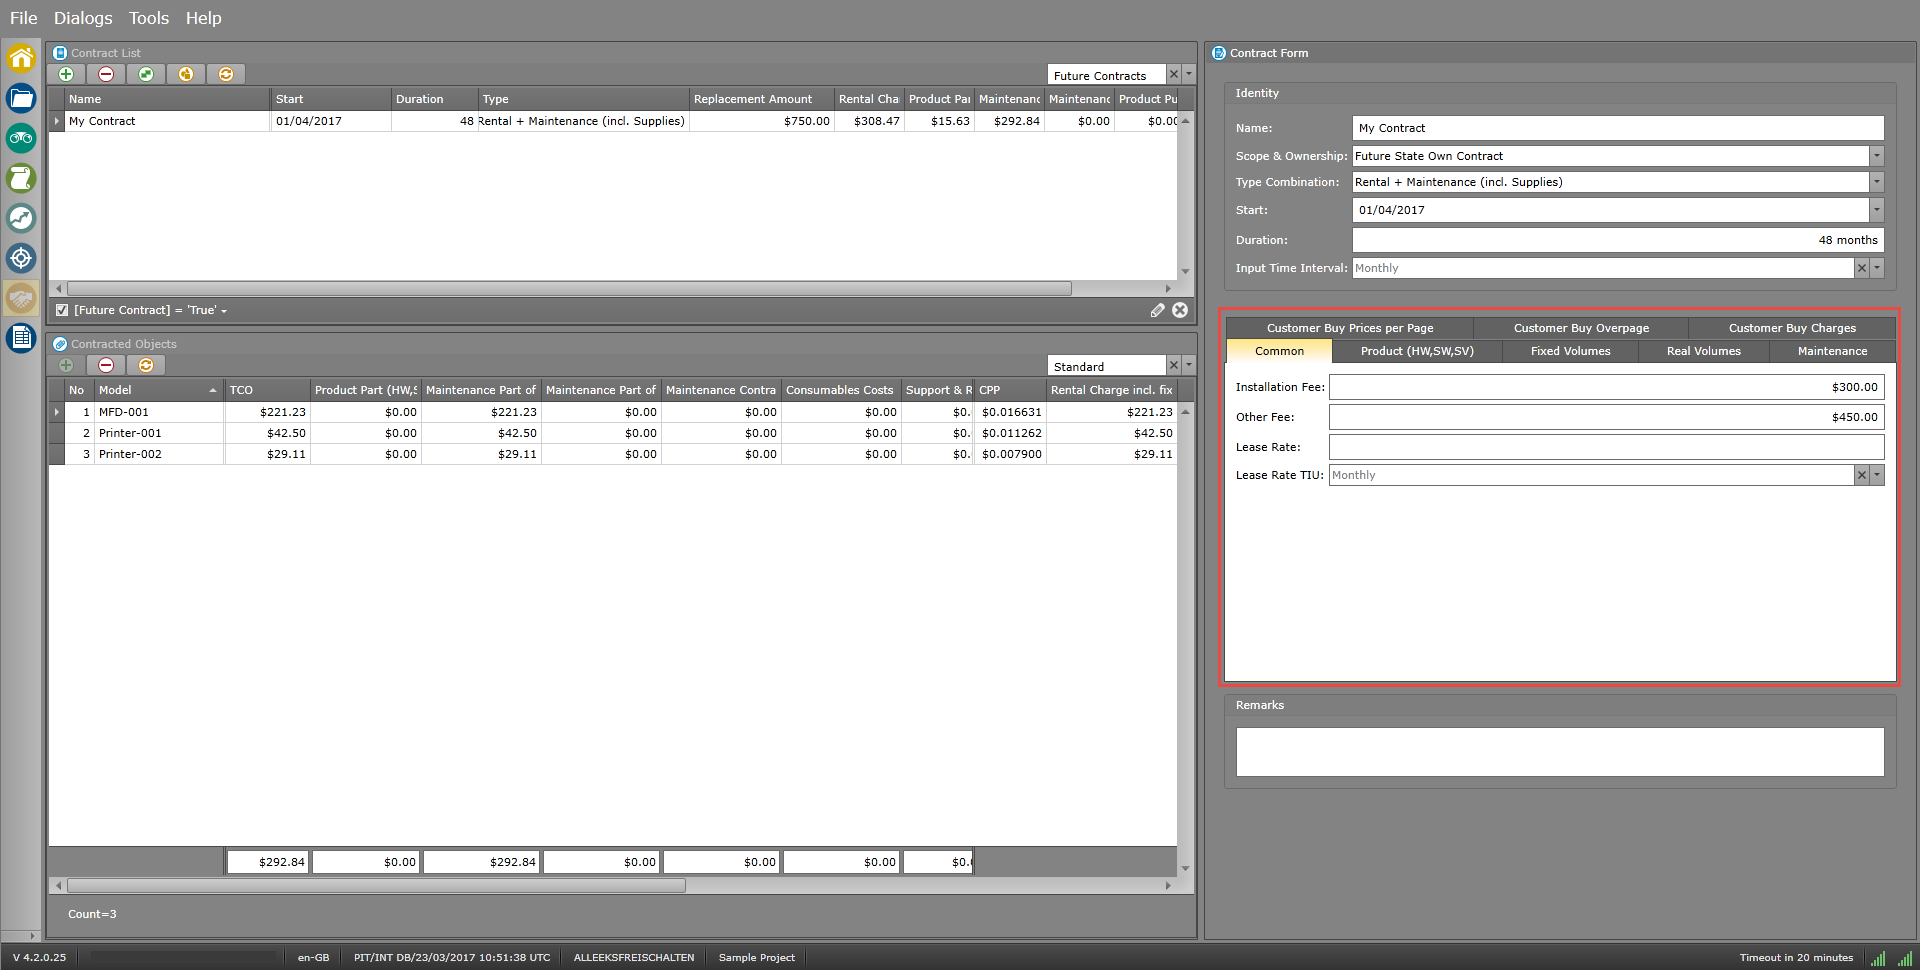
 Future State Contracts
 at the top of the Contract List
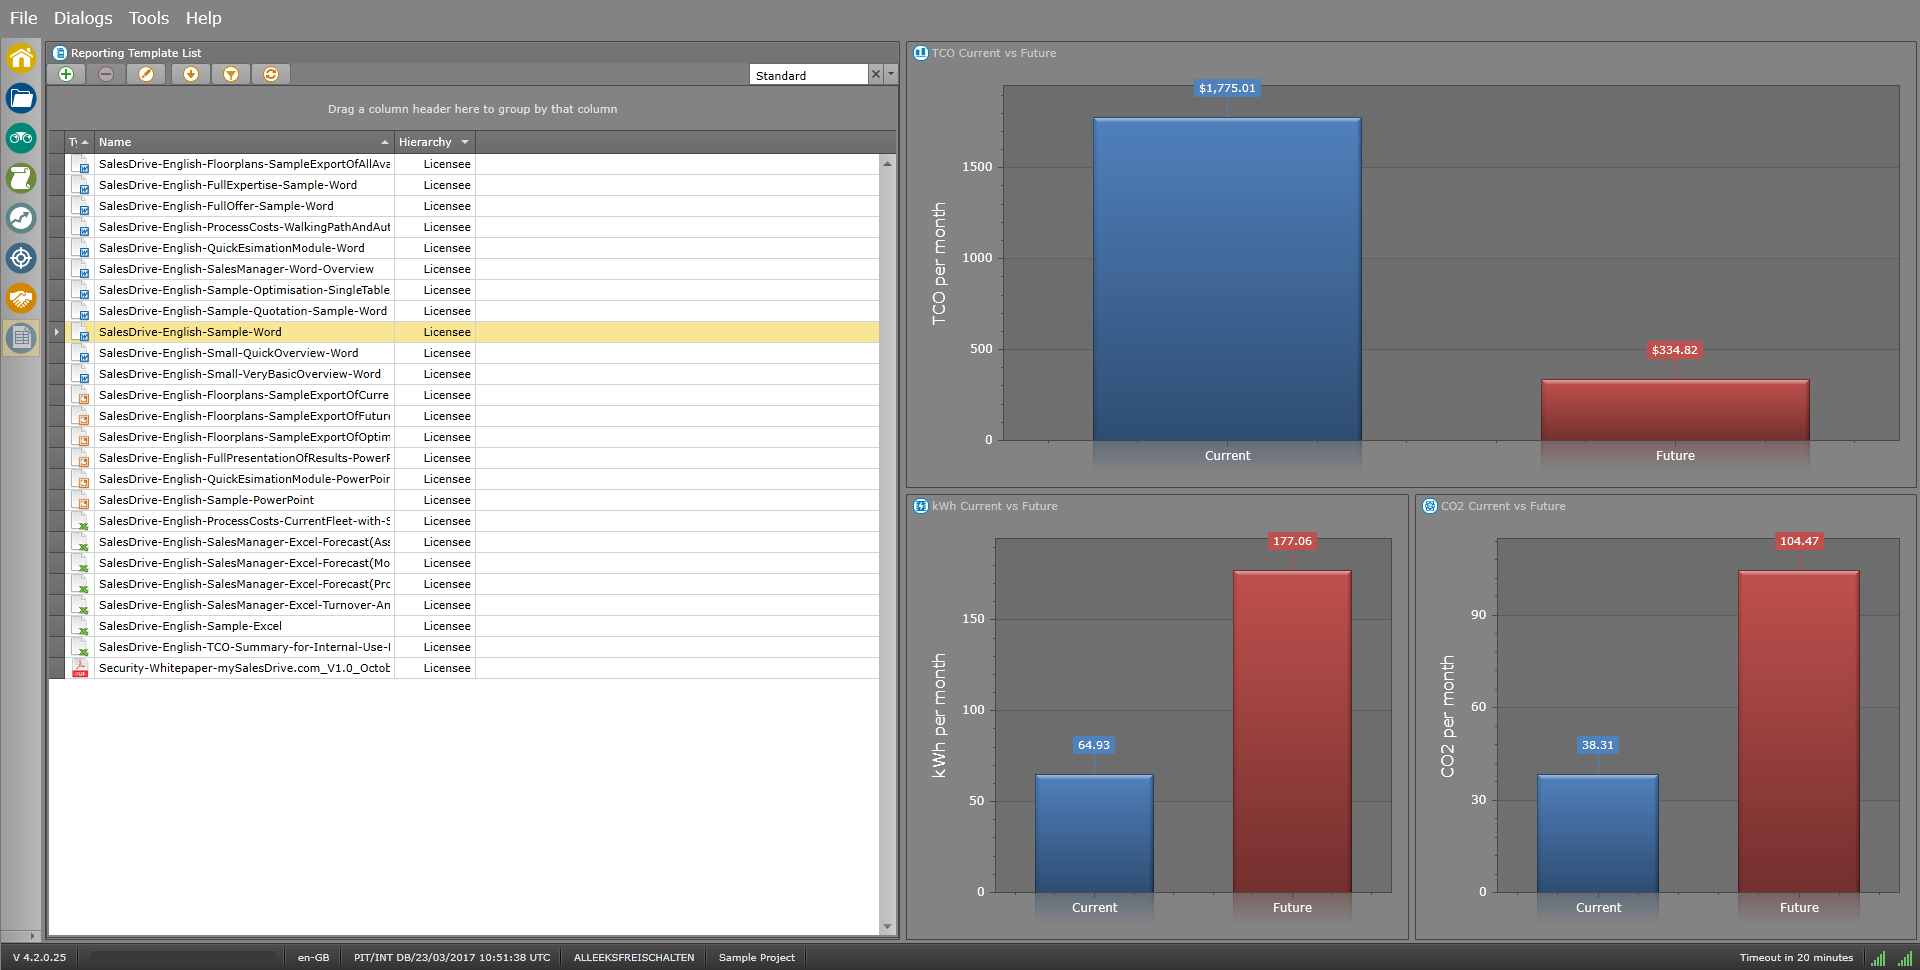
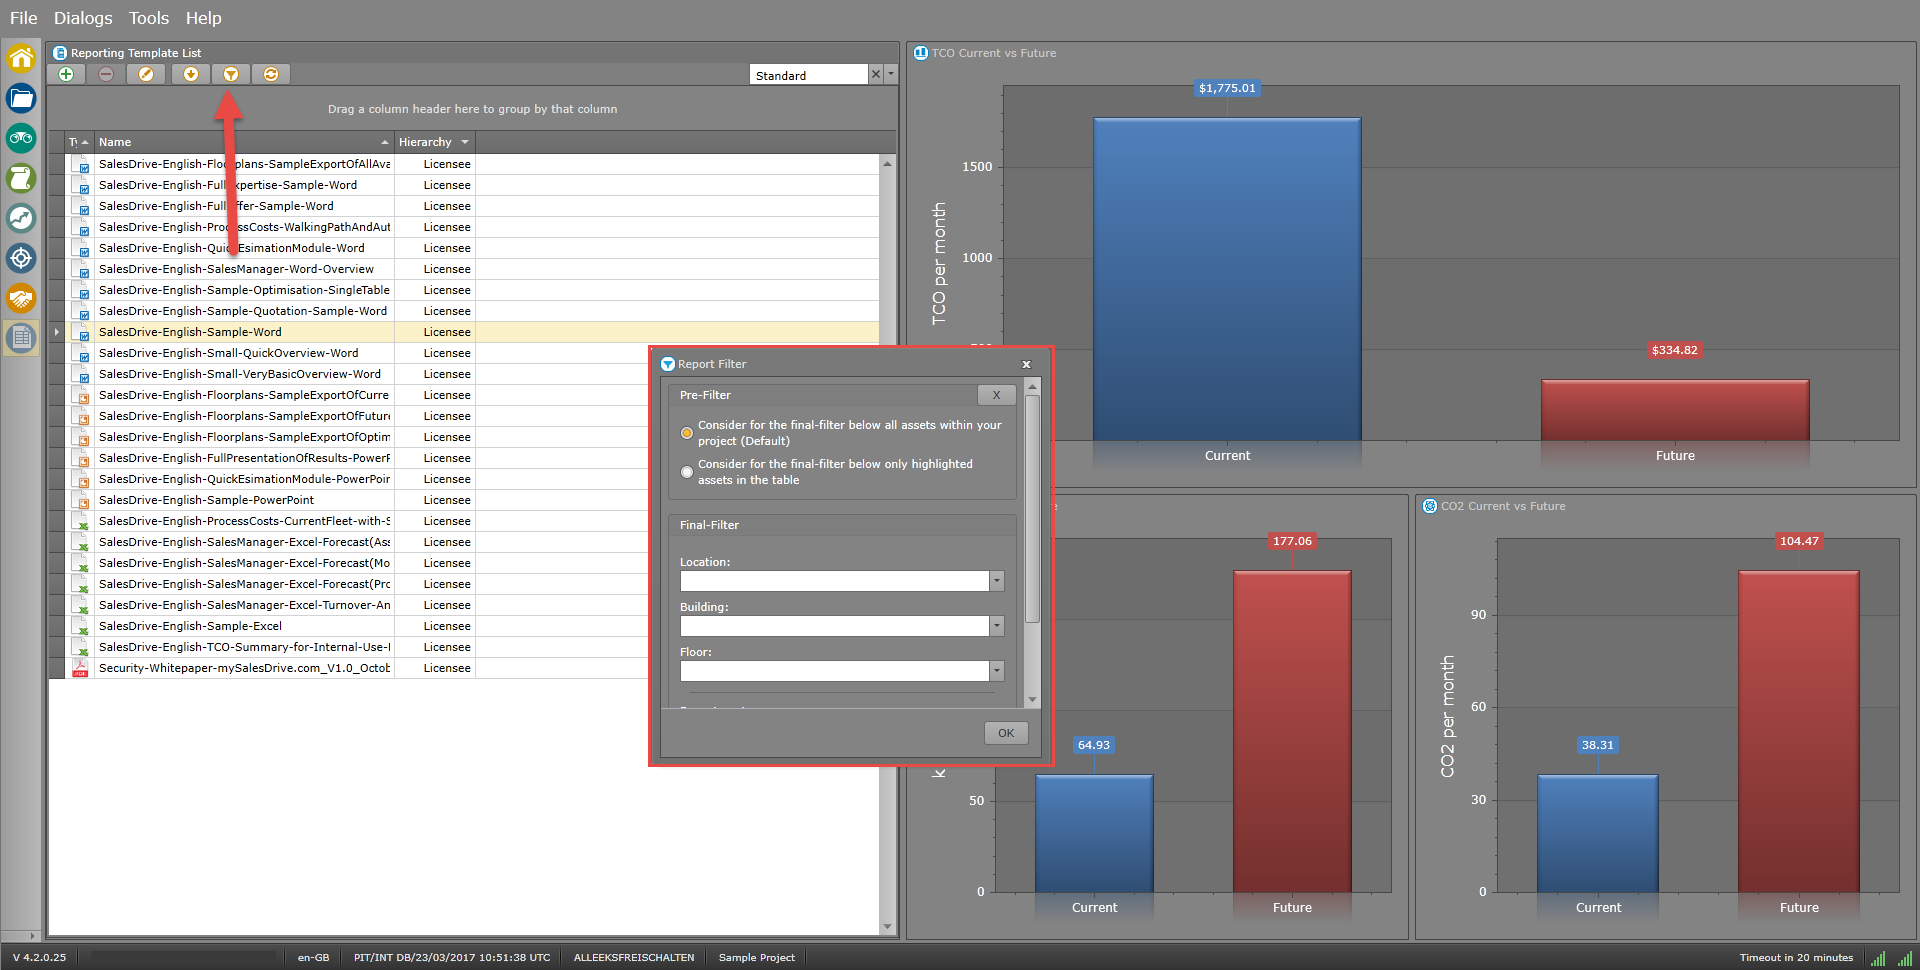
 Report Generator
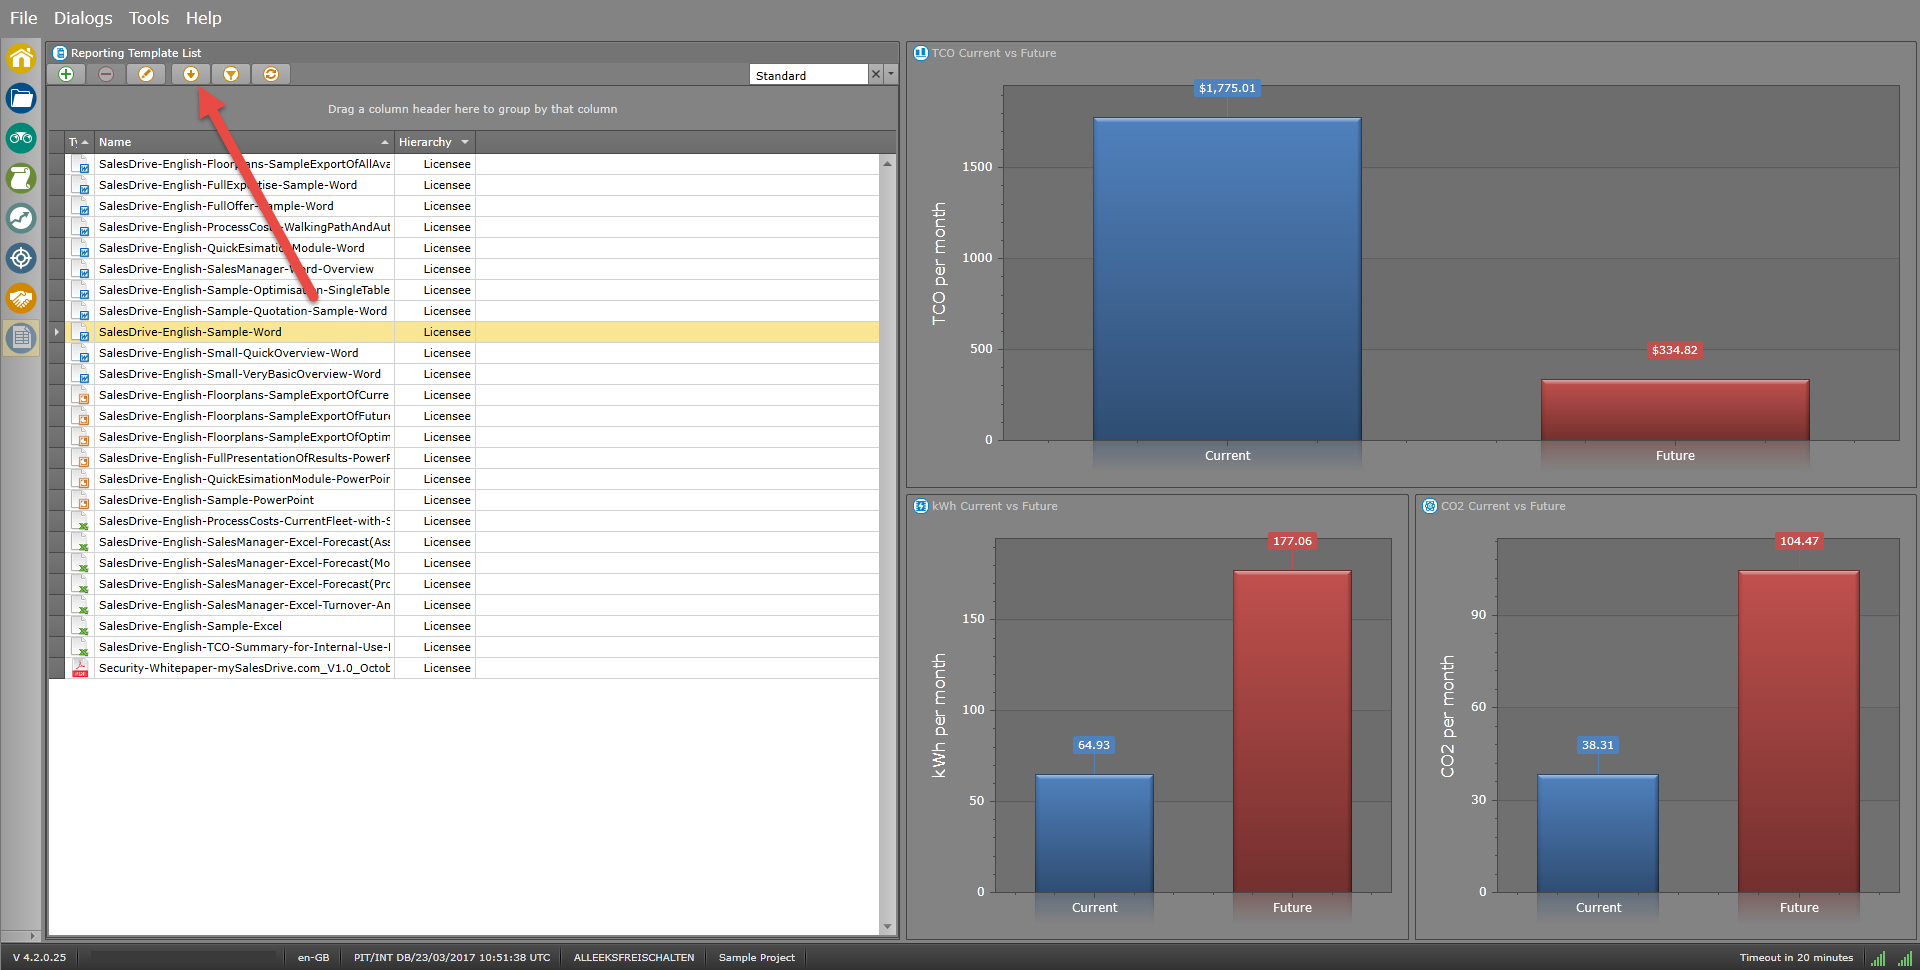
The report generator workspace provides an overview of the results of the current selected project
