Assign floors
Assets are always logically assigned to a specific floor (site object) and therefore can only be visually plotted on the associated floor map.
- In order to plot an asset onto a different floor map, it has to be moved to the desired site first.
Note: Also this assignment gets usually done by using the features of the capture IT app for iPad. As well you can use the CSV import feature to import the site structure as well.
- To plot an asset to a specific floor plan, the asset hast to be assigned to the floor first
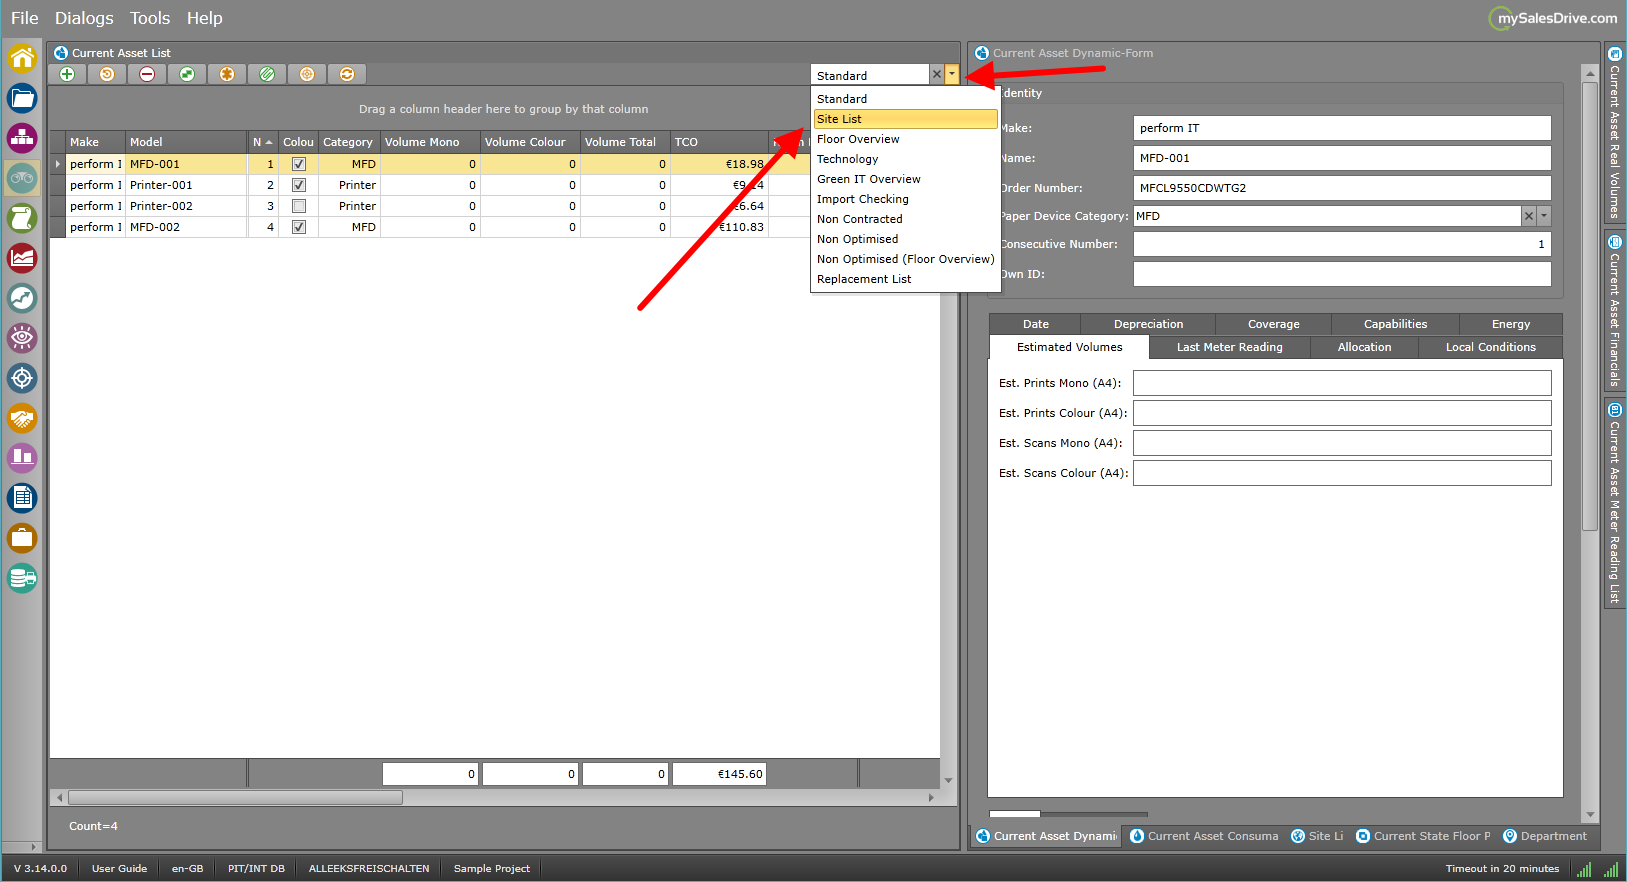
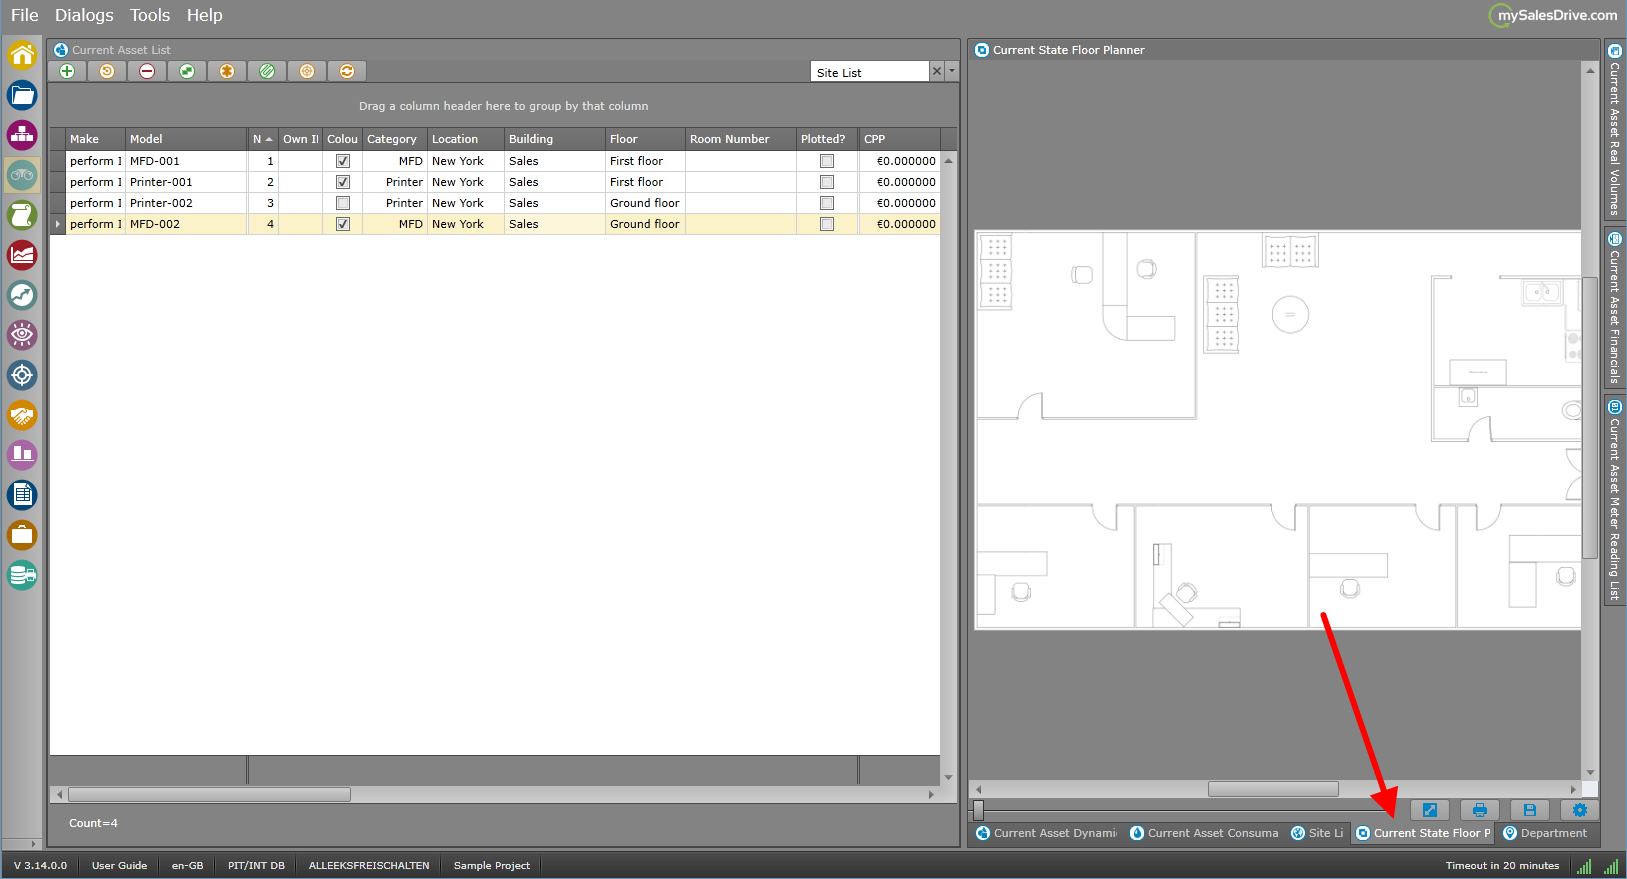
- For figuring out which floor & assets are assigned, open the current asset workspace
- Change the table view to Site List
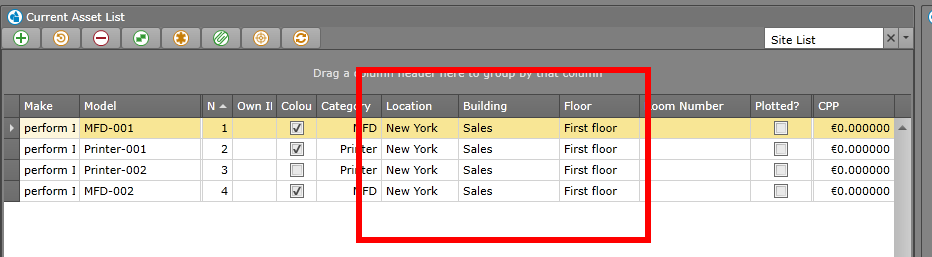
- This view shows the structure information of the assets
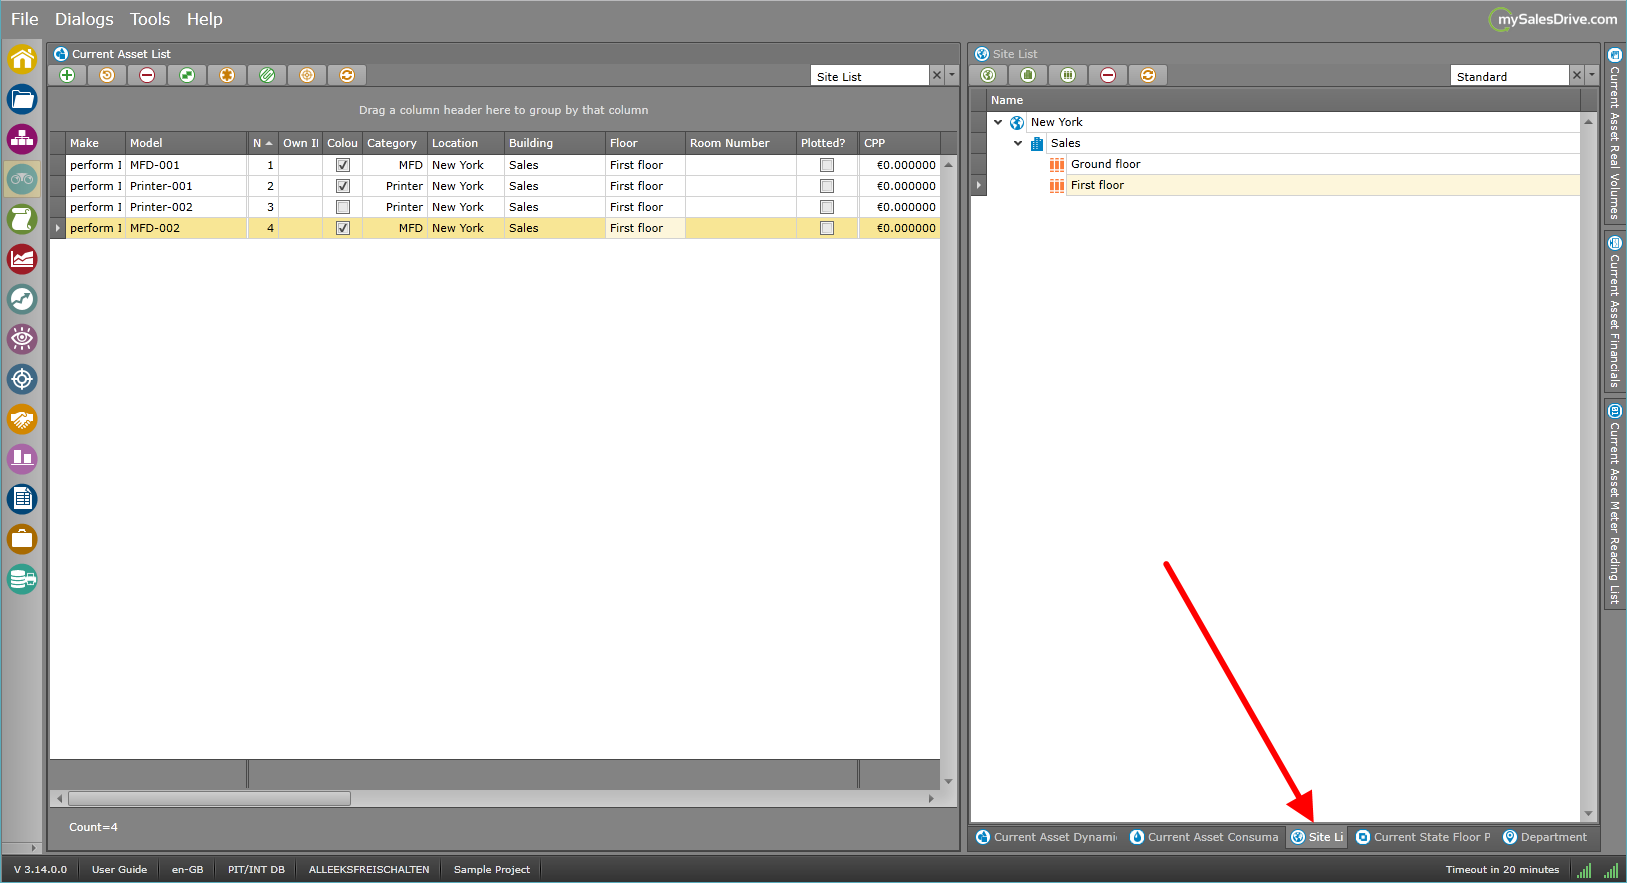
- To assign a new / different floor, open the Site List tab on the right bottom
- That tree view provides a list of existing sites within your project
- Drag the assets to a desired site (floor object in the tree view) and drop them
- Open the Current State Floor Plan tab and drag the devices on the floor map